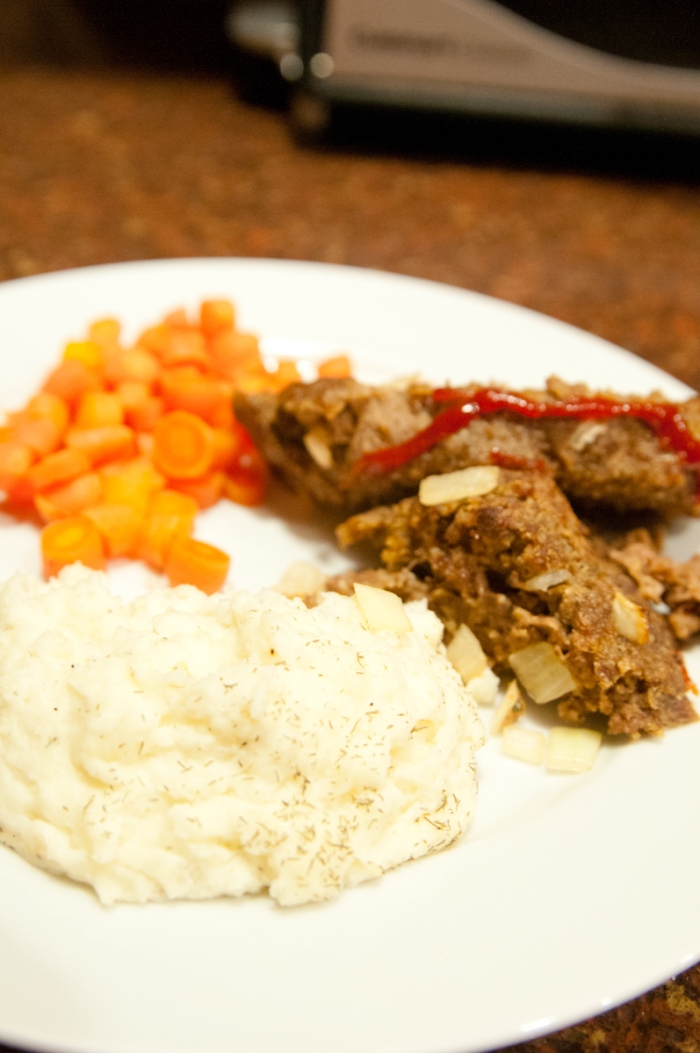
Last Night’s Meatloaf = Tonight’s Shepard’s Pie

So here’s the “haps” it is…short and sweet

I am a HUGE fan of taking last nights leftovers and using them to make something completely new…

Kind of like “She’s All That”… (Please tell me that you are a teenager of the ’90’s and know what I am talking about…if not, I will find another decade appropriate, coming of age, ugly duckling turns prom queen and gets the hot guy movie reference for you)

Take the boring (well, it was fun and tasty last night, but really, who wants leftovers again and again and again???)

and make it extraordinary!!!

And the beauty of it is….

It’s almost all made for you!!!! This cuts down the prep time by like 97%!!! It also cuts down the time that you have to find entertainment for those little rascals who want to “help” you cook by reaching for the ingredients on the cutting board right as you are chopping or trying to pour in the seasoning with the top completely off….

So here you have it…the only way I ever make Shepard’s Pie anymore…quick and simple.

What you need

Meatloaf (preferable last nights so you don’t have to make it now)

Mashed Potatoes (again, last nights would be nice)

Veggies (I use the frozen ones and pour em right on in…super duper quick and easy)

Shredded Cheese

What you do

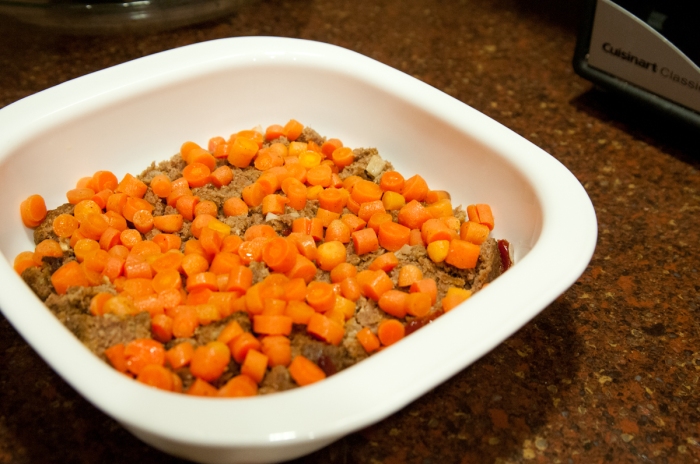
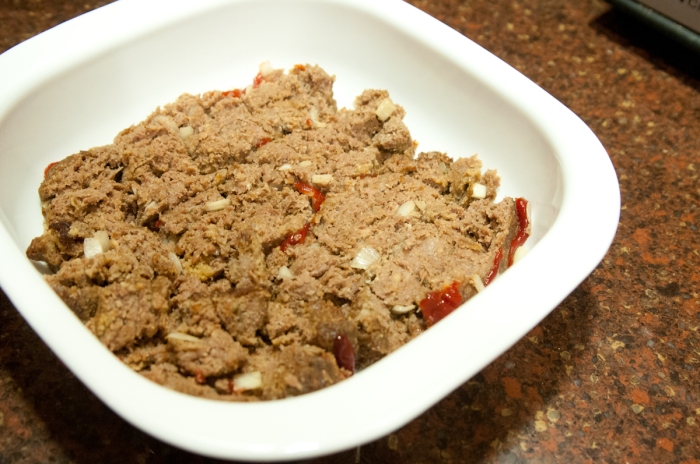
Cut the leftover meatloaf into slices and throw it into the bottom of a casserole dish (size will depend on just how much you got left over) then chop it up a bit in the bottom of the dish so it’s not in “slices” anymore

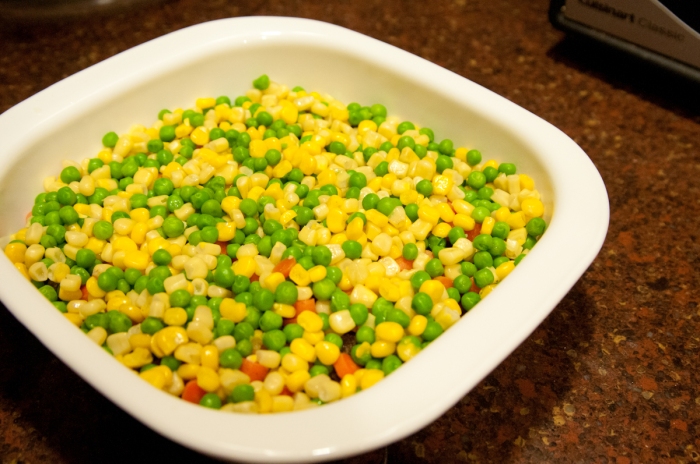
Add a layer of veggies (I had leftover carrots so I started with those)

Then I threw in some frozen corn and peas…I like variety in my life….

well, with most things…I don’t in fact like variety when it comes to my hubs….I adore the one and only I have!!!

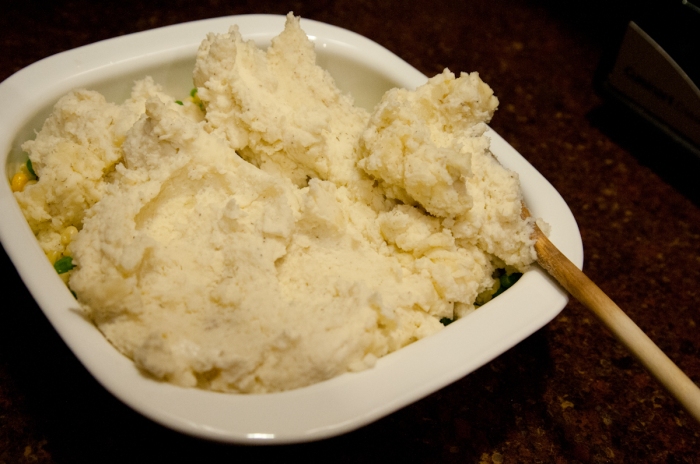
Add the mashed potatoes…

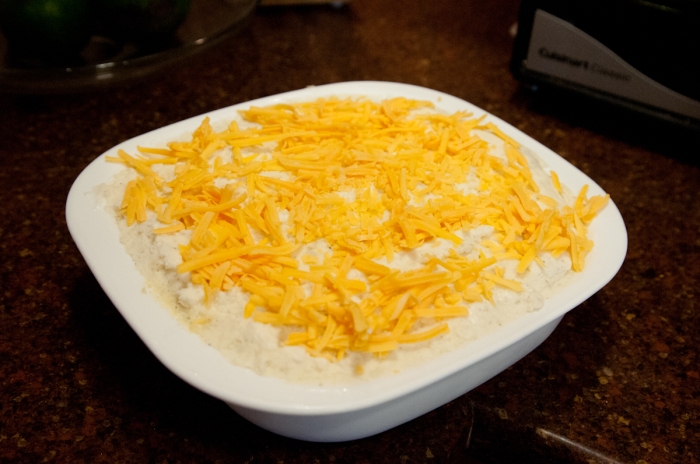
and the cheese…mmmm…..cheese….

and throw it in a preheated 400 degree oven for about 30-45 minutes (if you have just taken the stuff out of the fridge it may be more like 45 minutes to an hour)

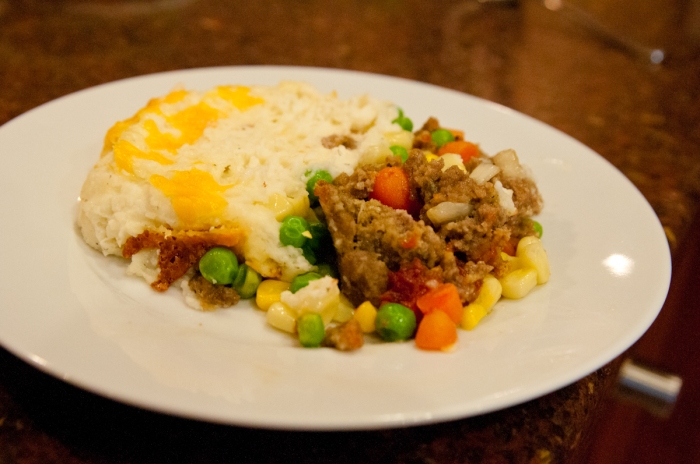
Take it out, spoon it onto some plates and indulge in the goodness that is super duper easy comfort food!!!

Happy cooking!!!

Ingredients

Leftover meatloaf

Leftover mashed potatoes

Leftover Veggies

Shredded Cheese

Preparation

Preheat oven to 400 degrees. Loosely chop leftover meatloaf and place in the bottom of a baking dish (size will vary depending upon how much leftover stuff you have). Place the leftover veggies in a layer over the meatloaf. Layer the leftover mashed potatoes over the veggies and smooth out on top. Toss shredded cheese over the top of the mashed potatoes and place in the oven. Bake for about 30-45 minutes, depending on size, until the center is hot. Serving size will vary depending on how much leftover stuff you have. Enjoy!

Mad House Wife Meatloaf

Who doesn’t like meat in a loaf???

Well, apparently a lot of people don’t; though I firmly believe it’s just that you haven’t had the right meatloaf….

Kind of like finding a bathing suit after having a baby…there’s one out there for you…it just might take a really long time to find it; you might have to go through MANY with a sour taste in your mouth about to gag before you discover perfection.

I’m pretty sure this meatloaf is the equivalent of the cute, well covering, bust lifting, goes slightly past your rear one piece that makes you feel like a kid (well, pre-kids) again.

Are you ready to experience meaty bliss???

Here. We. Go.

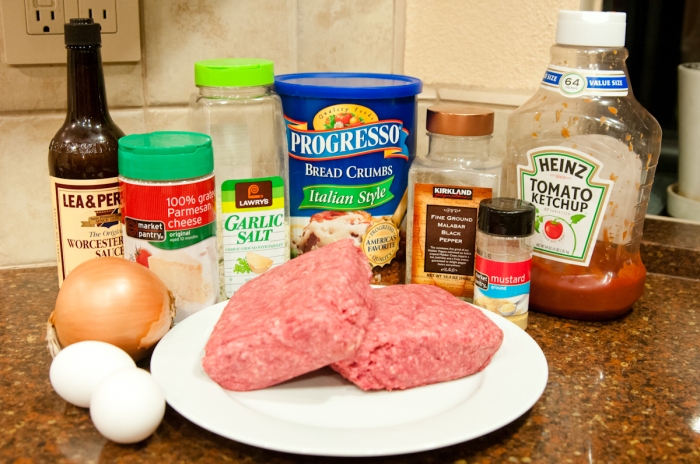
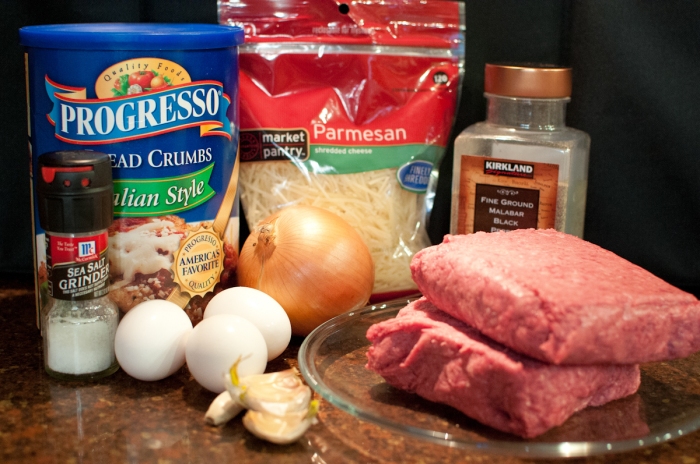
What you need:

2 lbs Ground Beef

1 1/4 cup bread crumbs with Italian Seasoning

2 Eggs

2 tbsp Parmesan Cheese

2 tbsp + 2 tbsp Ketchup

1 tbsp Worcestershire sauce

1/2 tsp pepper

1/2 tsp ground mustard

1/2 tsp garlic salt

What you do:

Pre heat the oven to 350 degrees.

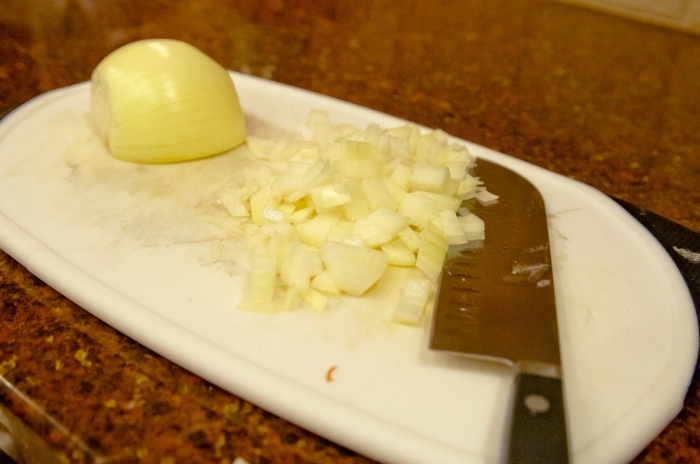
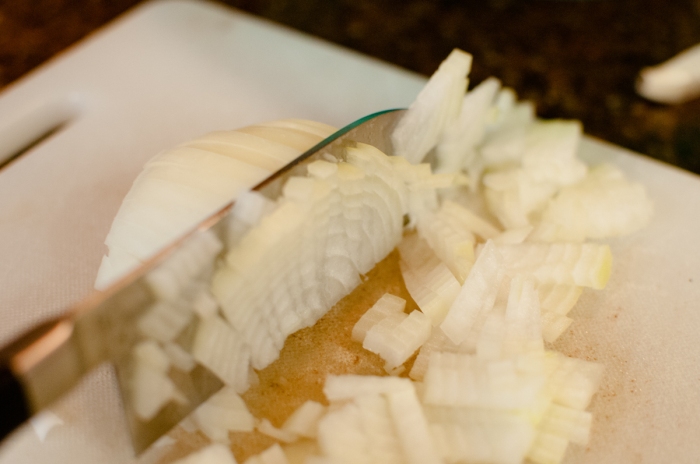
Chop an onion and set it aside (I usually chop onions into fairly large pieces so I can pick them out of my son’s portion, but I would suggest teeny tiny pieces)

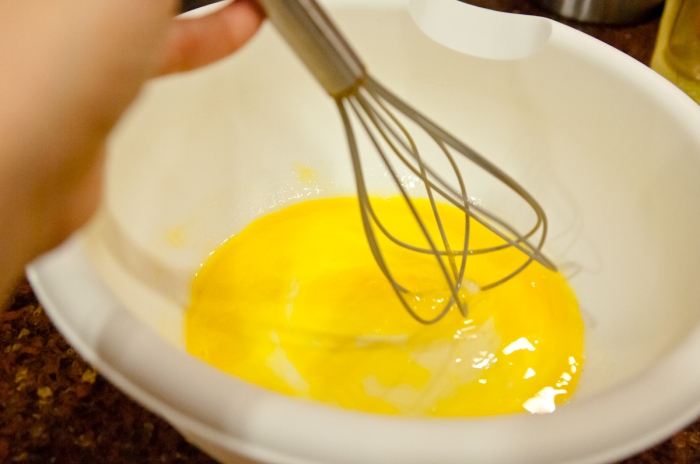
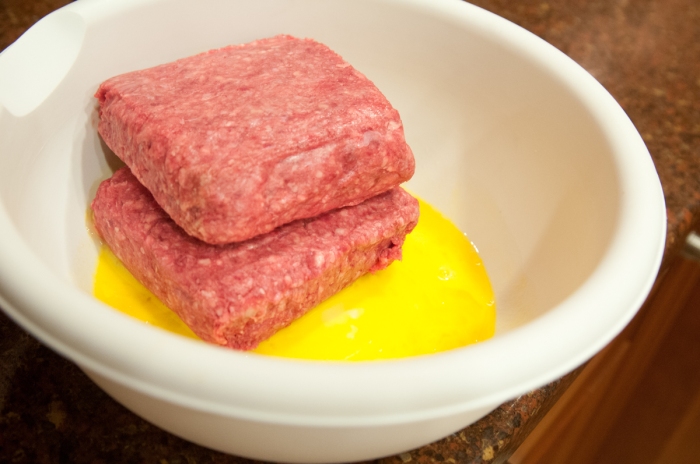
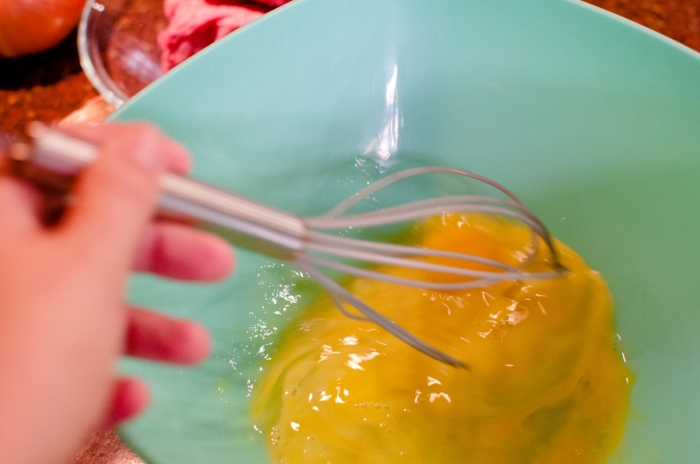
In a medium bowl, crack and pour both eggs; whisk just until the yolks are broken.

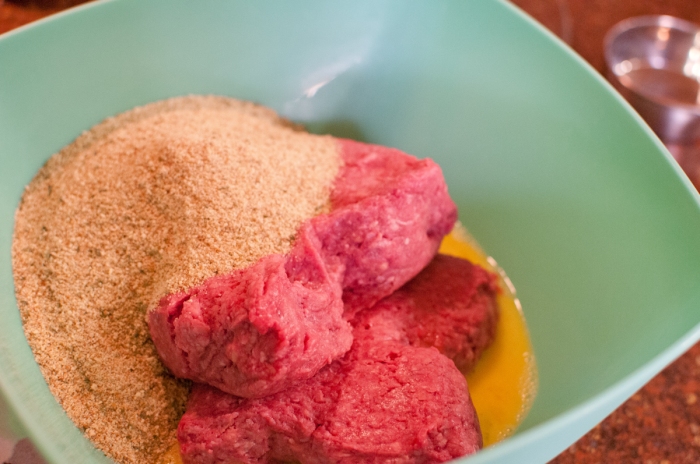
Add ground beef

I love you Trader Joe’s for you pre-packaged, hormone free beef squares!!!

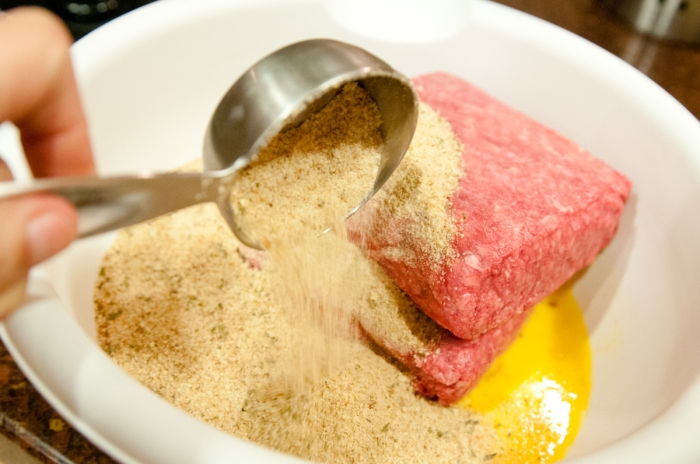
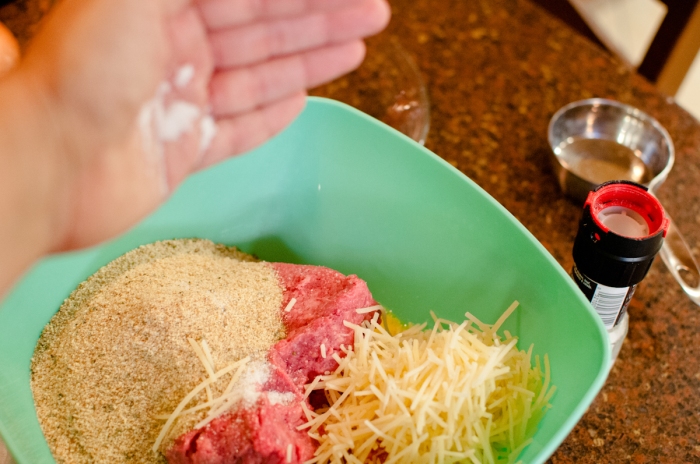
Throw in your bread crumbs

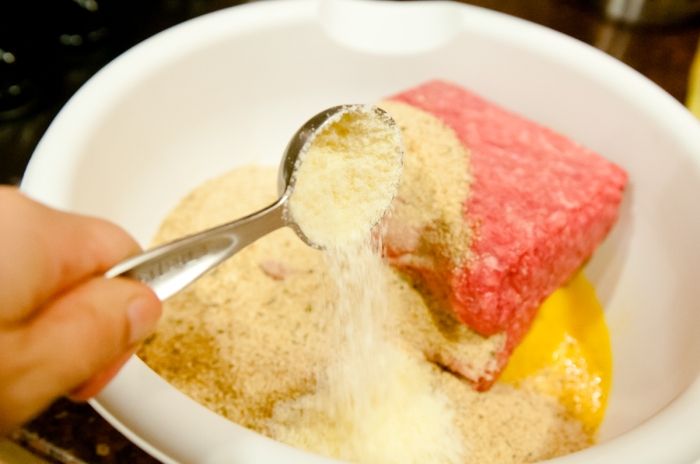
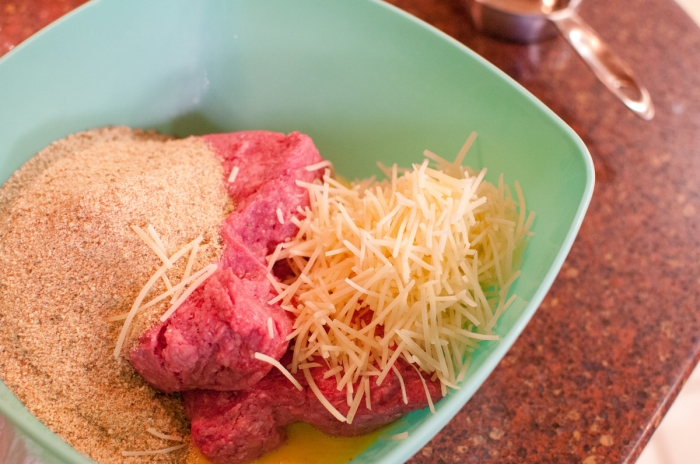
Parmesan Cheese

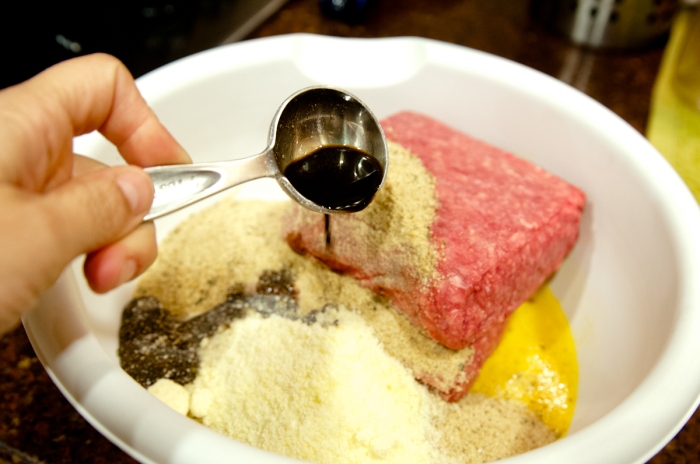
Worcestershire sauce,

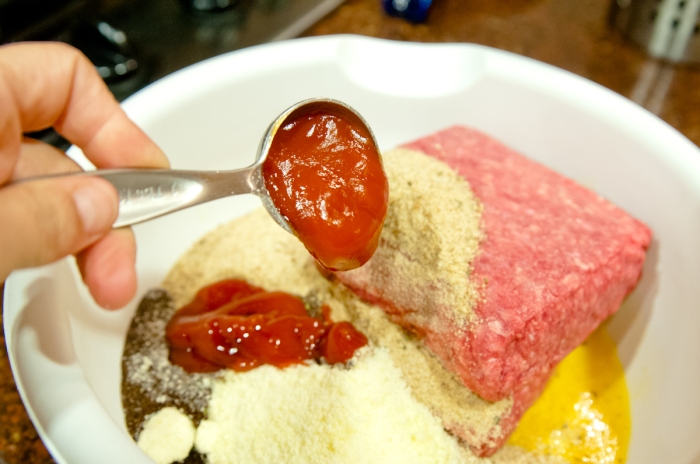
Ketchup

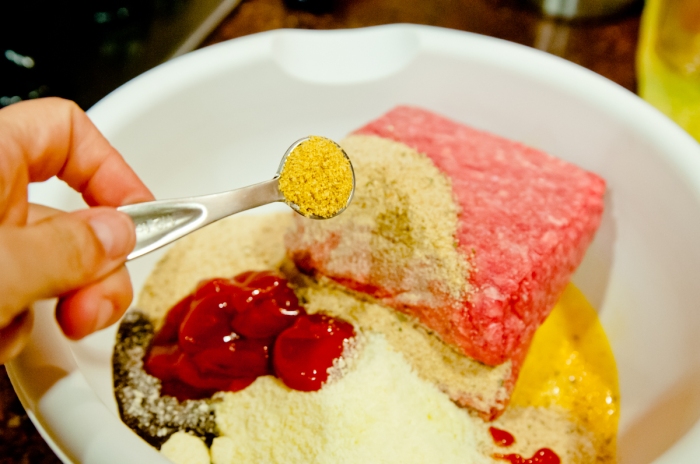
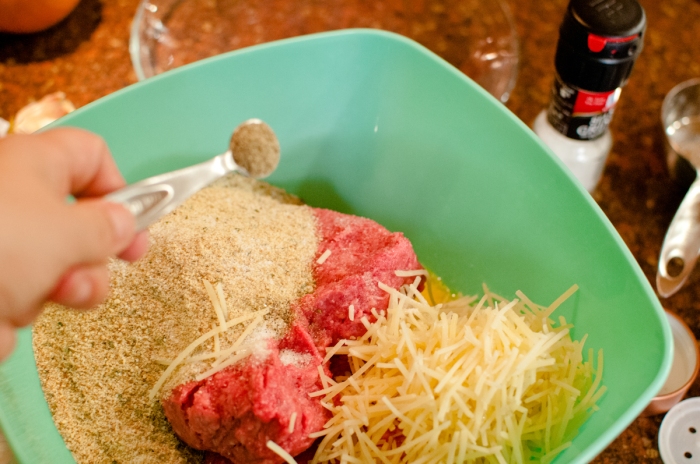
mustard (I used ground but I have used the yellow liquid stuff that you put on hot dogs before…I use what I got…)

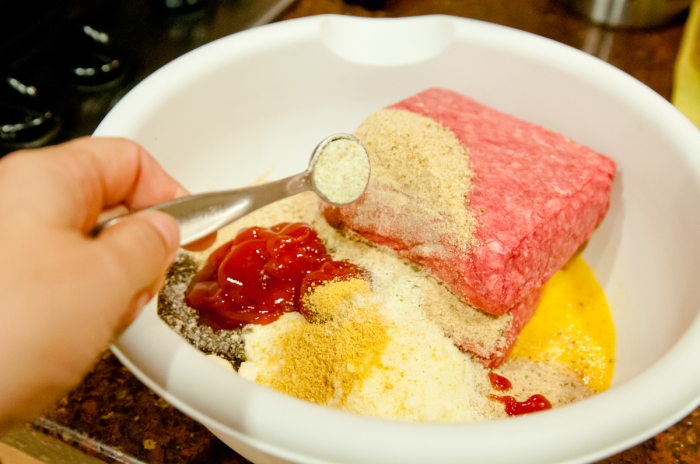
garlic salt

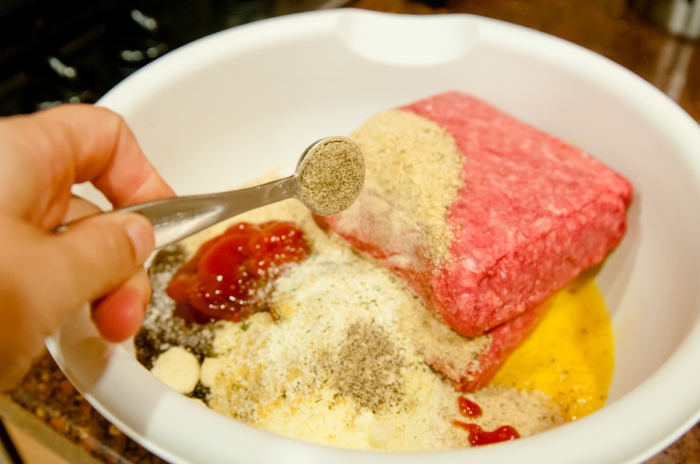
pepper

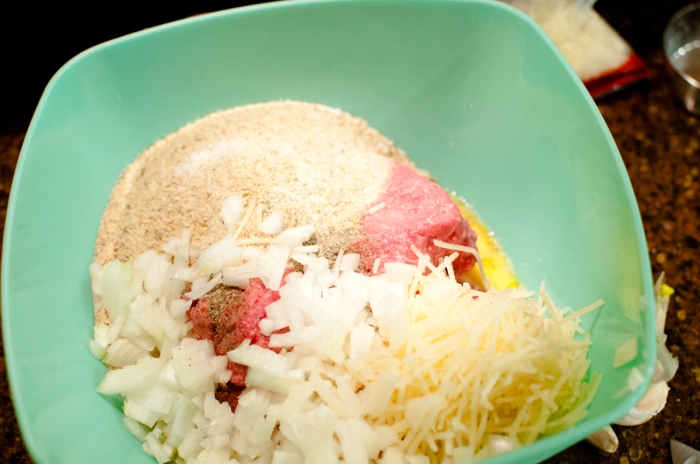
and….remember those onions you so diligently chopped earlier?

Go ahead and toss those on in.

Now comes the fun part…

unless you find touching uncooked ground beef gross…

which I do not…

hence, the fun part.

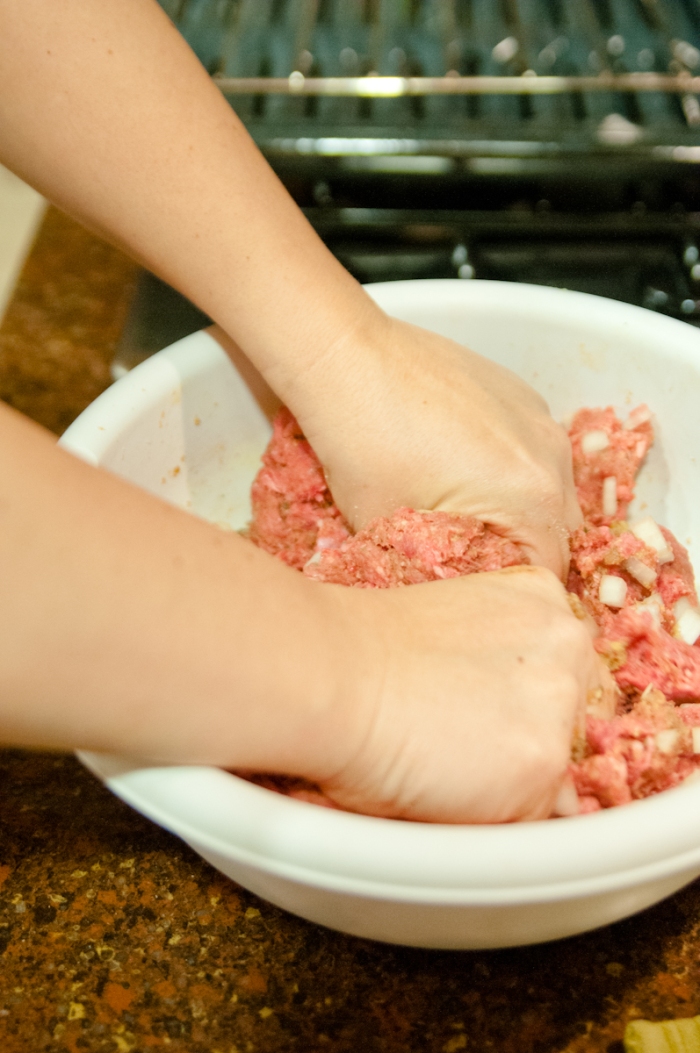
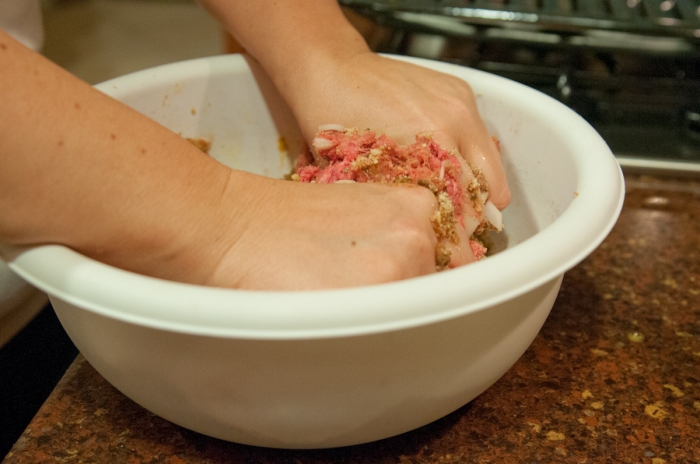
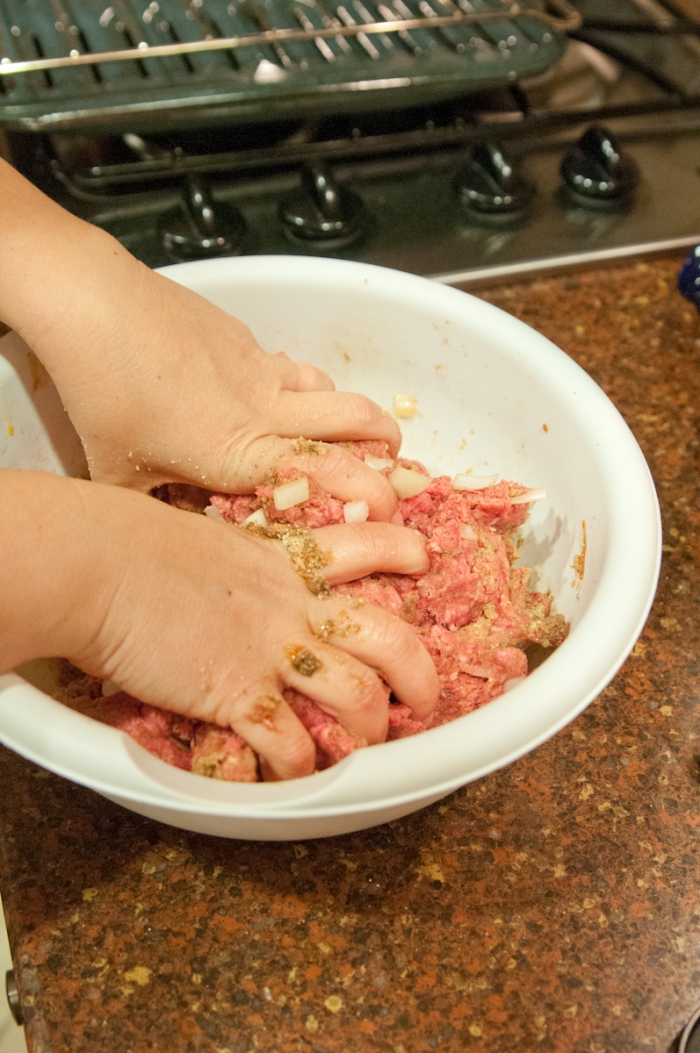
Pretend you are back in kindergarten and that you have just opened a new package of slightly chunky Play-Doh…

If that doesn’t get you through, you may need to skip this step altogether and call in reinforcements.

Squeeze it!

Squish it!

Mix it all around…

you do the hokey pokey and you turn yourself around…

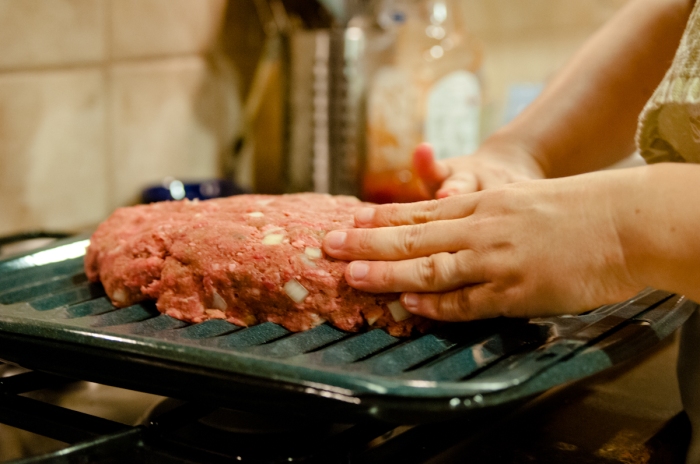
Grab your broiler pan (that thing that appeared inside your oven when you moved into your new house)

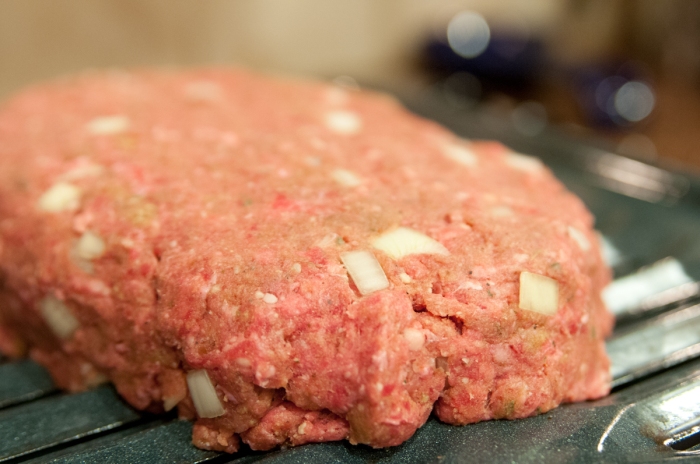
and form the meat into a loaf like shape

I am a loaf of beef

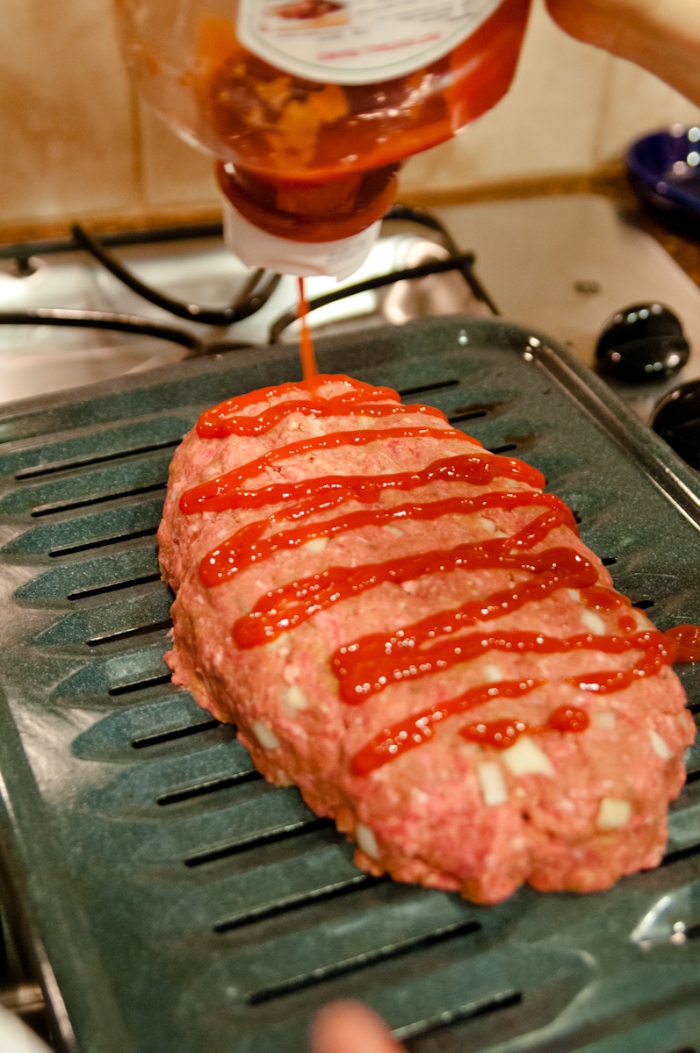
Drizzle some Ketchup on top (that’s where I got the other 2 tbsp of Ketchup) and…

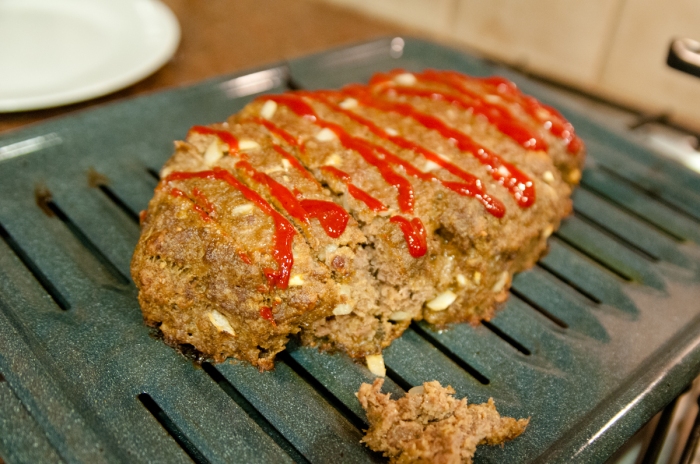
throw it in the oven.

Cook it for about 45 minutes to an hour. Mine took 50, just in case you were wondering…..

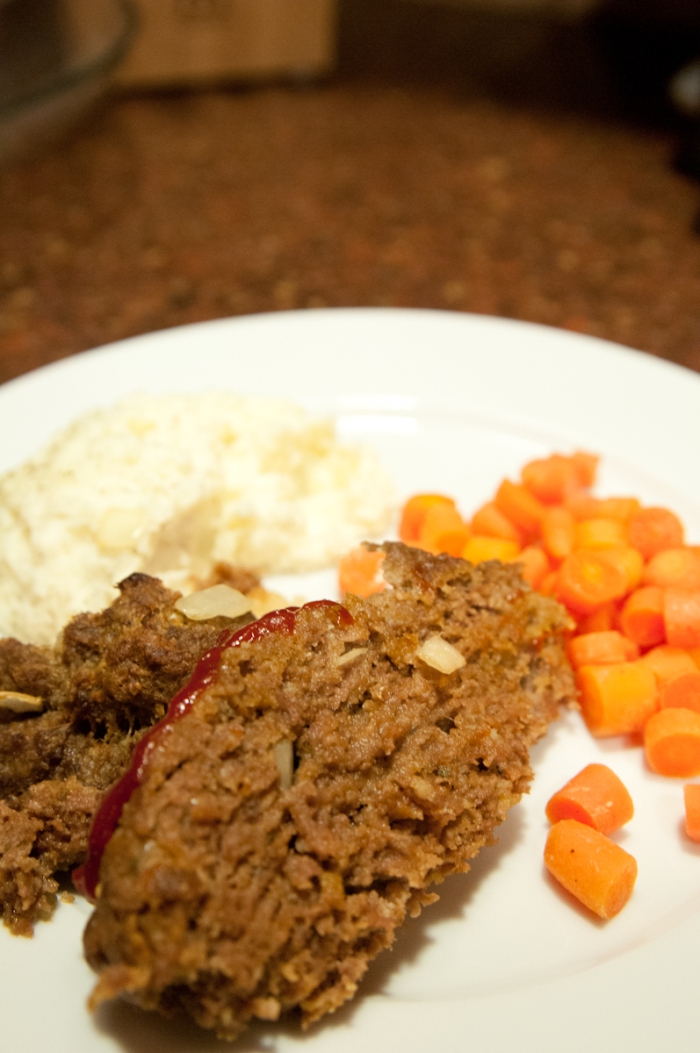
Slice it up and serve with some garlic and herb mashed potatoes perhaps…

Oooohhhhh or you could put it on some grilled sourdough for meatloaf sandwiches mmmmm

Do what you will; just know, as soon as you take a bite, you will be forever changed!

Happy cooking! Or baking! Or whatever this is…

And the “printable” version below…

Ingredients:

2 lbs Ground Beef

1 1/4 cup bread crumbs with Italian Seasoning

2 Eggs

2 tbsp Parmesan Cheese

2 tbsp + 2 tbsp Ketchup

1 tbsp Worcestershire sauce

1/2 tsp pepper

1/2 tsp ground mustard

1/2 tsp garlic salt

Preparation

Preheat the oven to 350 degrees. Chop onion and set aside. In a medium bowl, crack and pour both eggs; whisk until smooth. Add ground beef, bread crumbs, Parmesan cheese, 2 tbsp of ketchup, worscteshire sauce, onions, garlic salt, pepper, and mustard. Mix all ingredients with your hands until well blended. Break up any clumps of bread crumbs that may have formed. On a broiler pan, form the meat mixture into a loaf shape (if you don’t want to scrape the pan later, butter it ahead of time). Drizzle the remaining 2 tbsp of ketchup on top of the meatloaf. Place in the oven and bake for 45-60 minutes until the middle is no longer red. Yields about 10 servings.

Garlic and Herb Mashed Potatoes

Have you ever met a mashed potato you didn’t like???

I have….a lot.

What can I say, I guess I’m just not a mashed potatoes person…I have warned you in the past; I am “different” than most…

So that got me thinking…(it happens sometimes) why don’t I like mashed potatoes (most of the time)????

Here’s why…most of the time they are either too grainy, or too buttery, or too skinny (no not like the potatoes will make you thin…I would probably eat those all day long regardless), I mean there’s just too much of that darn skin that I have to chew through. Sometimes they are just plain bland and dry – gross!

So my quest for the perfectly creamy, wonderfully flavorful, not too buttery mashed potatoes has led me to this recipe.

It has been a work in progress for a while now, and I think, if I do say so myself, that they are nearing perfection!!! I could literally sit and eat these by the large spoonful…all of them….and I have…(again those skinny potatoes are looking so much better right now…)

These will require some preparation…

Mental and emotional – look in the mirror and tell yourself that it’s ok if you eat ALL of the mashed potatoes. You are still a good person. You can work them off later. (I had to repeat this step after I made them and after I ate lots and lots and lots of them)

Physical – well, I guess you could go run some laps or something…but my physical prep was more like this: put the kids in the other room with ALL of their toys in piles surrounding them. Give them snacks and maybe a show…then call your dad (who conveniently lives next door…score!!) and ask him to come entertain the kids who think that the kitchen is really the only room in the house that holds any remote interest at this specific time.

If your dad doesn’t live next door…I suggest restraints….hahaha just kidding..sort of. No really I am just kidding, do not restrain your children so that you can go cook in peace!

Oh and go pour yourself a glass of wine. Wine helps me cook. Tell yourself that too please…

Ok, if you have done your prep….most importantly the mental and emotional…and the glass of wine part…then you are ready!!!

Here. We. Go.

What you need:
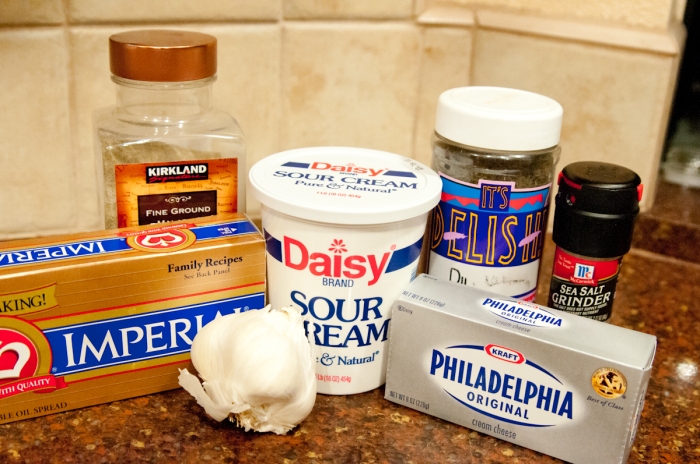
5 lb bag potatoes

3 large garlic cloves

1 package cream cheese

1 stick unsalted butter

1 16 oz tub sour cream

salt to taste

pepper to taste

dill to taste (I like dill…a .lot…but if you don’t, I won’t hold it against you…rosemary, thyme or parsley would do just fine)

What you do:
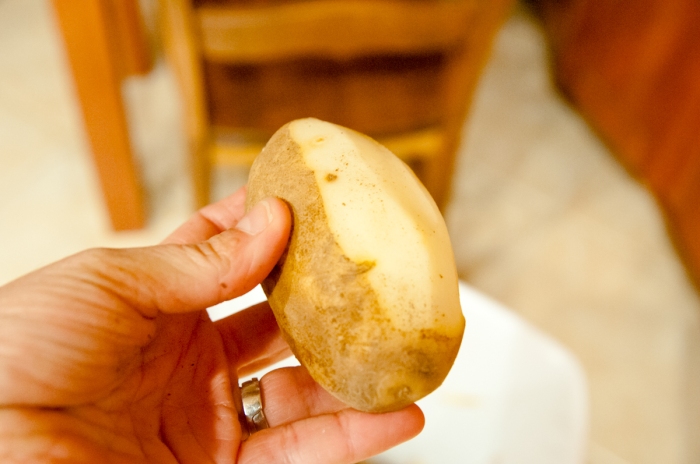
Hold a potato and ponder the meaning of life…

not really…just peel it
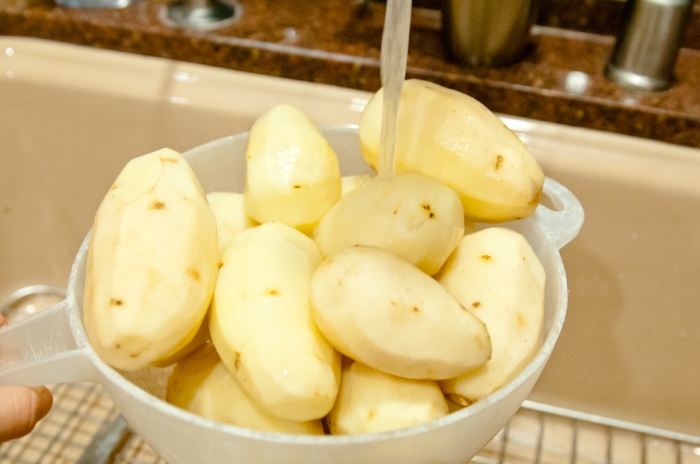
Place those bad boys in the teeny tiny Ikea colander that you bought in your first apartment and can’t seem to part with…. and rinse
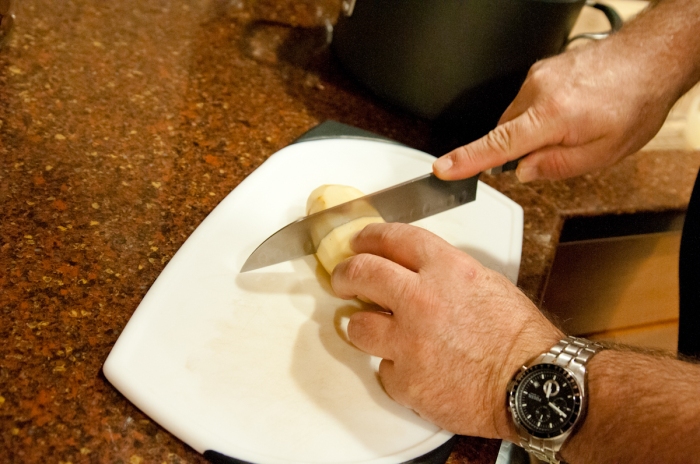
Have your dad quarter the potatoes since your children don’t want to leave you alone and wielding a knife with a 3-year-old climbing up your leg can be a bit dangerous….
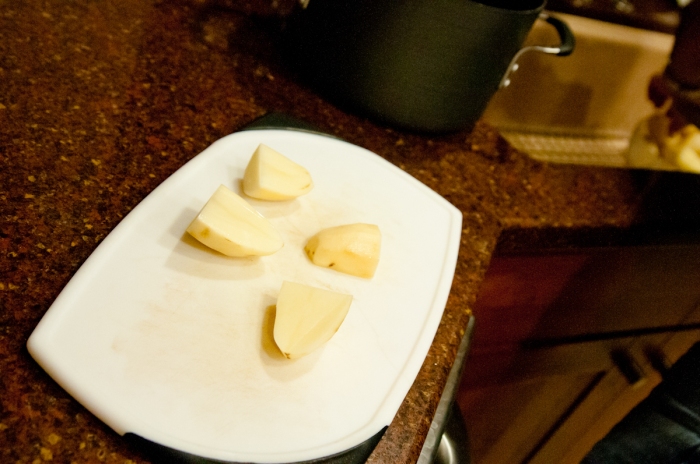
Hello, I am a quartered potato….
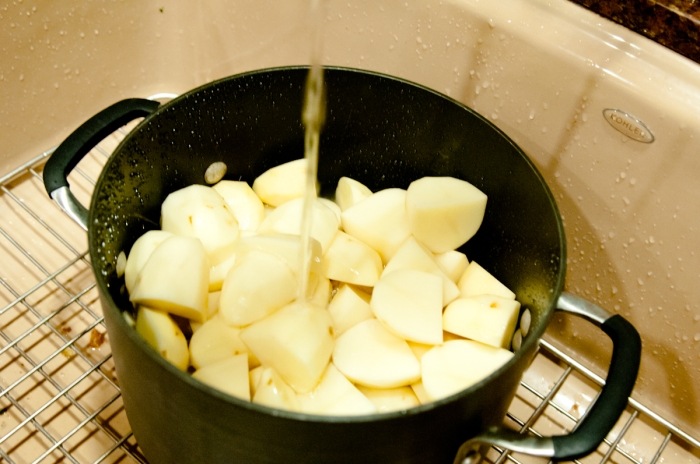
Place them in a pot; fill the pot with just enough water to cover the potatoes. Don’t worry if you overfill…the potatoes will still taste good…you just might have to clean up a watery, potatoey, starchy mess when it boils over….
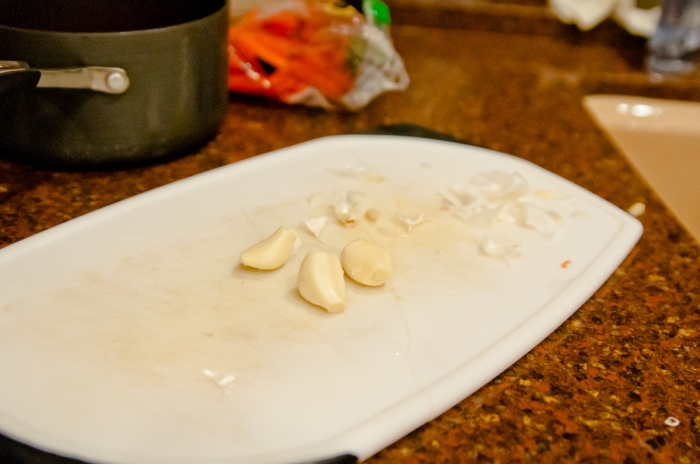
Peel the garlic cloves and chop off the ends…or if you are like me and feel that chopping with the skin on makes it easier…then by all means reverse my above directions…
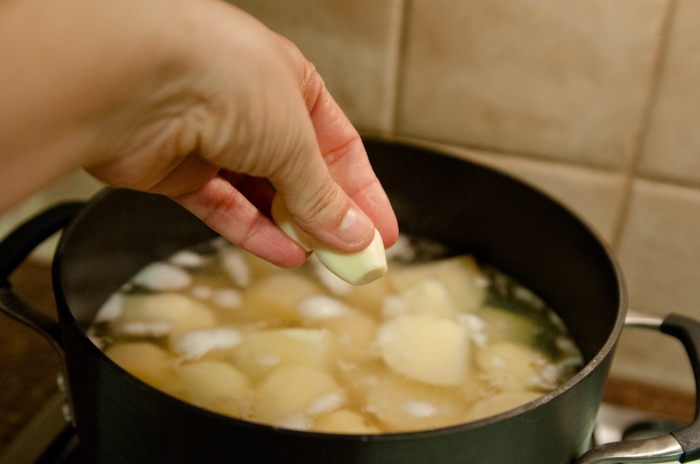
and add them to the pot of potato water…. trust me

Bring the potatoes and garlic to a boil; boiling for about 15 minutes or until the potatoes are fork tender (translation…you can stick a fork in them like they are butter).

Remove the pot from the heat and drain the water out (in that oh-so-tiny-but-I-can’t-quite-part-with-it-even-though-I-always-spill-stuff-out-of-it-cause-it’s-just-too-small-colander perhaps).
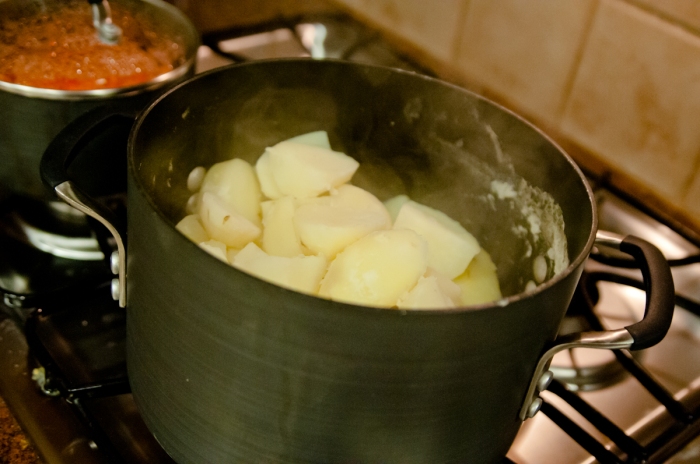
Place the potatoes and garlic back in the pot and move it back onto the stove.
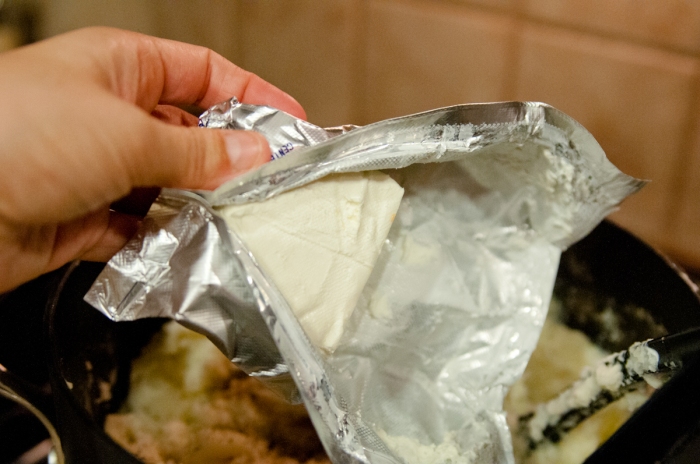
and add half of the cream cheese
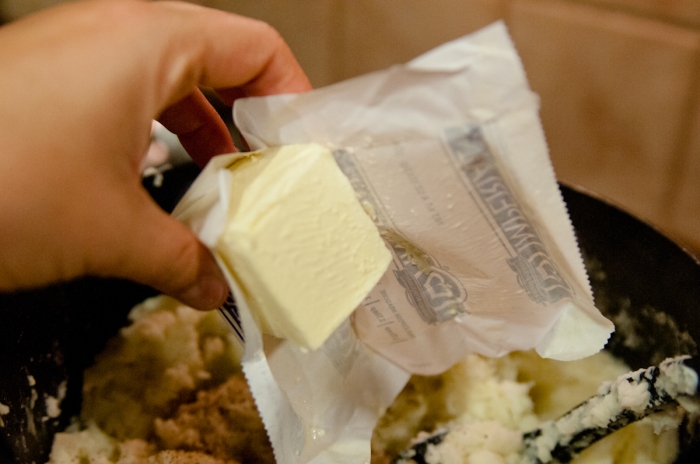
half of the butter
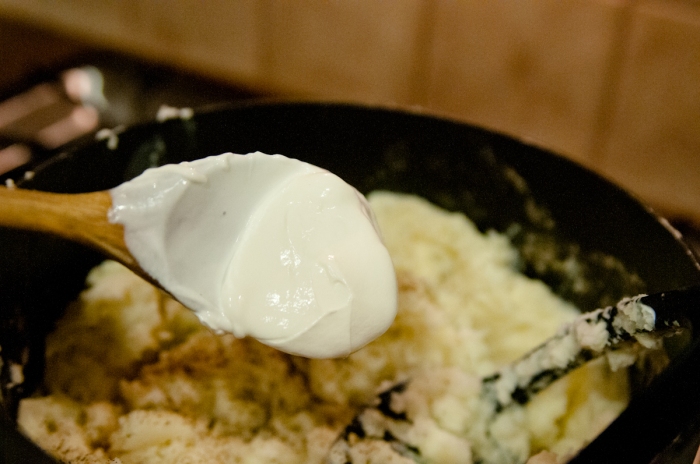
and half of the tub of sour cream (I did tell you this wasn’t the skinny recipe right???)

Set the burner to medium and mash the potatoes with a potato masher. Yes with a potato masher…if you use an electric mixer it will break down the potatoes and make them more grainy.

Did I mention you need muscles to cook with me???
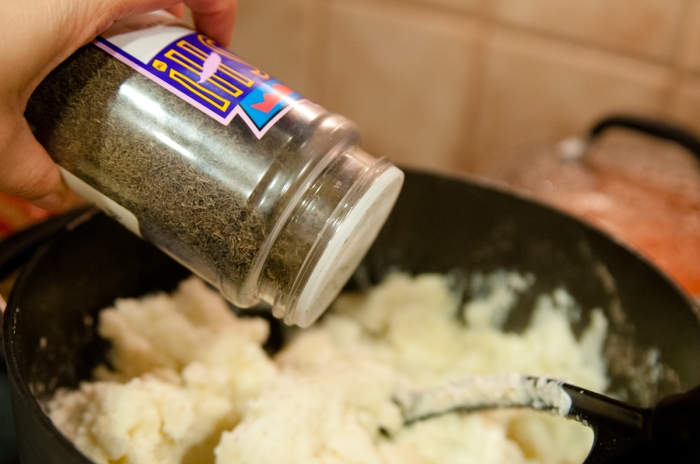
Once well mashed, add the remaining cream cheese, butter and sour cream, as well as the salt, pepper and dill.
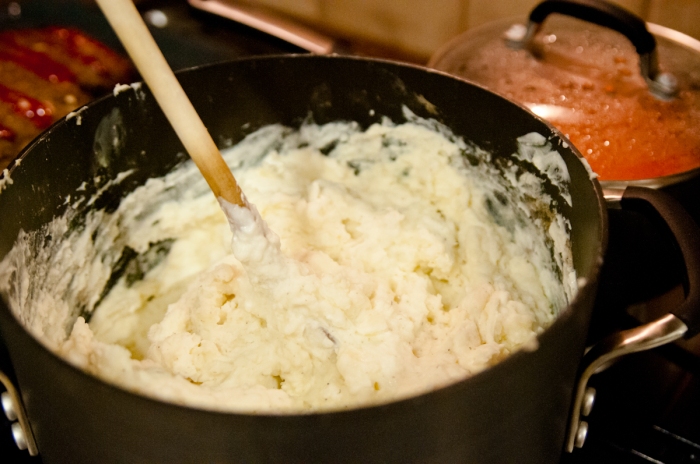
Mix the whole creamy, delicious mess with a large spoon, take about 3 heaping bites and add more salt, pepper or dill to taste. Then take about 6 more bites…just to make sure we have reached perfection of course…

Go follow the “mental and emotional” prep from earlier….

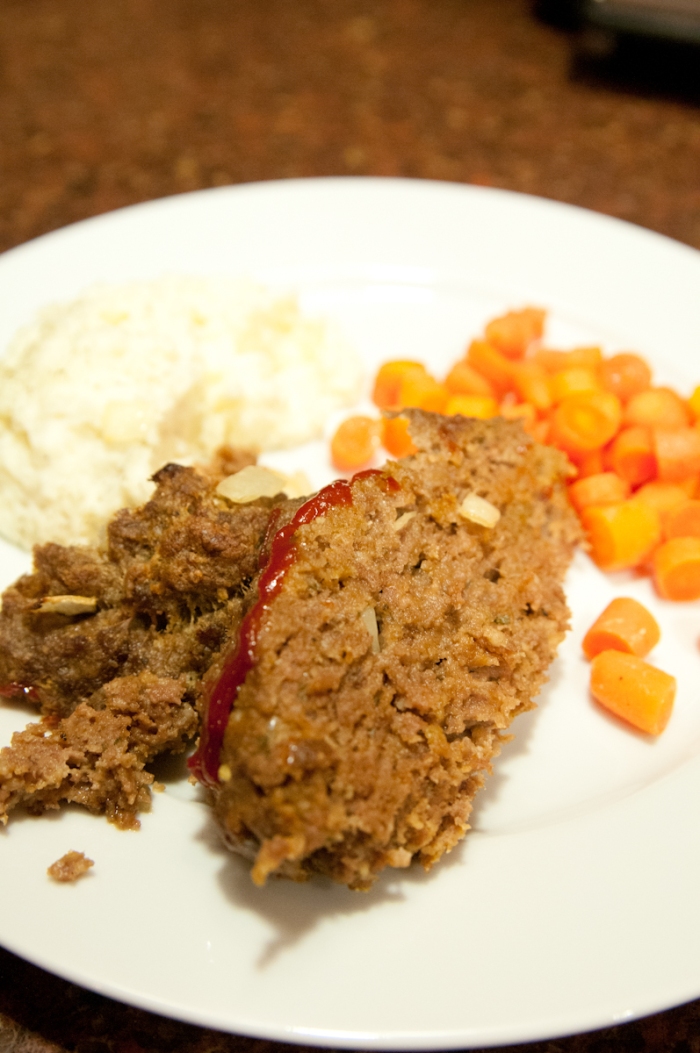
Now serve with some amazing meatloaf (recipe coming soon) and yummy carrots (like I did as you can see) or maybe not…maybe you just want to stand by the stove and eat and eat and eat until you feel all warm and fuzzy inside. Either way I hope you find them as delectable as I do!!!

Yields approximately 10-12 servings. (Unless you eat a ton as you go…then it’s anybody’s guess)

Happy Cooking!!!

The “printable” for all y’all who don’t like to run back and forth to the computer (that’s what I do…don’t be like me)

Ingredients

5 lb bag potatoes

3 large garlic cloves

1 package cream cheese

1 stick unsalted butter

1 16 oz tub sour cream

salt to taste

pepper to taste

dill to taste

Preparation

Peel, rinse and quarter the potatoes. Place them in a pot. Place just enough water in the pot to cover the potatoes. Peel the garlic cloves and add them to the pot. Bring potatoes and garlic to a boil. Boil for about 15 minutes or until the potatoes are fork tender. Remove from heat and drain the water out. Place the pot back on the stove and add half of the cream cheese, butter and sour cream. Set the burner to medium and mash the potatoes with a potato masher. Once well mashed, add the remaining cream cheese, butter and sour cream, as well as the salt, pepper and dill. Mix with a large spoon. Add more salt, pepper or dill to taste. Yields approximately 10-12 servings.
Blueberry Corn Muffins with Honey Butter

I adore cornbread. I like it dense, I like it dry; in a muffin or a loaf; melt some honey butter over the top of it and I feel my life is complete. Bring me some cornbread and you have a friend for life; whether you like it or not. Use this information wisely.

For the following reasons, I have decided that you need to make this recipe tonight:

1. The incredible flavor and love of life that it will bring you

2. The sheer ease

3. (This is my favorite, well maybe not, I think number 1 is; this definitely is number 2. Well it really is number 3 but….you know what I mean.) It costs so little to make!!!

4. If you have any leftover you automatically have breakfast!!

Incredibly tasting and cheap to prepare recipes that can be used for multiple meals bring me joy…

I bring the following information to you with only one warning – Do not take these out of the oven when anyone else is around! They will be gone forever and you will not get to eat anything but the crumbs of half of one after you have fought your way through the crowd. I know because this happened to me.

Those were the best crumbs of my life…

Ok, are you ready? Here. We. Go.

For the honey butter

Ingredients

1 stick butter

1tbsp honey

In a bowl, throw an entire stick of butter and 1 tbsp of honey….difficult I know….

Set them aside for a bit so that the butter softens

Mash em and mix em together until well blended and creamy. Scrape all of that goodness out of the bowl (with your…..you guessed it! Your rubber spatula) and into a pretty serving dish.

For the muffins

Ingredients

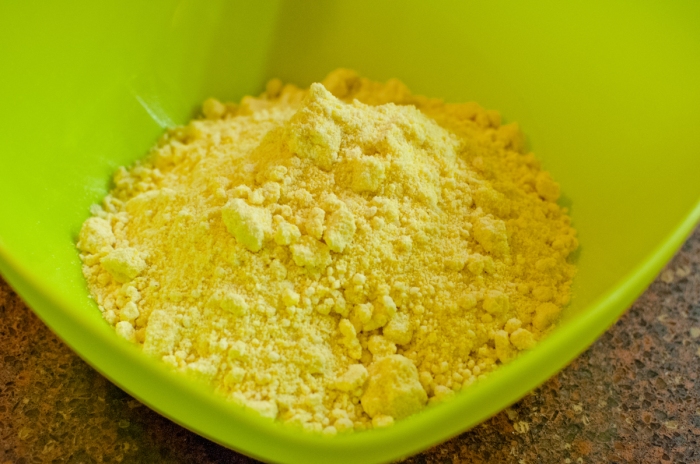
2 packages Jiffy corn muffin mix

2 eggs

1 can creamed corn

2/3 cups milk

1 pint blueberries

Preheat the oven t

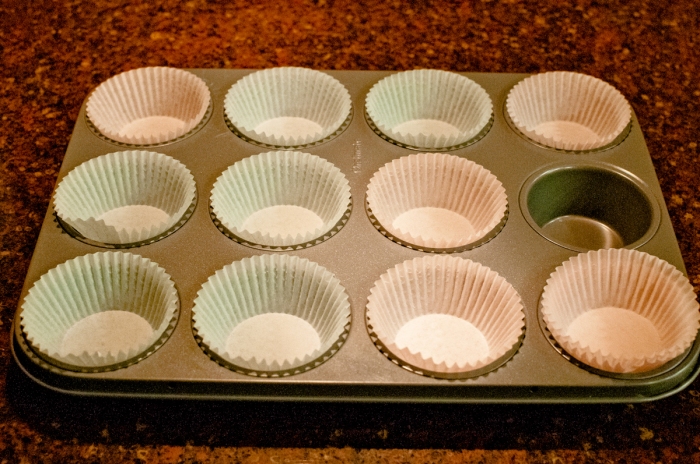
Preheat the oven to 400 degrees. Line 2 muffin pans with paper muffin holders or grease with butter. Or be like me and realize after putting paper muffin holder thingies into one pan that you don’t have enough to do both so you grease the second one.

My son though that right before I took this picture was a good time to rearrange the paper cups…

In another one of your obnoxiously colored bowls combine corn muffin mix

eggs

creamed corn

and milk

Whisk until fairly smooth; it will be lumpy and chunky, I mean, how smooth can something be when you have whole corn kernels in it??

Next, add the blueberries and mix the batter together

Reserve a handful of blueberries for your son who loves them so much….and that alone makes you smile….

Pour the batter into the 24 muffin cups filling each about half way. Try not to overfill them, but do make as much of a mess as possible and drip a ton on the pan itself so that it will be extra hard to clean later. Let the mixture sit for about 3-4 minutes before placing the pans into the preheated oven.

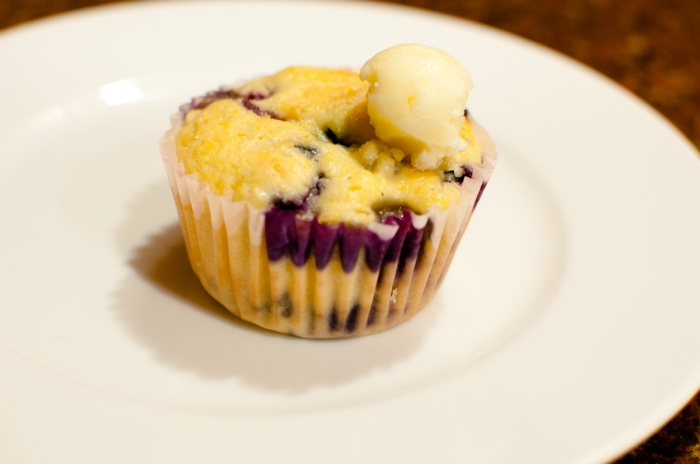
I couldn’t decide on pictures so you get both…

Practical…

Artsy….

Bake for about 15-20 minutes until golden brown or until a toothpick inserted into the center comes out clean. Remove from the oven and let sit for about 5 minutes. Serve with honey butter.

This is where I would have taken a picture of the muffins as they came out of the oven, however, we had people over and I was talking…boy do I like to talk….and the picture taking was overlooked as I tried to fight them off before the muffins hit the table.

I hope you understand….

Now, sit with a muffin in front of you for a few minutes. Take in the beauty. The aroma…. Now, dig in and enjoy. You deserve it.

** I have done 2 things differently in this post and would greatly appreciate feedback. 1) I put the photo instructions/descriptions above the photos rather than below them. 2) I have placed printable instructions below (by printable I mean you can highlight, copy and paste into a word doc without the pictures. Unless you really want the pictures, then by all means copy, paste and print the whole thing).

For the honey butter

1 stick butter

1tbsp honey

In a bowl, throw an entire stick of butter and 1 tbsp of honey. Set them aside for a bit so that the butter softens. Mash em and mix em together until well blended and creamy. Scrape all of that goodness out of the bowl and into a pretty serving dish.

For the muffins

2 packages Jiffy corn muffin mix

2 eggs

1 can creamed corn

2/3 cups milk

1 pint blueberries

Preheat the oven to 400 degrees. Line 2 muffin pans with paper muffin holders or grease with butter. In a bowl combine corn muffin mix, eggs, creamed corn, and milk. Whisk until fairly smooth; it will be lumpy and chunky, don’t worry about that. Next, add the blueberries and mix the batter together. Pour the batter into the 24 muffin cups filling each about half way. Try not to overfill them. Let the mixture sit for about 3-4 minutes before placing the pans into the preheated oven. Bake for about 15-20 minutes until golden brown or a toothpick inserted into the center comes out clean. Remove from the oven and let sit for about 5 minutes. Serve with honey butter. Enjoy!


The Best Meatballs….Ever

I know that may seem like a bold claim however…I need you to make these, end up eating until you feel your stomach fighting back…eating and eating even though you should have stopped 5 meatballs ago but they are just so good, and moist and you cry out:

“I

Can’t

Stop”!!!!

Ok, maybe your reaction will not be as severe with equal parts love and discomfort as mine was,

however,

I pretty much promise you will love them all the same. If not, there is no money back gaurentee…Just puttin it out there….

Here’s what else I love about meatballs, other than the fact that they are delicious,

You can make a ton, eat some now, eat some tomorrow, and freeze the rest for other quick meals in the future.

I know what you’re thinking

She’s a genius. How does she think this stuff up???

I am here for you.

So, again, go put the kids to bed, or if you are desperate like I usually am when attempting to make dinner, go put on another Dora or Diego or Veggie Tales…whatever the kids are into nowadays (Duck Tales is my personal fave…Woohoo) and give yourself about 15 minutes (ok maybe 20) to create something the stuff that dreams (and wife/mom of the year awards) are made of 🙂

The What

2 lbs Ground Meat (I used beef but feel free to experiment)

1 cup bread crumbs with Italian Seasoning ( or you could dry about 5-6 slices of bread, throw it in the food processor with 2 tsp basil and 2 tsp parsley)

3 Eggs

1 Cup Parmesan Cheese

1 tsp salt

1 tsp pepper

1/2 medium onion (finely chopped)

4 medium garlic cloves (finely chopped)

The How

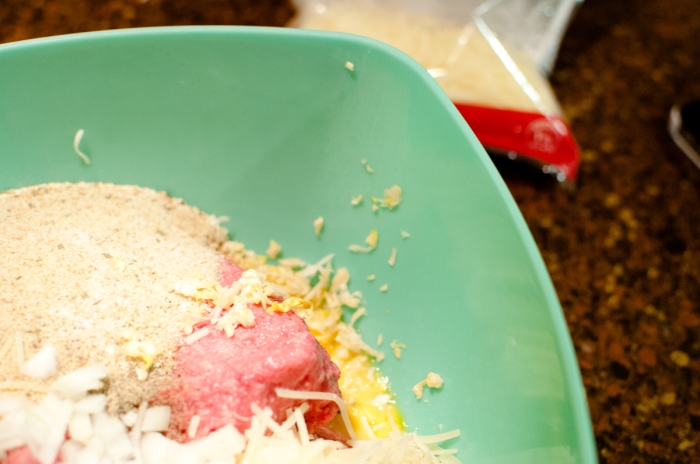
Pull out another brightly colored bowl and get to work…

Crack 3 eggs into it (please dig out your shells, no one likes crunchy bits in their meatballs)

Whisk the eggs vigorously. Like your life depends on it. Let’s try to keep the eggs in the bowl though

Throw in your 2 lbs of ground meat. Does that not look a little like the state of Louisiana???

Add your breadcrumbs…

and your cheese. Please refrain from pulling some of the cheese out and eating it. remember, it is touching raw meat…

use your beautiful hand to sprinkle in your salt…

Add your pepper. Take a big whiff of the aroma that is working its way up to you. Sneeze. Move on.

Finely chop your onions so that you don’t have to dig through each meatball picking them out before your son will actually eat them.

And add it to the lower left quadrant of your bowl.

Chop your garlic with the fun garlic roller/chopper that you bought on a whim at Target and have used like every other day since….

and, now the fun part….

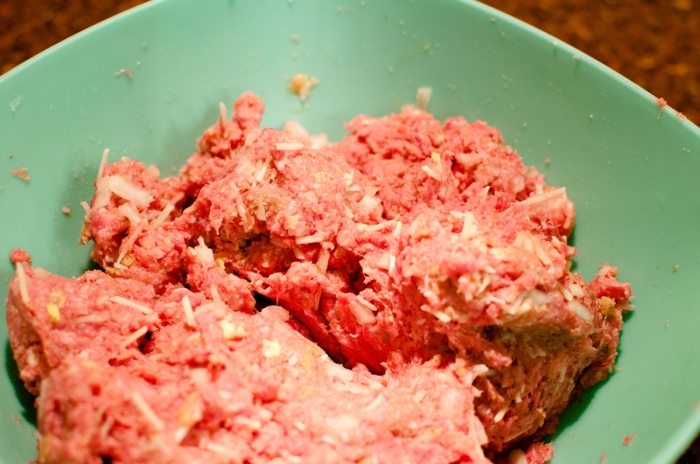
Dig in. No not with a fork…this is raw meat here people! With your hands. Squish it, mix it; do whatever you have to do to get it all mashed together.

Go grab your cookie scooper (who woulda thought that sucker had another amazing purpose), and scoop out portions of the meat mixture, roll it into beautifully formed balls and….

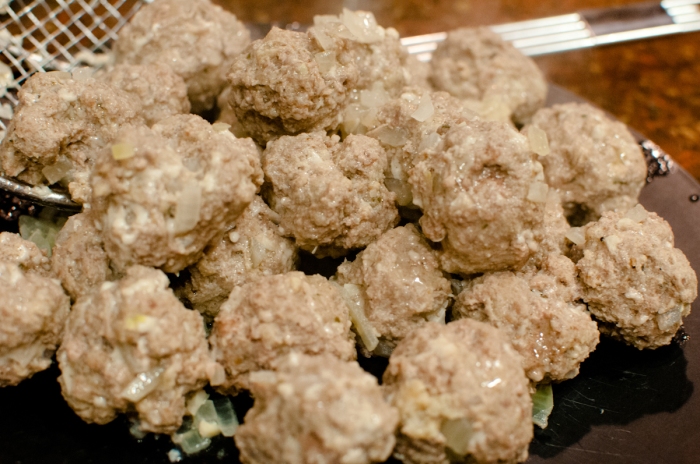
throw them on a plate. I got 50 meatballs in total out of 2 lbs of ground beef. You may want more or less depending on the size that you prefer – that’s what she said – note to self, too many reruns of The Office lately….

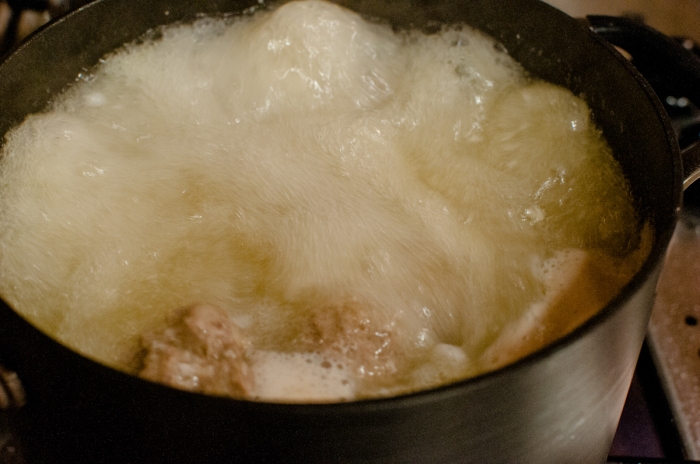
Throw about half of them into a pot of water that you so diligently started boiling after you finished mixing the meat and thoroughly washed your hands and before you started “ball rolling”…maybe that is where the phrase came from…

**please don’t throw them in but rather gently place with a spoon or spatula. Boiling water hurts when it splashes your face**

Boil them for about 5 minutes

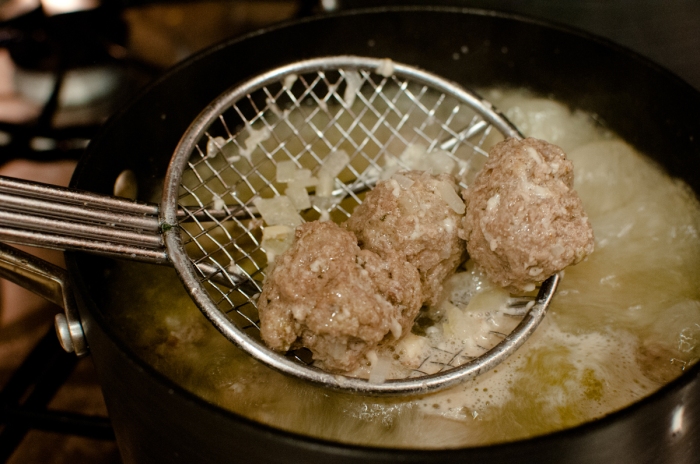
then retrieve them with a slotted spoon and set aside. You will lose some of the onions. Please don’t be sad. It’s a part of life. Onions come and go….

When you are done boiling all of the balls, let them cool for a bit, stick them in a few bags and throw them in the freezer.

Or, add them to some marinara and throw it over spaghetti.

Or, put them in the crock pot of bubbling bbq sauce that your just made (Oh don’t you worry, that ones a comin’).

Or, just sit down at the table with a fork, no need for a knife, and eat….and eat….and eat until your insides feel all warm and fuzzy.

No need to thank me, that’s what I’m here for 🙂