Chicken Salad Stuffed Avocados

So I was sitting at the table the other night trying to plan out a menu for the week….

Side note, I just realized that I start all of my ramblings with “So…”. I’ll work on that. Just so you know, I say rad a lot too…just warnin ya, in case we ever had a conversation and you were thinking, “I wonder if she knows that she says ‘rad’ a lot”… I know.

I like it 🙂

Anyway….I was sitting making my menu and subsequent grocery list, which I usually make the morning that I go shopping and end up leaving my house 2 hours later than I want because I am too indecisive and can never decide on what I want to make for dinners….and….

I decided to have street tacos from a rotisserie chicken on one night (they are yummy…and chicken was on sale). But since I knew we wouldn’t finish all of the meat, I needed another meal.

Hence Chicken Salad. But, I wanted something more fun than sandwiches….

So I decided I would stuff an avocado….or as I like to call them…God’s gift to me!!!

I like stuffing stuff into other stuff. It makes me feel creative.

If you don’t like avocados…then we simply can’t be friends

Just kidding 🙂

Then you can just make sandwiches. They will still taste rad!

Ok, are you ready to make seriously the best chicken salad ever????

Here. We. Go.

Ingredients

1/2 rotisserie chicken, cooked and picked clean

1/2 cup mayonnaise

1/4 cup red seedless grapes, halved

1 apple, diced

1/4 cup raisins

2 large stalks celery, diced

A couple of dashes of pepper

2 ripe avocados

Love (I put extra in all my dishes) 🙂

Preparation

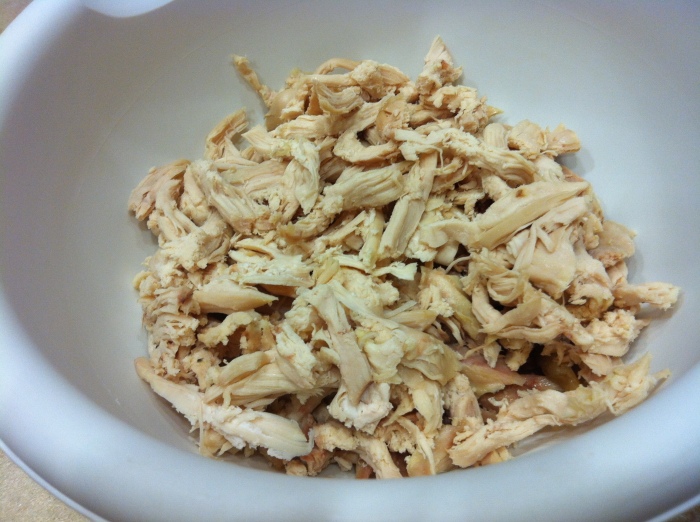
Channel your inner cave man and pick apart the rotisserie chicken until there is not a speck of meat left on it. I always feel a little more primal after this step, like I could go throw a spear or catch a fish with my bare hands.

Survivor here I come!!!

Throw half of the meat into a bowl. (or if you really wanted to, double the recipe and use the whole thing).

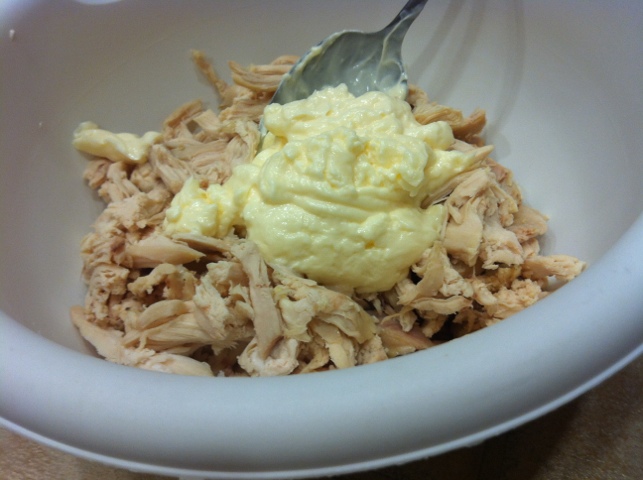
Add a dollop of mayonnaise (by the way, I am assuming that a dollop is about the same as 1/4 cup so that’s how I came to my measurement).

I started with 1 dollop and then added more based upon my desired creaminess.

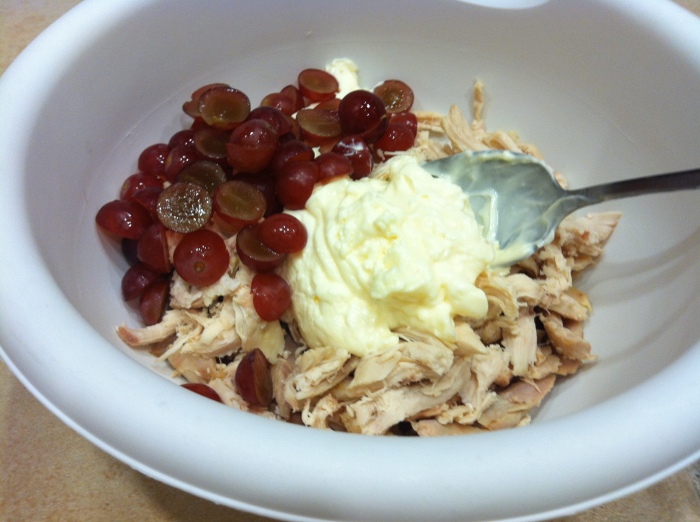
Cut grapes in half and throw them on in. Don’t get crazy on me or you may just lose some under the fridge. Maybe we should gently toss…

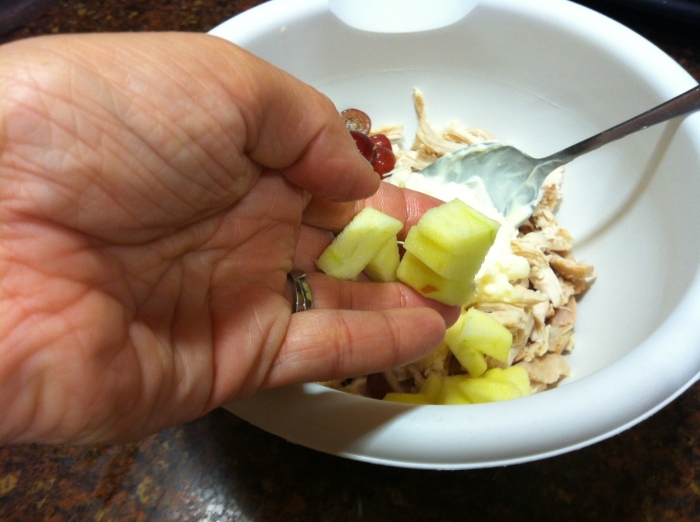
Peel and dice the apple. Add it in with your nearly model perfect hand…

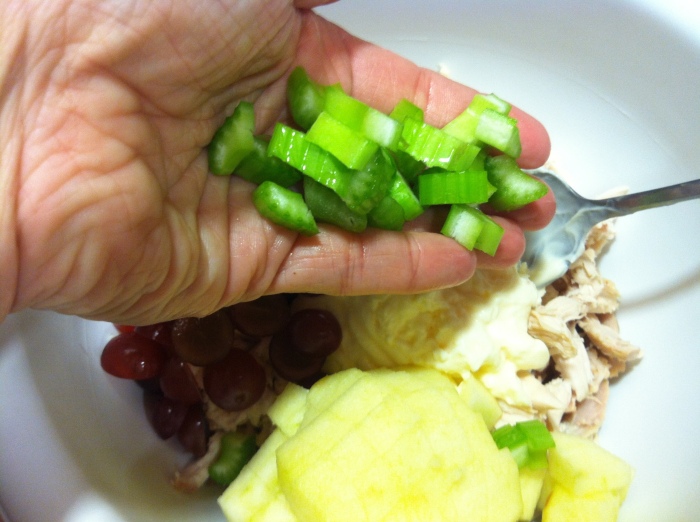
Cut the celery in half lengthwise then dice into teeny tiny pieces and add it to the mix.

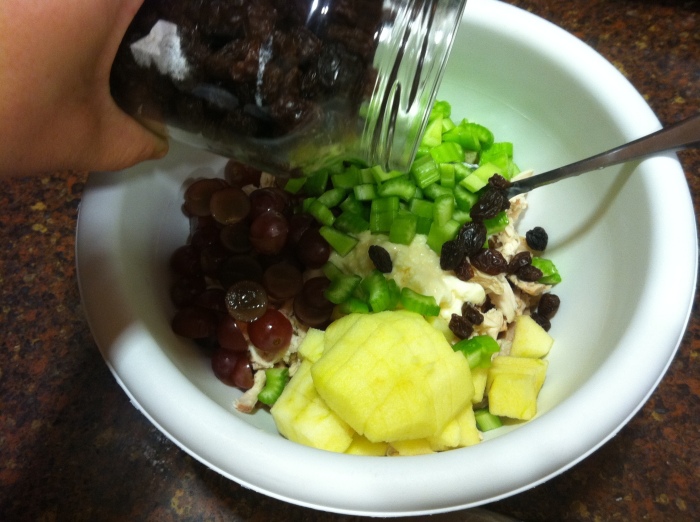
Gently toss your raisins into the bowl …

Another side note…do you have a store where you can buy raisins in bulk??? If not then you need to move! Or maybe just find one. I bought these at Sprout’s and they are the best raisins I have had in my entire, super, duper long life!!!

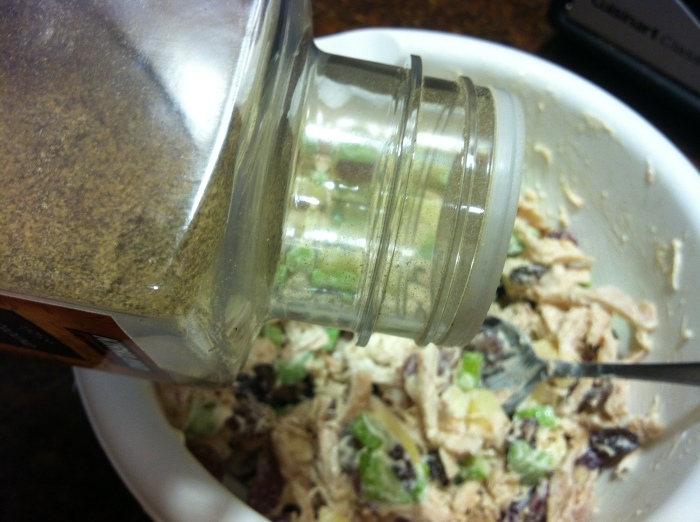
Sprinkle a little pepper and…

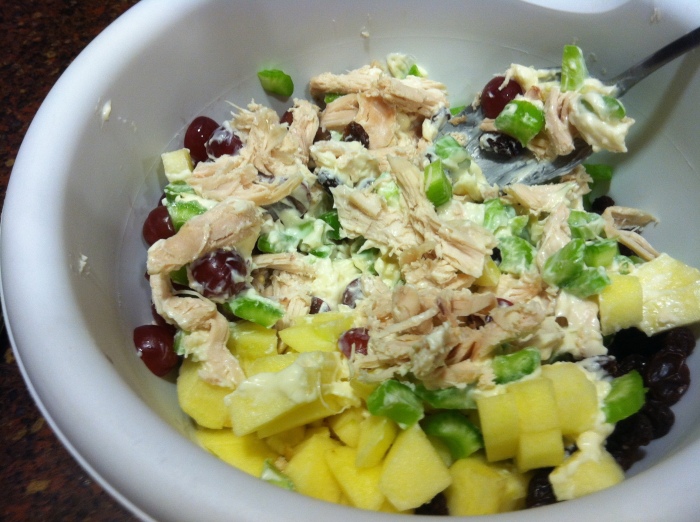
Mix, baby mix….

Add more mayo if you like it creamier and dreamier.

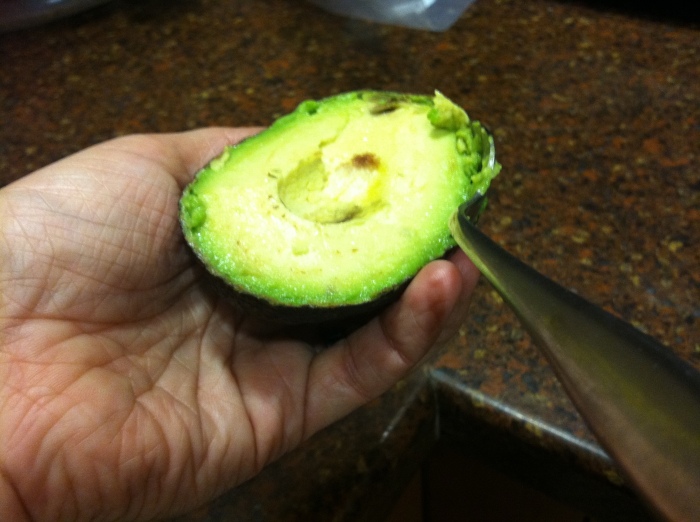
Slice the avocados in half length wise. Insert a spoon in between the yummy green and the not so yummy skin and *gently* dig out the good stuff.

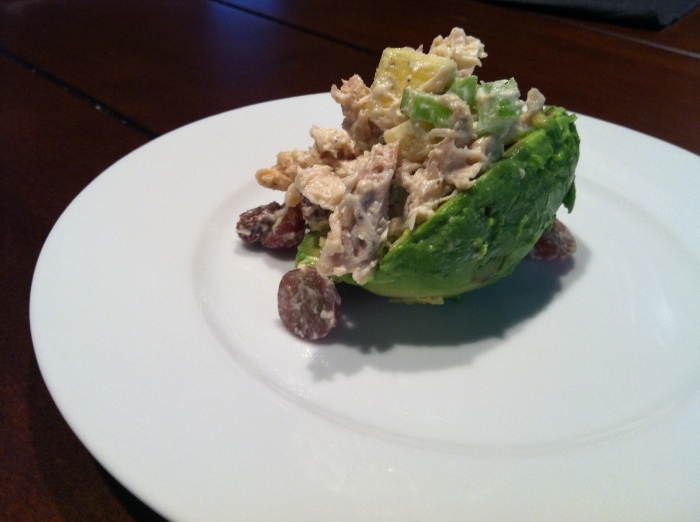
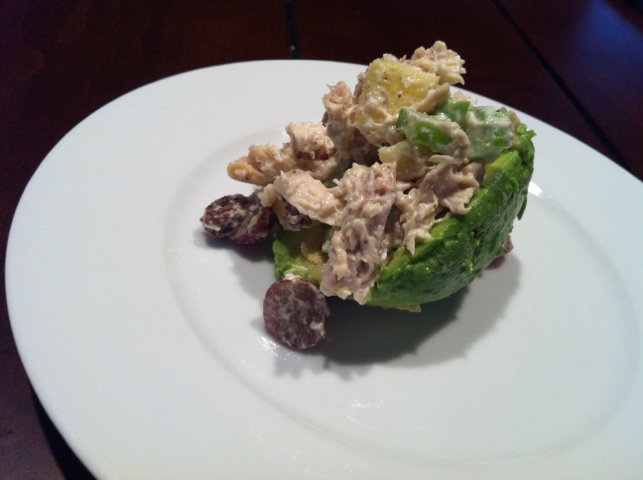
Put the avocado half on a plate and throw the chicken salad mixture on top making sure to stuff as much into the center as you can.

Now the important part….

Devour!!!

Hope you enjoy all of them one as much as I did!!!

Here’s the handy-dandy printable form

Ingredients

1/2 rotisserie chicken, cooked and picked clean

1/2 cup mayonnaise

1/4 cup red seedless grapes, halved

1 apple, diced

1/4 cup raisins

2 large stalks celery, diced

A couple of dashes of pepper

2 ripe avocados

Preparation

Pick all meat off of the chicken and throw half of it into the bowl. Add mayo. Cut grapes in half length wise. Dice apple and celery. Add grapes, apple, celery and raisins to the chicken and mayo. Sprinkle a dash of pepper and mix until all ingredients are coated with mayonnaise.

Cut avocados in half length wise and carefully scoop out the inside, removing it from the outer skin. Place avocado on a plate and stuff with chicken salad mixture.

Makes 4 generous servings.
Cheesy Garlic n Herb Biscuits

So last night was one of those nights where I forgot to take out the chicken for the chicken noodle soup that we were supposed to have…dinner time was creeping up on me and I was kinda over what we had in the fridge and pantry…

So basically I really didn’t want to cook and REALLY wanted Chipotle. Mmmmmm…

But…it was a little nippy out (southern California nippy, but nippy nonetheless) I know, I am cold weather wimp

and, I am really trying so hard to stick to this whole budget thing….

So I improvised. We had chicken-less noodle soup with veggies and chicken boulion (I got that chicken flavor in at least) and just to make life interesting and see if I could recreate one of those yummy restaurant finds that I have never forgotten about – Cheesy Garlic n Herb Biscuits.

Hallelujah; thank you Jesus for Cheese and Biscuits and any and all combinations of the two.

I’ll be honest. I didn’t have a ton of faith in them at first. It was a defitnite last minute throw together with whatever i had on hand.

But hot digity! It was one of the best throw togethers we have had yet!

I’m going to warn you….be prepared to throw caution to the wind because when you smell these…

ooh la la!! you will eat them in multiples!

Are you ready?

Here. We. Go.

You will need:

2 Cups Bisquick

3/4 -1 Cup Shredded Cheese

1 Tsp Chives

1 Tsp Minced Garlic

2/3 Cup Milk

You will do this:

Preheat the oven to 450.

Grease a 12 cup muffin pan and set aside.

In a bowl, combine Bisquick, cheese, chives and garlic. Slowly add milk into the dry ingredients stirring constantly. The dough will get quite thick and you may have to use your hands to finish mixing it all together. Get dirty.

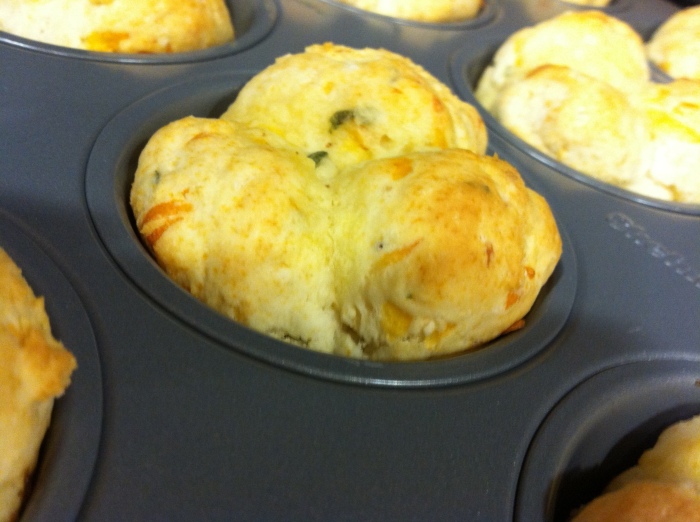
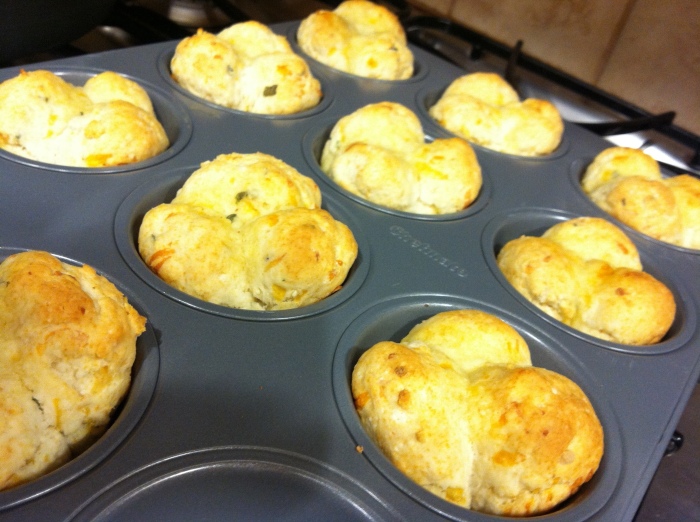
Roll the dough into small balls and place 3 into each cup of the muffin pan (so 36 balls in all; 3 in each cup just for those of you who are like me and need super duper specific instructions).

Bake for 8-10 minutes. Remove from the oven. Salivate.

Salivate some more.

Devour!!!!

Sorry for the lack of pics…like I said; it was one of those nights, a throw together dish….

I will never let it happen again 🙂

I hope you enjoy!!!

Oh and PS…I used cheddar and chives, but get creative!!! Mozzarella and basil or oregano. Maybe pepper jack and minced jalapenos. The possibilities are endless!!!

20120123-230517.jpg

So Easy Spanish Rice

So I don’t know if this is technically Spanish rice….I mean what really makes Spanish rice Spanish rice?

Please don’t answer that and make me feel dumb for not really researching anything before I posted this blog.

Thank you.

So I guess I really should have called this “So Easy Jamie’s Spanish Rice”, but that is just a mouthful.

That’s what she said.

Tee Hee. I couldn’t help myself.

So, I think you will enjoy it anyway, even if the origins are unknown and the ingredients don’t hold any validity.

Just say you love me and we will move on (that’s what I ask my husband to do all the time. Although I think there is a “you’re right dear” in there somewhere)…

I started toying around with this idea after buying rice in a packet or box at the store. I wish I could say that my motives were derived from my desire to feed my family much healthier, non-packaged or highly processed, over salted food, but alas, they were really not.

My quest for saving a buck was the true force. Health is an added bonus!!!

Yippee for saving money AND being healthier. Who knew that the world could work that way?????

Enough rambling….On with the recipe….

Ingredients:

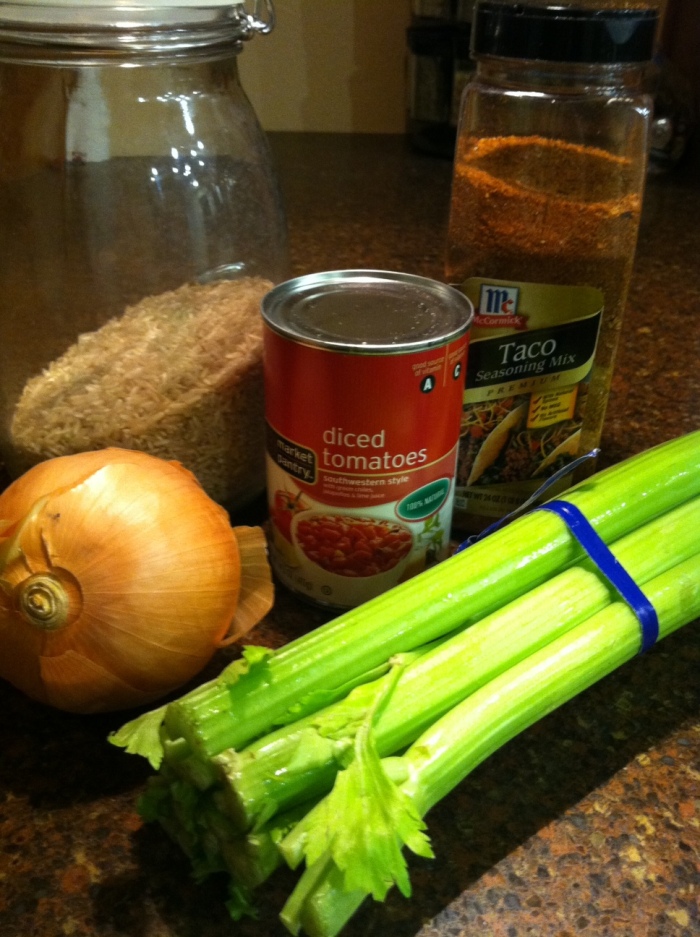
I apologize for this picture in particular…I really need to just have my husband teach my how to use that darn camera…

2 Cups Rice

4 Cups Water

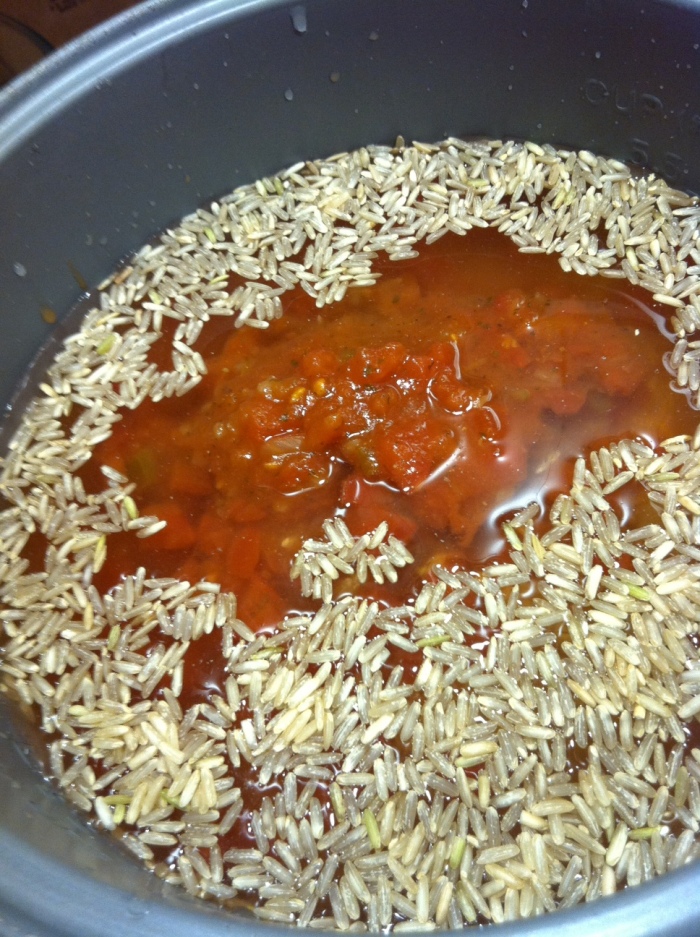
1 Can Southwest Style Diced Tomatoes

2 Tbsp Taco Seasoning

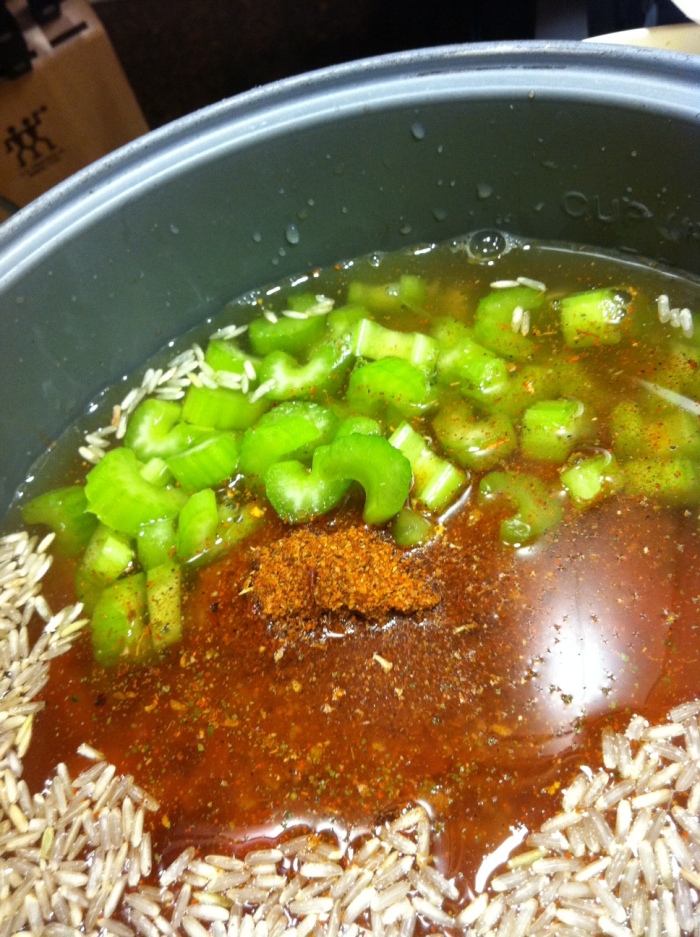
2 Stalks Celery (please use the neon green variety…does that picture not make it look like I went shopping in a radioactive field???)

1 Onion

This is how you do it:

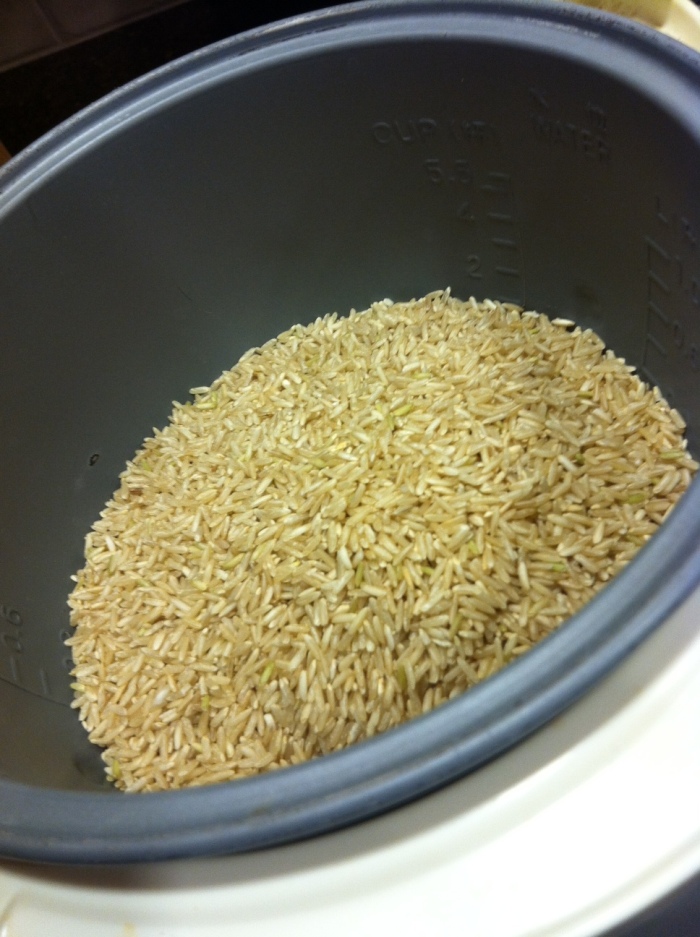
Get out your handy-dandy rice cooker with flowers on it (don’t worry if yours doesn’t have flowers it will taste ok, mine just came from an Asian market and for some reason it has flowers on it…) oh and if you don’t have one at all, you could always use the slow cooker or a pot on the stove

Pour in the rice… I used brown, long grain rice cause it was on sale!!! you can use whatever you want 🙂

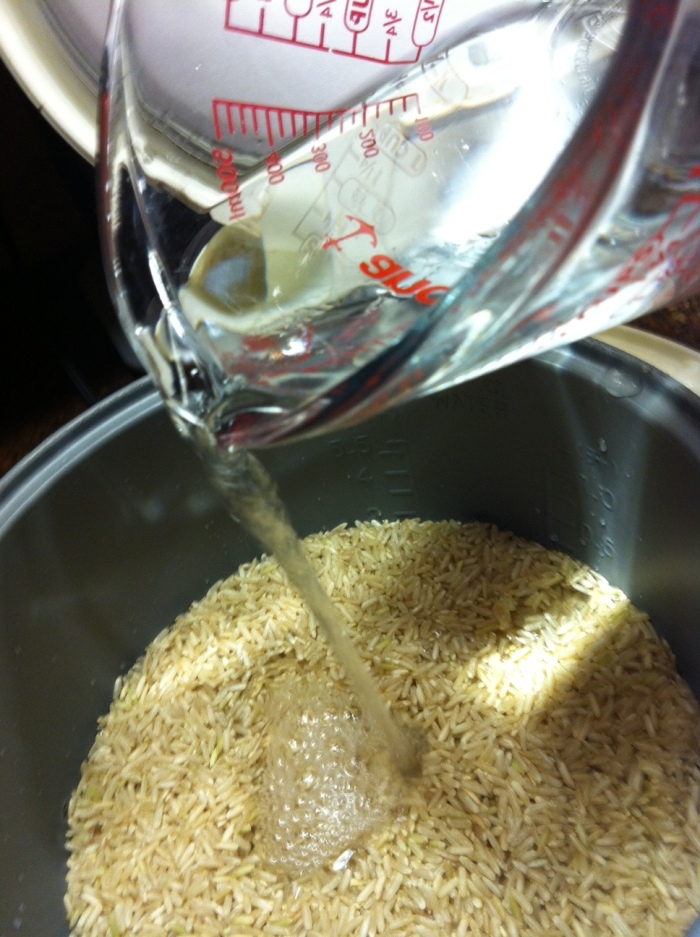
and the water…

and the tomatoes…

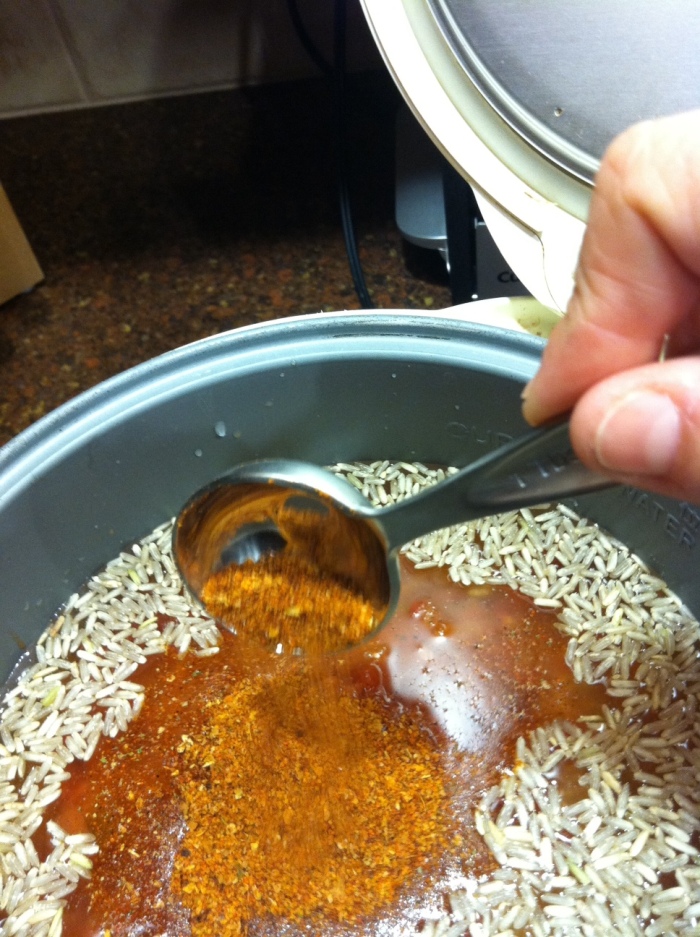
the taco seasoning… (if you don’t have taco seasoning here is a good recipe that I use all the time for tacos, fajitas, rice…you name it!! Taco Seasoning

Chop some of that radioactive celery and throw it in…

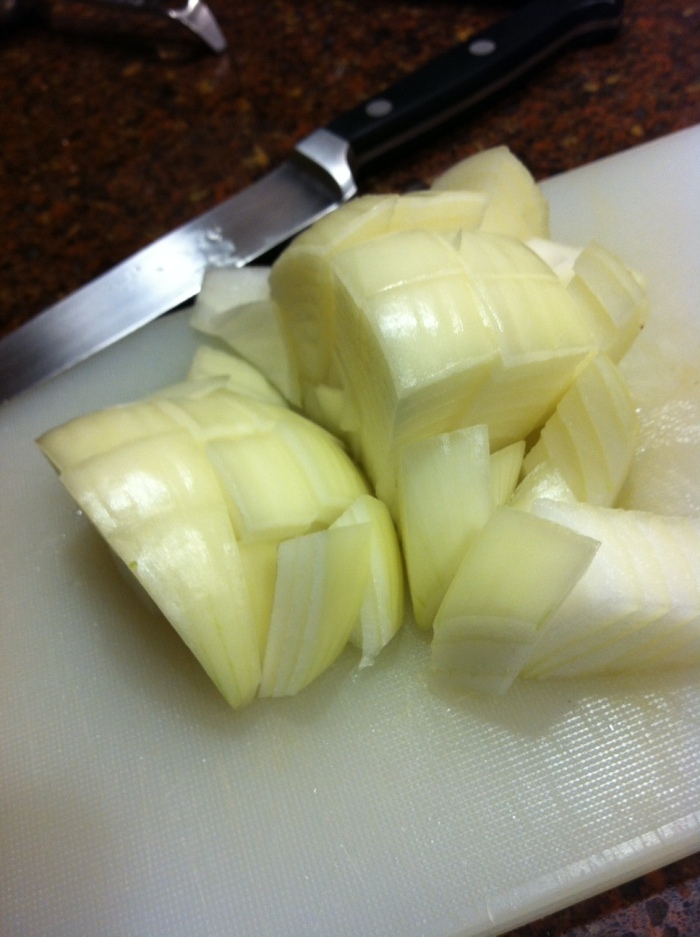
Chop some onion…cry….throw it in the cooker

Now here is the had part…

Push the cook button on the rice cooker and wait!!!

I told you it was hard…well it’s hard for me to wait for anything because I have the same level of patience as my 3-year-old son, but if you are not in fact like me, then this might not be the most difficult step.

When it’s all done…

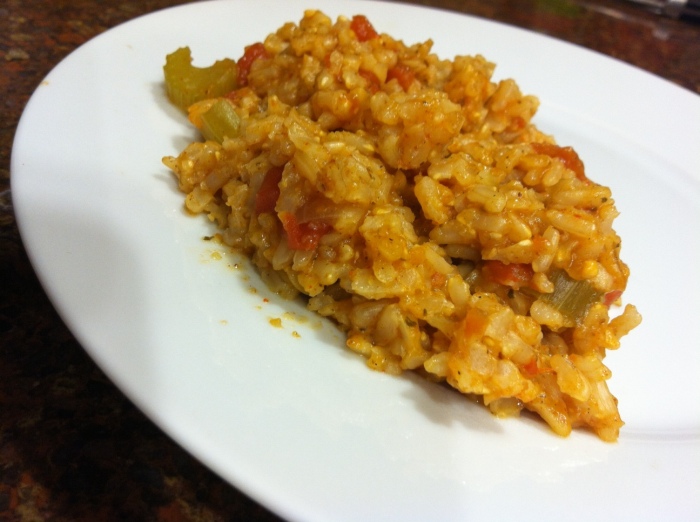
Eat it because it is amazing. And you have been waiting for it for so long…. 🙂

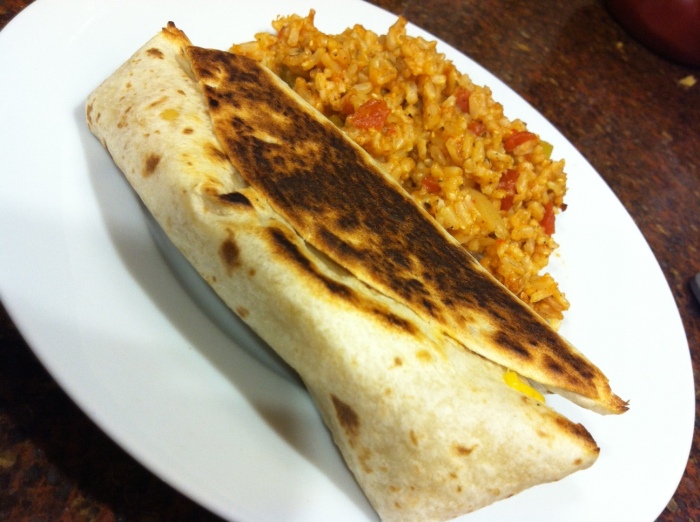
I made some super yummy grilled bean and cheese burritos too. They were delicious. And easy. and cheap. The triple threat.

Finished product…

Happy Cooking!!!

Printable Version

Ingredients

2 Cups Rice

4 Cups Water

1 Can Southwest Style Diced Tomatoes

2 Tbsp Taco Seasoning

2 Stalks Celery (please use the neon green variety…does that picture not make it look like I went shopping in a radioactive field???)

1 Onion

Preparation

Chop onion and celery into bite size pieces. Pour all ingredients into a rice cooker. Turn to cook. Serve with something yummy.

If you don’t have a rice cooker, pour all ingredients into a pot on the stove. Cook on high until boiling. Cover and reduce heat to low or medium low until rice is tender. Usually about 30-45 minutes.

Reinvent Your Leftovers

Ok. Raise your hand if you eat leftovers….and I am not talking about the yummy leftover spicy chicken chipotle pasta that you indulged in last night at Cheesecake Factory.

I am talking about eating last night’s food again. And again. And again until it’s gone.

I’m not a waster and I absolutely abhor throwing away food so my family gets to eat meals until they disappear.

Boring! I know. But, in an effort to quell familial unrest and uprising, I have started to get creative.

And here is the beauty…you can too!!!

Are you ready? Here is what you need:

Last nights leftovers
An Imagination

Here is my example:
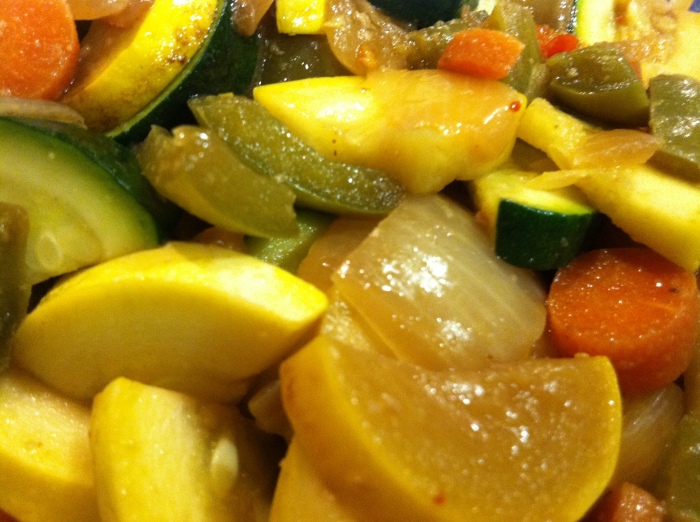
Last nights veggie stir fry that I really don’t feel like eating again cause its just not that great reheated.

20120113-210111.jpg

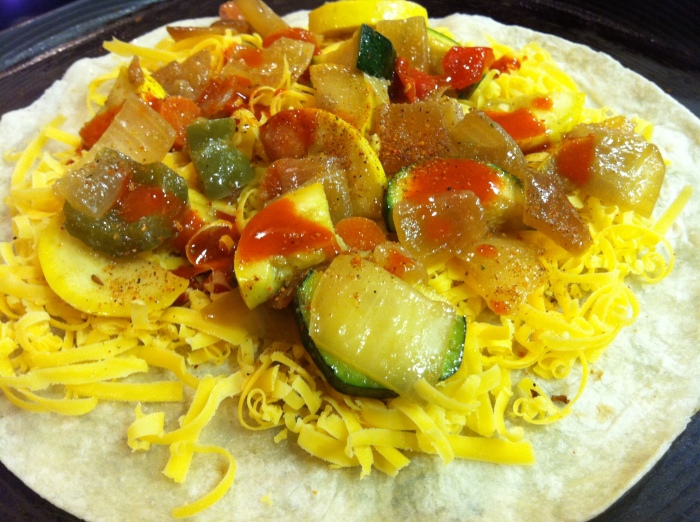
Add some cheese, fajita/taco seasoning, tortillas… (and if you are me….lots and lots and lots of Tapatio)

20120113-210126.jpg

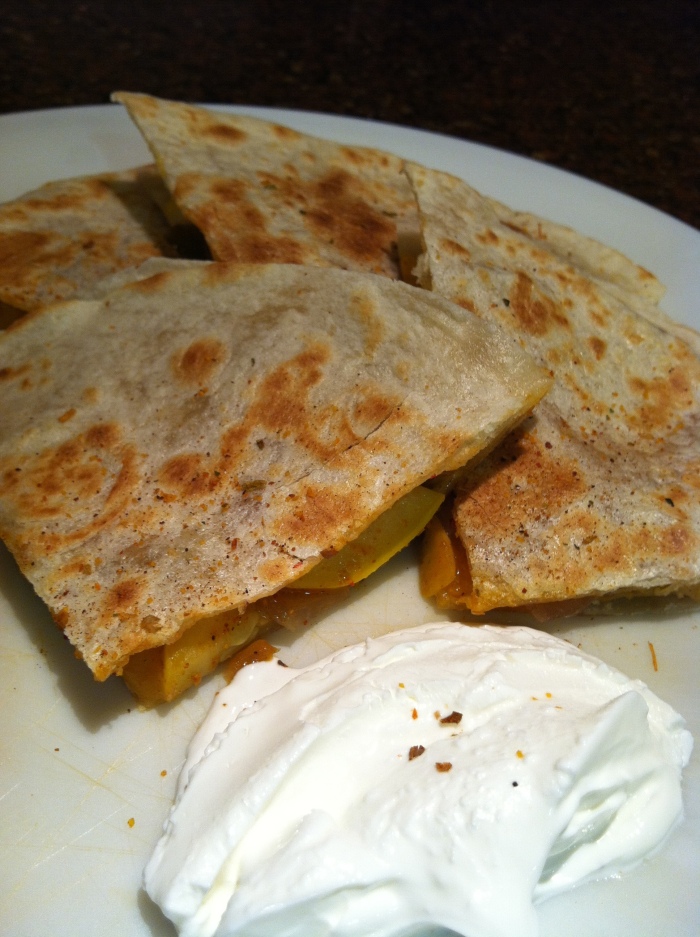
and some sour cream and you have a fajita quesadilla!!! That. Just. Happened!!!

20120113-210150.jpg

It was delicious by the way 😉

I plan meals for the week and intentionally plan some meals using the previous nights leftovers. Here are a few examples of “reinventions” that you could use:

Turn last nights Chili into:
– Taco meat
– Burritos
– The base for Tamale pie
– Filling for Stuffed Bell Peppers

You get the point right?

Ooh another one of my favorites that’s sooooo easy – make meatloaf and mashed potatoes one night and use them the next night with some cheese and frozen veggies for Shepard’s Pie.

Seriously, get creative and you will be amazed at not only how much money you can save on groceries but at how much your family will adore you even more.

You might even be able to get your husband to take out the trash without asking!!!  (I haven’t taken the trash out in….I don’t even remember how long!!! I know I have an amazing husband!)

Or get the kids to go to bed without a fight!!!! Could there be such a world????

Have fun reinventing your leftovers, and please, If you have any great “reinventions”, comment and share them with us 🙂

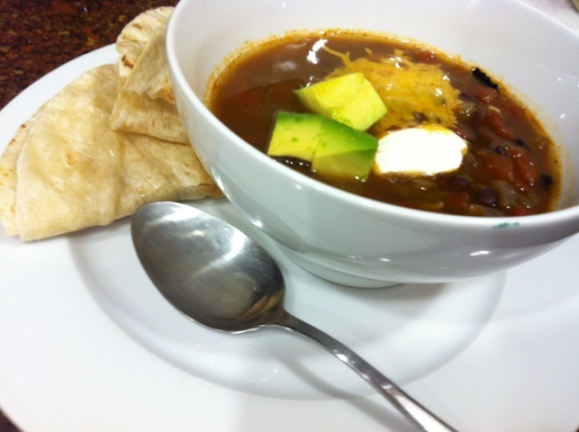
Slow Cooker Black Bean Soup

20120109-202912.jpg

Ok, first off….I need to apologize for two things…

One. After falling asleep in my 3 year old’s bed whilst trying my darndest to get him to sleep, I was awoken to my 9 month old screaming; apparently he was having a nightmare that did not want to end immediately. So, I fell asleep in my bed holding him, all the while dreaming of writing this post for you.

It was supposed to be up, right here, for you all, last night.

It wasn’t. I’m sorry.

Two. I need to say I am sorry for the quality of these pictures. While my husband is an amazing photographer, I am not. When the camera is around, I can sort of take pictures, however, when he is not, and the lens has been detached from the body, I don’t go near it. Hence the not-so-pretty pictures you see before you.

After all this, can we still be friends? I have a slight feeling you might want to after eating this soup!!!!

This was an off the cuff, on a whim meal.

Every few months I take my family on an extreme whirlwind eating adventure that lasts about a week. Inevitably, we always find our way back to “normal” (whatever that is), but for that week, they are forced into whatever I make for them.

This time, it was not veganism, or raw, or eating only meat (I know, I know…my quest for the best way to eat does not make any logical sense….) this time, I decided I wanted the challenge of trying to not only live off of $60 a week for groceries, but actually make really yummy food.

We’ll see how long this one lasts.

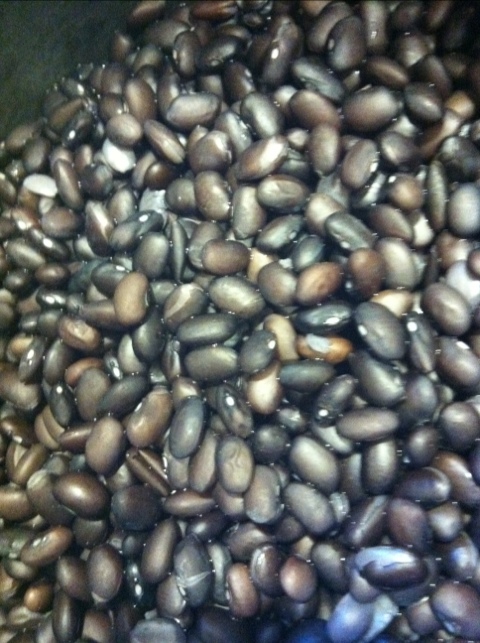
Nonetheless, I decided to go and buy black beans in bulk; they were like 1.69 a pound!!! And this beautiful goodness is what I ended up with.

Wait for it…..

Here’s what you do

Rinse beans and soak in a large pot overnight or for about 5-6 hours

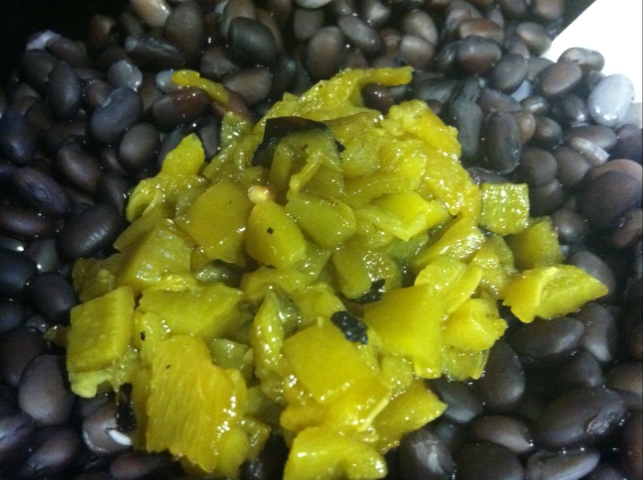
In a slow cooker (set to low), throw your pre-soaked beans…

The Ortega Chili’s….

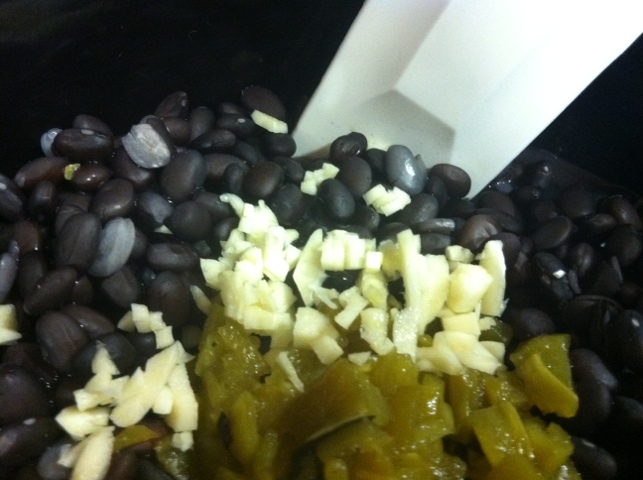
The Garlic….

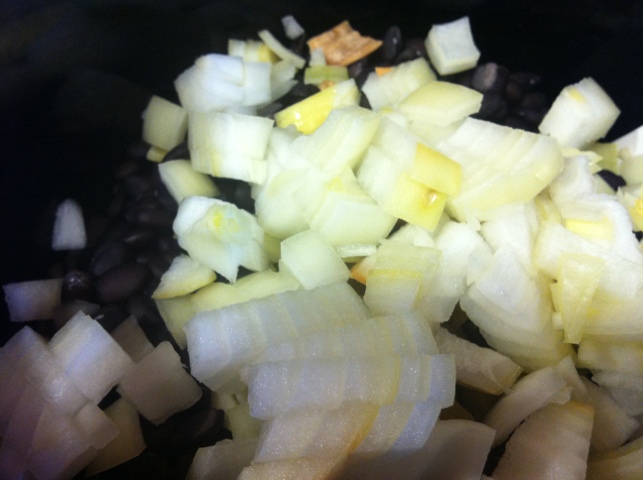
The Onions…

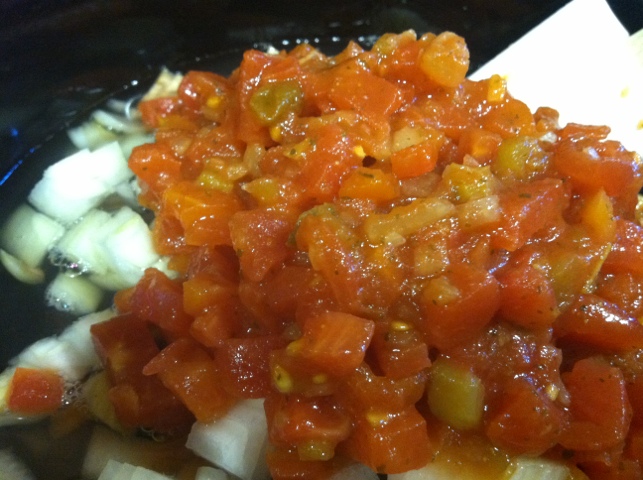
The Tomatoes and Water…

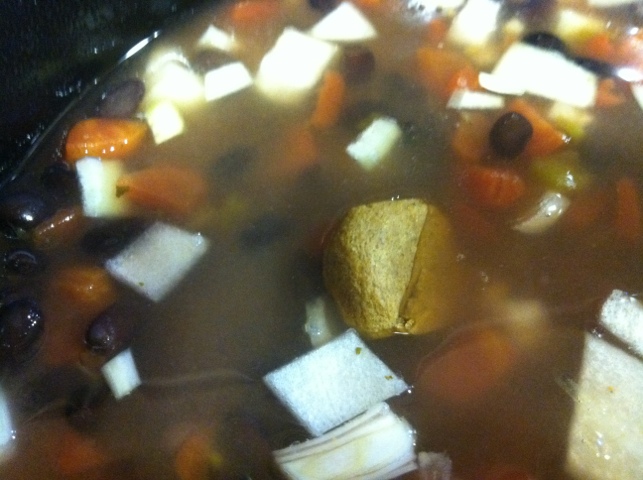
The Broth or Bullion Cube….Wow this picture is exceptionally bad…

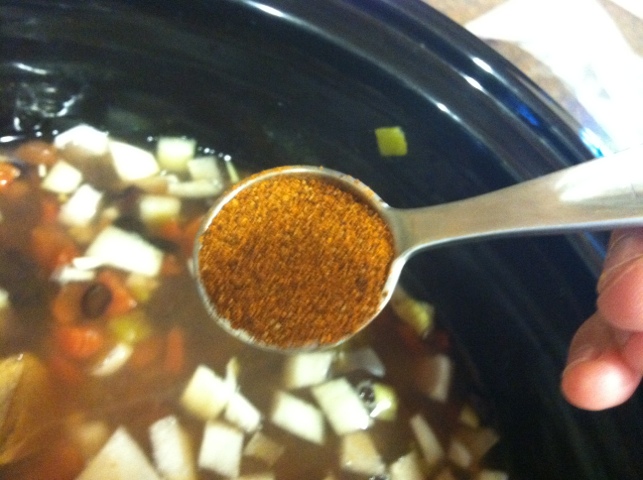
Blurry Chili Powder…

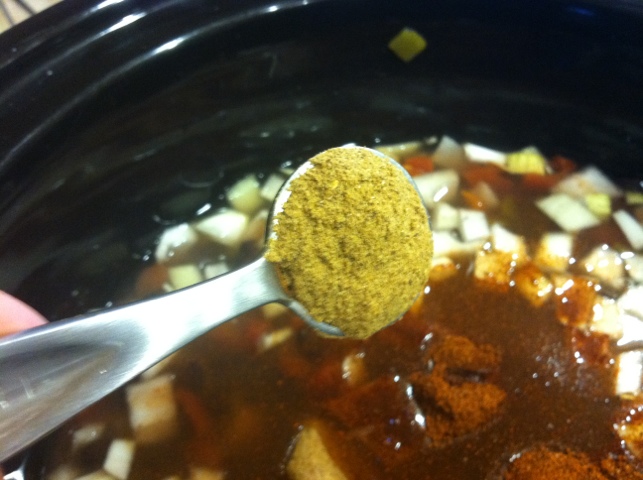
Cumin….

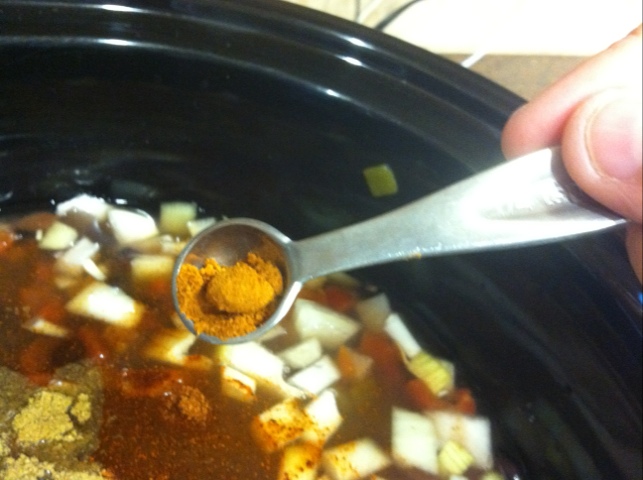
Cayenne Pepper…

The Salts and Pepper (forgot the picture…oops)

Now give it a stir, put the lid on and go about your life for about 8 hours (or 4 if you set the crock put on high)

Come home, take in that incredible aroma that just wafted up to your nose….

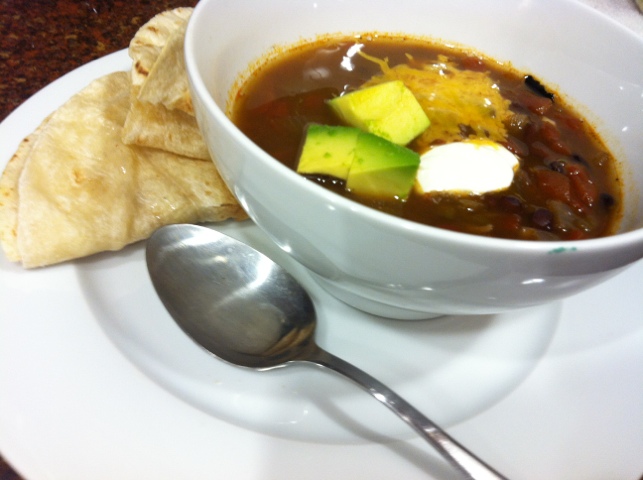
Ladle out some soup….

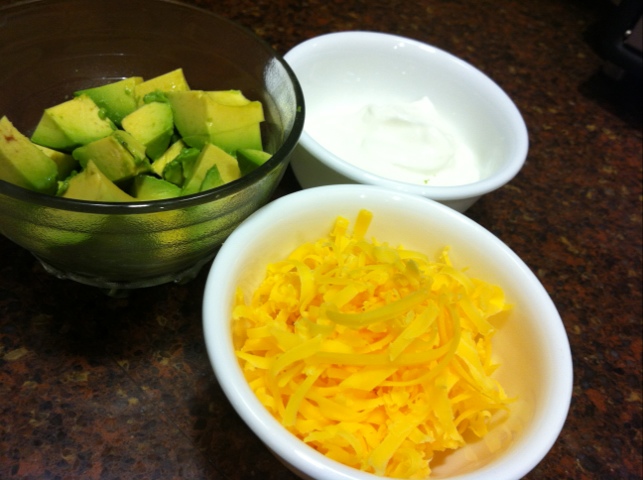
Add your garnishes

and perhaps a warm tortilla with butter….

Sit down, relax and enjoy every minute of that soup! You slaved all day after all…

Ingredients:

4 Cups Dried Black Beans

1 4 oz Can Diced Ortega Chilis

1 12.5 oz Can Southwestern Style Diced Tomatoes or Ro*Tel®

5-6 Cups Water

1 Can Chicken Broth (or one extra cup of water and 1 Chicken Boulion Cube)

1/2-3/4  Onion Diced

2 Large or 4 Small Garlic Cloves Chopped

2 Heaping tsp Chili Powder

1 Heaping tsp Cumin

1/8 tsp Cayenne Pepper

1/4 tsp Black Pepper

1/4 tsp Seasoned Salt

1/4 tsp Garlic Salt

Avocado

Sour Cream

Grated Cheese

Preparation:

Soak Beans overnight or for about 5-6 hours.

Place all ingredients into a crock pot (set to low for 8 hours or high for 4).

If most of the water has been reduced, you can add another cup or two and simmer for another 30 minutes.

Serve with Garnishes and Enjoy!

Blueberry Corn Muffins with Honey Butter

I adore cornbread. I like it dense, I like it dry; in a muffin or a loaf; melt some honey butter over the top of it and I feel my life is complete. Bring me some cornbread and you have a friend for life; whether you like it or not. Use this information wisely.

For the following reasons, I have decided that you need to make this recipe tonight:

1. The incredible flavor and love of life that it will bring you

2. The sheer ease

3. (This is my favorite, well maybe not, I think number 1 is; this definitely is number 2. Well it really is number 3 but….you know what I mean.) It costs so little to make!!!

4. If you have any leftover you automatically have breakfast!!

Incredibly tasting and cheap to prepare recipes that can be used for multiple meals bring me joy…

I bring the following information to you with only one warning – Do not take these out of the oven when anyone else is around! They will be gone forever and you will not get to eat anything but the crumbs of half of one after you have fought your way through the crowd. I know because this happened to me.

Those were the best crumbs of my life…

Ok, are you ready? Here. We. Go.

For the honey butter

Ingredients

1 stick butter

1tbsp honey

In a bowl, throw an entire stick of butter and 1 tbsp of honey….difficult I know….

Set them aside for a bit so that the butter softens

Mash em and mix em together until well blended and creamy. Scrape all of that goodness out of the bowl (with your…..you guessed it! Your rubber spatula) and into a pretty serving dish.

For the muffins

Ingredients

2 packages Jiffy corn muffin mix

2 eggs

1 can creamed corn

2/3 cups milk

1 pint blueberries

Preheat the oven t

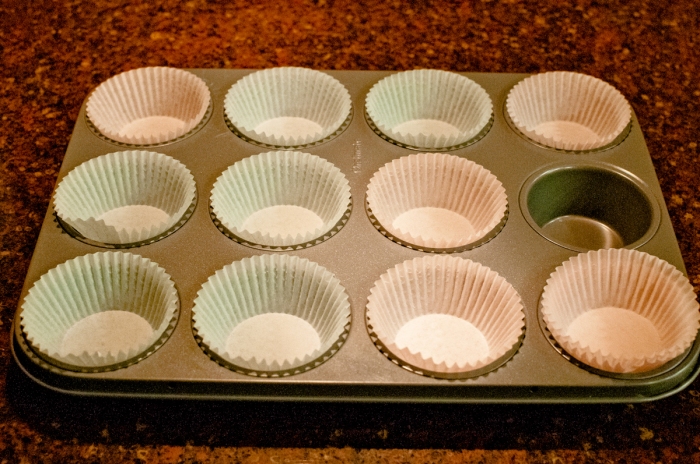
Preheat the oven to 400 degrees. Line 2 muffin pans with paper muffin holders or grease with butter. Or be like me and realize after putting paper muffin holder thingies into one pan that you don’t have enough to do both so you grease the second one.

My son though that right before I took this picture was a good time to rearrange the paper cups…

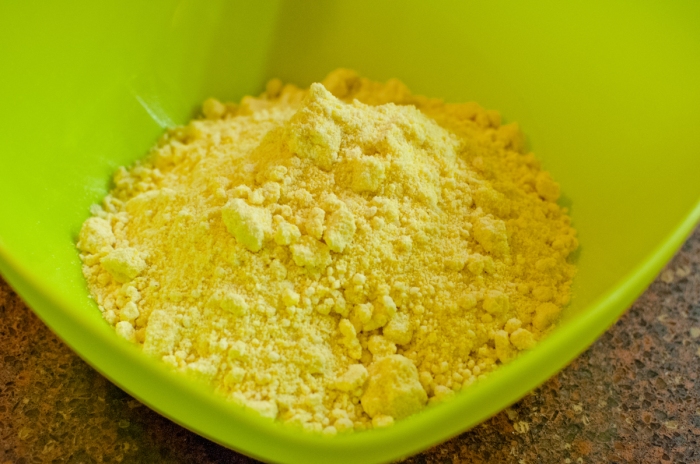
In another one of your obnoxiously colored bowls combine corn muffin mix

eggs

creamed corn

and milk

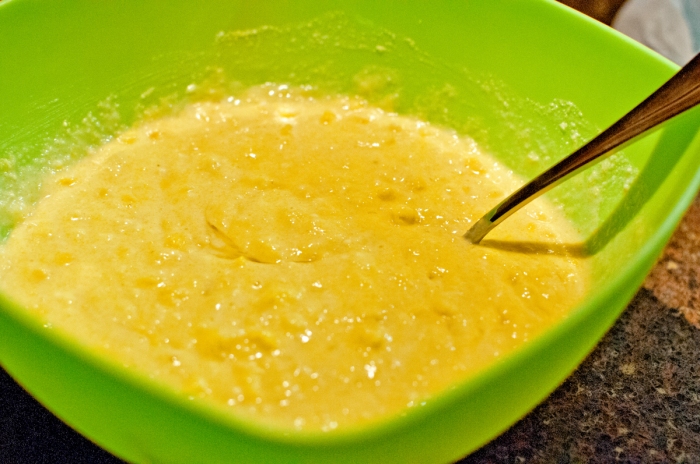
Whisk until fairly smooth; it will be lumpy and chunky, I mean, how smooth can something be when you have whole corn kernels in it??

Next, add the blueberries and mix the batter together

Reserve a handful of blueberries for your son who loves them so much….and that alone makes you smile….

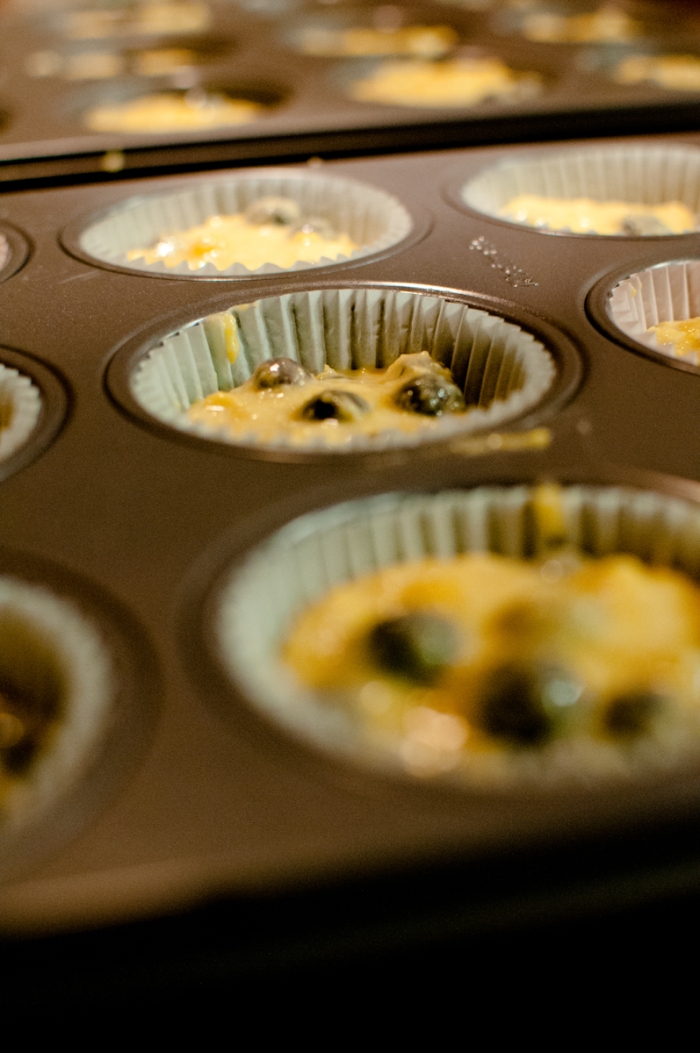
Pour the batter into the 24 muffin cups filling each about half way. Try not to overfill them, but do make as much of a mess as possible and drip a ton on the pan itself so that it will be extra hard to clean later. Let the mixture sit for about 3-4 minutes before placing the pans into the preheated oven.

I couldn’t decide on pictures so you get both…

Practical…

Artsy….

Bake for about 15-20 minutes until golden brown or until a toothpick inserted into the center comes out clean. Remove from the oven and let sit for about 5 minutes. Serve with honey butter.

This is where I would have taken a picture of the muffins as they came out of the oven, however, we had people over and I was talking…boy do I like to talk….and the picture taking was overlooked as I tried to fight them off before the muffins hit the table.

I hope you understand….

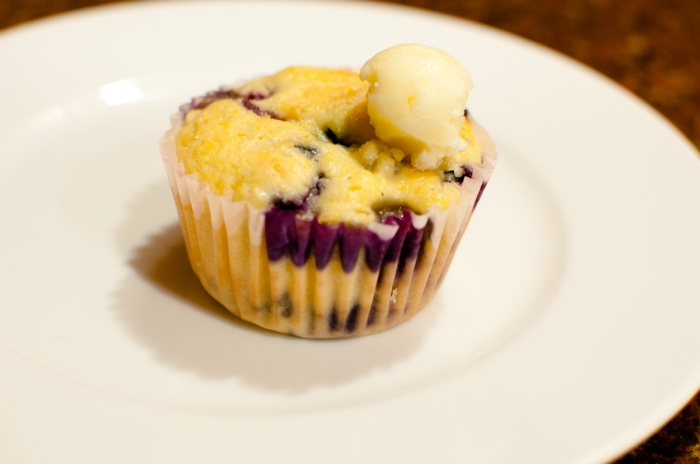
Now, sit with a muffin in front of you for a few minutes. Take in the beauty. The aroma…. Now, dig in and enjoy. You deserve it.

** I have done 2 things differently in this post and would greatly appreciate feedback. 1) I put the photo instructions/descriptions above the photos rather than below them. 2) I have placed printable instructions below (by printable I mean you can highlight, copy and paste into a word doc without the pictures. Unless you really want the pictures, then by all means copy, paste and print the whole thing).

For the honey butter

1 stick butter

1tbsp honey

In a bowl, throw an entire stick of butter and 1 tbsp of honey. Set them aside for a bit so that the butter softens. Mash em and mix em together until well blended and creamy. Scrape all of that goodness out of the bowl and into a pretty serving dish.

For the muffins

2 packages Jiffy corn muffin mix

2 eggs

1 can creamed corn

2/3 cups milk

1 pint blueberries

Preheat the oven to 400 degrees. Line 2 muffin pans with paper muffin holders or grease with butter. In a bowl combine corn muffin mix, eggs, creamed corn, and milk. Whisk until fairly smooth; it will be lumpy and chunky, don’t worry about that. Next, add the blueberries and mix the batter together. Pour the batter into the 24 muffin cups filling each about half way. Try not to overfill them. Let the mixture sit for about 3-4 minutes before placing the pans into the preheated oven. Bake for about 15-20 minutes until golden brown or a toothpick inserted into the center comes out clean. Remove from the oven and let sit for about 5 minutes. Serve with honey butter. Enjoy!


Sweet n Tangy BBQ Sauce

Have you ever dreamed wonderful dreams of making your own BBQ sauce?

Yes you say???

Well then, you’re not only pretty much a recipe geek like me, but you are in luck!!

I made this for the first time the other night and it came out A-mazing…

If I do say so myself….

It was super easy, I had all of the ingredients, and, I ended up making it in the crock pot!!!!

Could life get any better???

Well, I could think of a few things that would be pretty sweet, but homemade BBQ sauce made my day…my week in fact!

Go get your cowboy boots on, and if you don’t have any (generally not the common attire in Orange County), slippers or flip flops will do, and prepare yourself because you will be salivating before this creation is complete.

** Note, this recipe does not call for bananas; I am just a bonehead and forgot to take them out of the way when setting up the shot. And yes, I do buy the most green bananas on Earth; what can I say, the hubs likes under ripe bananas and I like to make the hubs happy….it’s the little things

Ingredients 

1 cup Ketchup

1/2 cup Apple Cider Vinegar (this is the tangy part; like less tang? Use less Vinegar)

3 Tbsp Dark Brown Sugar (I used light brown cause that’s what I had)

1 Tbsp Yellow Mustard

2 Tbsp Tomato Paste (not shown cause it was kinda an afterthought)

1/2 tsp Black Pepper

1/4 tsp Red Pepper Flakes

1 tsp Salt

1 Tbsp Maple Syrup

1/4 tsp Garlic Powder (another afterthought)

1/4 tsp Chile Powder (and yet another afterthought)

** I doubled the recipe so the pictures may not reflect the accurate measurements**

Actual recipe yields about 1 cup of sauce

Directions

In either a medium saucepan or crock pot, pour Ketchup… If you have not gotten a rubber spatula by now we need to have a talk!

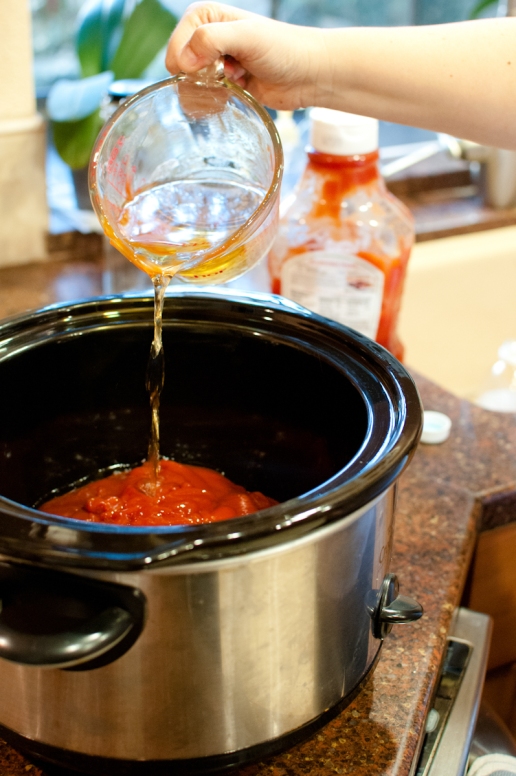
Add the Apple Cider Vinegar

and the brown sugar

Note to self…we are in need of a serious manicure…what the heck happened!

Add the mustard…

and the tomato paste….

and the maple syrup….

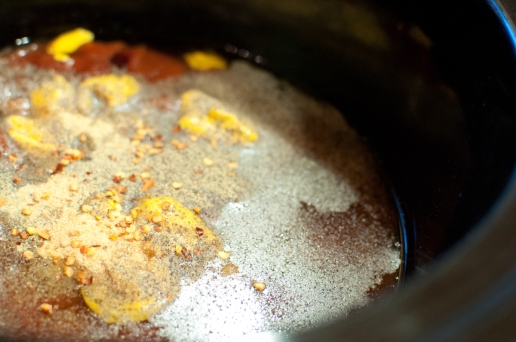
and all of your spices…

Now stir and stir and then leave it for a bit. We want all of those wonderful flavors to mix together. Let it sit over low heat, stirring occasionaly for about 30-45 minutes to let it reduce.

When you feel like you have had enough stirring and reducing and paying attention to something on the stove, take it off, let it cool, then transfer it to an airtight container in the fridge.

or…

If you want to use it now and have opted for the crock pot and need some ideas on what to do with this amazing stuff…

Here you go (again, I am here to take the wonder out of your kitchen adventures):

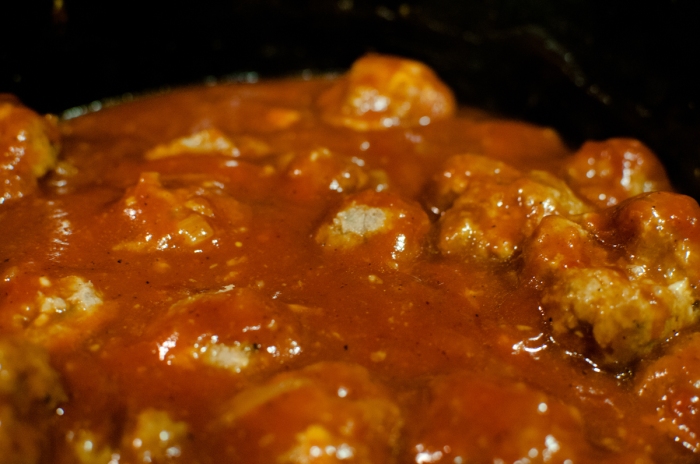
Throw in some meatballs (that’s what I did, Meatball Recipe Here), sausage, rotisserie chicken or pulled pork (eat it alone or make sandwiches)

Make a meatloaf and slather it on the top prior to baking

BBQ burgers and chicken are always wonderful

Add some onions and peppers and put it on top of anything and you will think you have died and gone to heaven!

I hope you enjoy making and eating this goodness as much as I did!!!

The Best Meatballs….Ever

I know that may seem like a bold claim however…I need you to make these, end up eating until you feel your stomach fighting back…eating and eating even though you should have stopped 5 meatballs ago but they are just so good, and moist and you cry out:

“I

Can’t

Stop”!!!!

Ok, maybe your reaction will not be as severe with equal parts love and discomfort as mine was,

however,

I pretty much promise you will love them all the same. If not, there is no money back gaurentee…Just puttin it out there….

Here’s what else I love about meatballs, other than the fact that they are delicious,

You can make a ton, eat some now, eat some tomorrow, and freeze the rest for other quick meals in the future.

I know what you’re thinking

She’s a genius. How does she think this stuff up???

I am here for you.

So, again, go put the kids to bed, or if you are desperate like I usually am when attempting to make dinner, go put on another Dora or Diego or Veggie Tales…whatever the kids are into nowadays (Duck Tales is my personal fave…Woohoo) and give yourself about 15 minutes (ok maybe 20) to create something the stuff that dreams (and wife/mom of the year awards) are made of 🙂

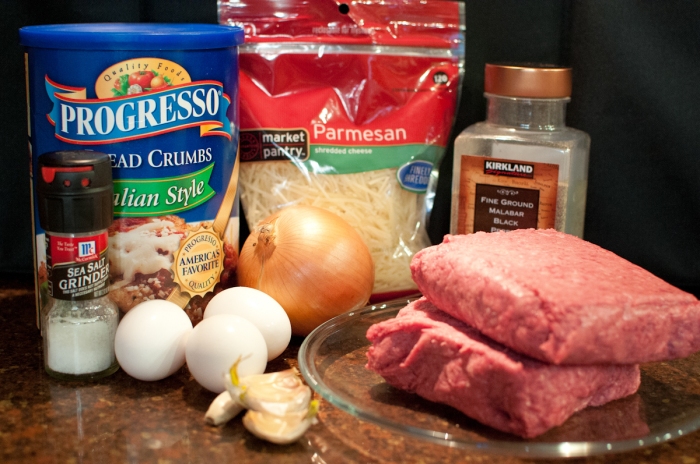
The What

2 lbs Ground Meat (I used beef but feel free to experiment)

1 cup bread crumbs with Italian Seasoning ( or you could dry about 5-6 slices of bread, throw it in the food processor with 2 tsp basil and 2 tsp parsley)

3 Eggs

1 Cup Parmesan Cheese

1 tsp salt

1 tsp pepper

1/2 medium onion (finely chopped)

4 medium garlic cloves (finely chopped)

The How

Pull out another brightly colored bowl and get to work…

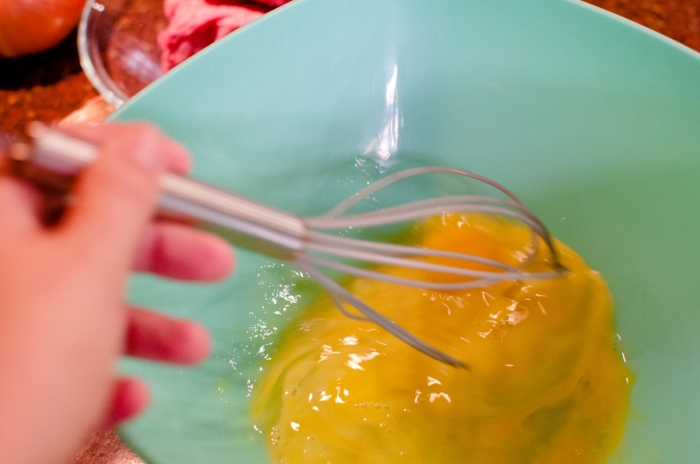
Crack 3 eggs into it (please dig out your shells, no one likes crunchy bits in their meatballs)

Whisk the eggs vigorously. Like your life depends on it. Let’s try to keep the eggs in the bowl though

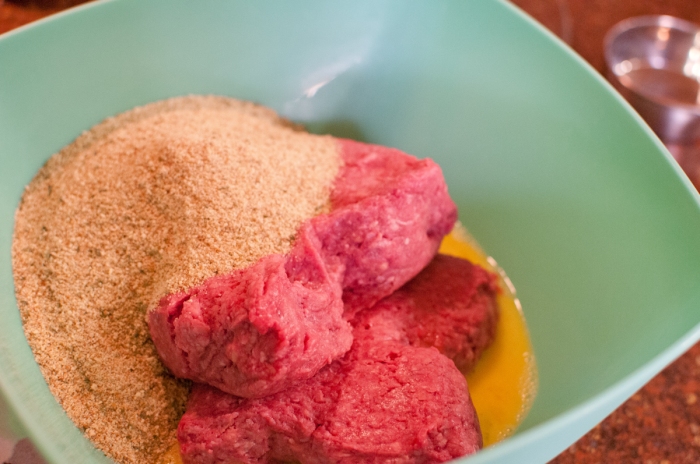
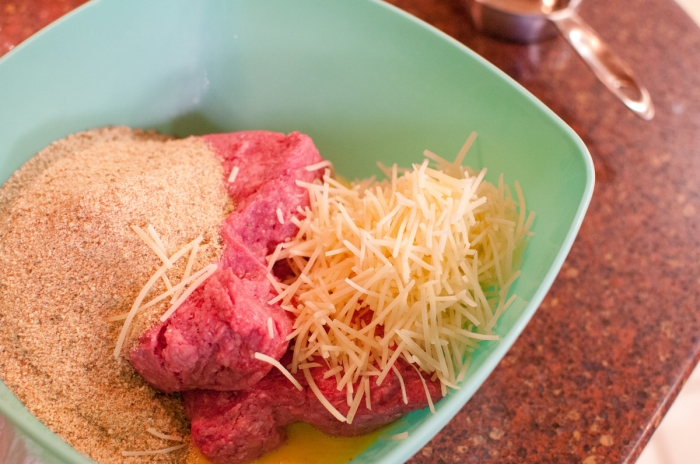
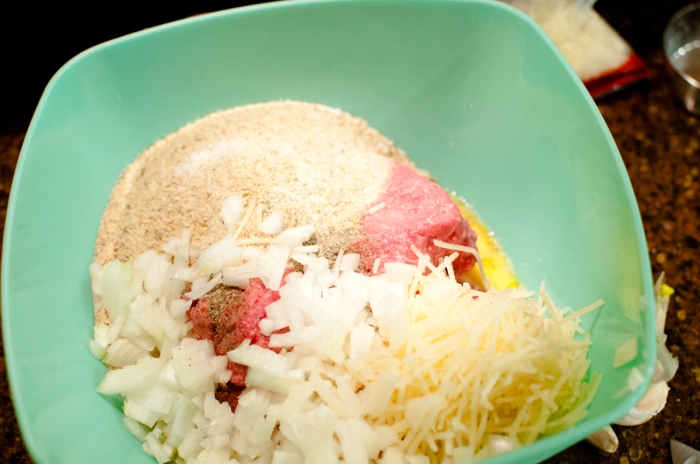
Throw in your 2 lbs of ground meat. Does that not look a little like the state of Louisiana???

Add your breadcrumbs…

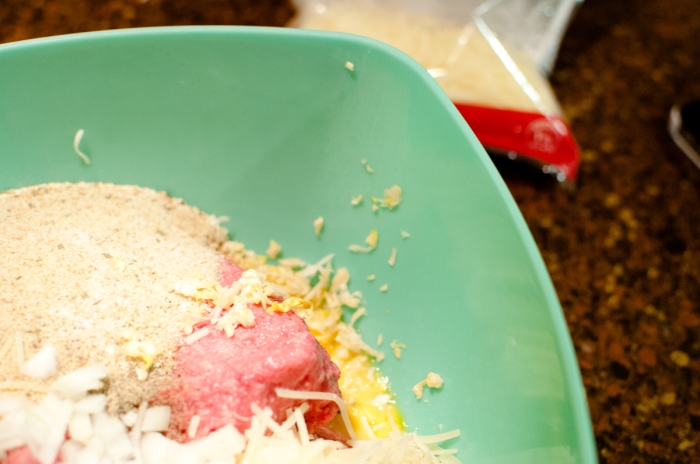
and your cheese. Please refrain from pulling some of the cheese out and eating it. remember, it is touching raw meat…

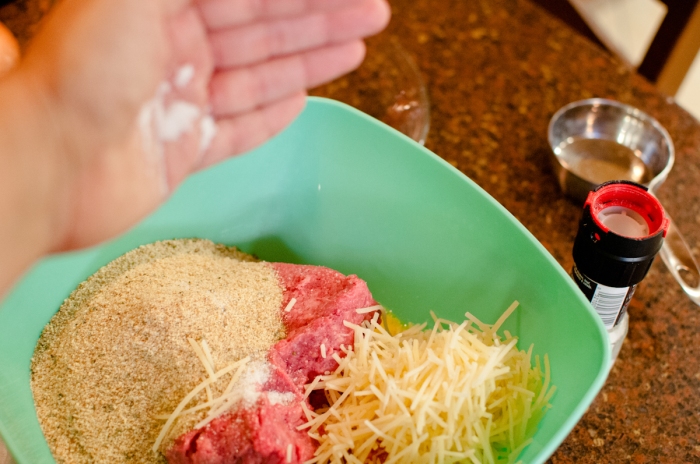
use your beautiful hand to sprinkle in your salt…

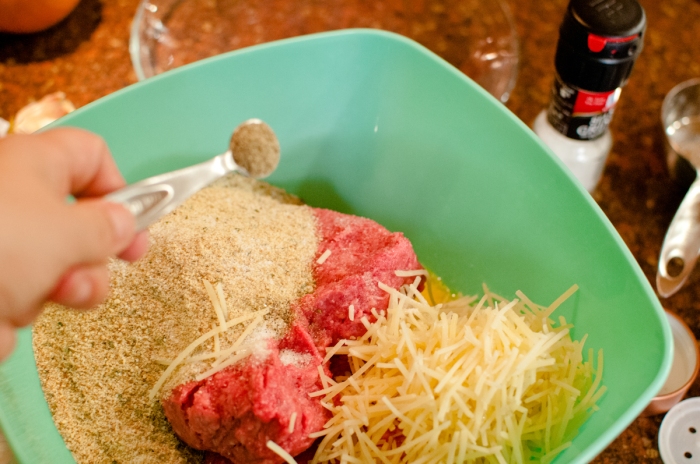
Add your pepper. Take a big whiff of the aroma that is working its way up to you. Sneeze. Move on.

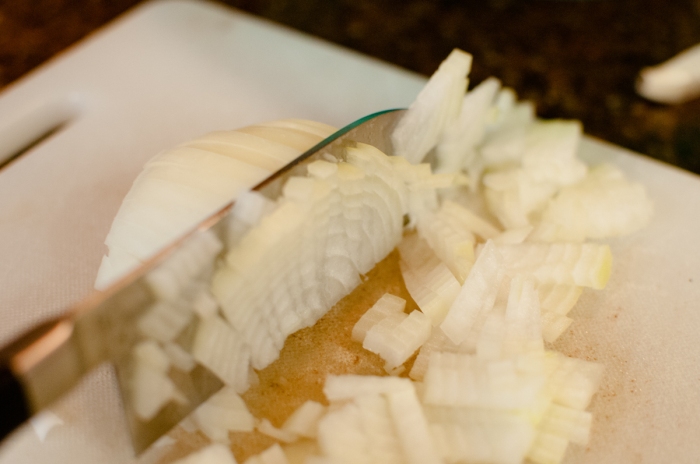
Finely chop your onions so that you don’t have to dig through each meatball picking them out before your son will actually eat them.

And add it to the lower left quadrant of your bowl.

Chop your garlic with the fun garlic roller/chopper that you bought on a whim at Target and have used like every other day since….

and, now the fun part….

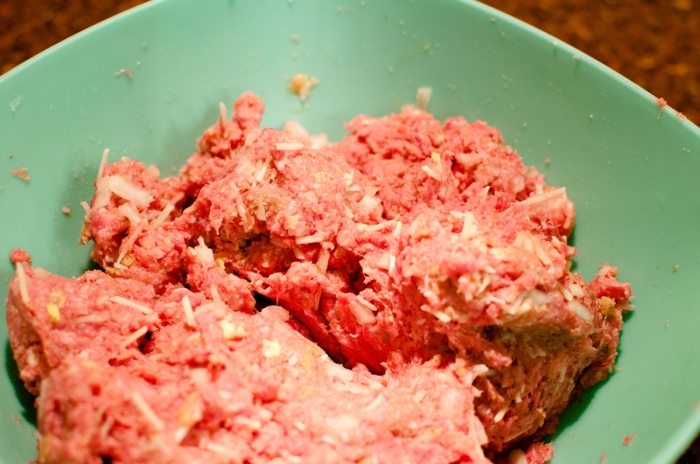
Dig in. No not with a fork…this is raw meat here people! With your hands. Squish it, mix it; do whatever you have to do to get it all mashed together.

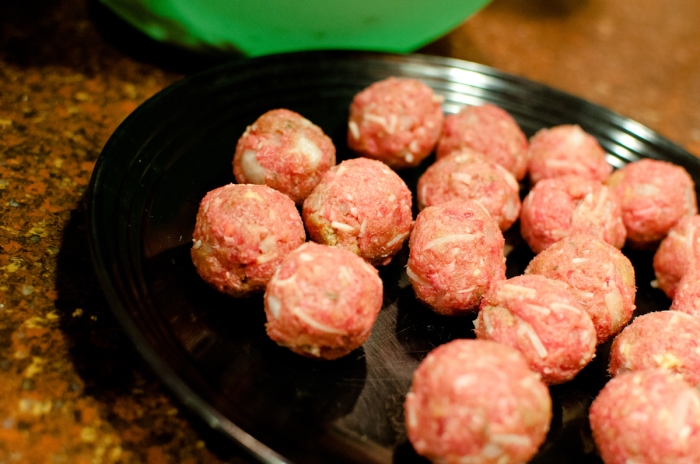
Go grab your cookie scooper (who woulda thought that sucker had another amazing purpose), and scoop out portions of the meat mixture, roll it into beautifully formed balls and….

throw them on a plate. I got 50 meatballs in total out of 2 lbs of ground beef. You may want more or less depending on the size that you prefer – that’s what she said – note to self, too many reruns of The Office lately….

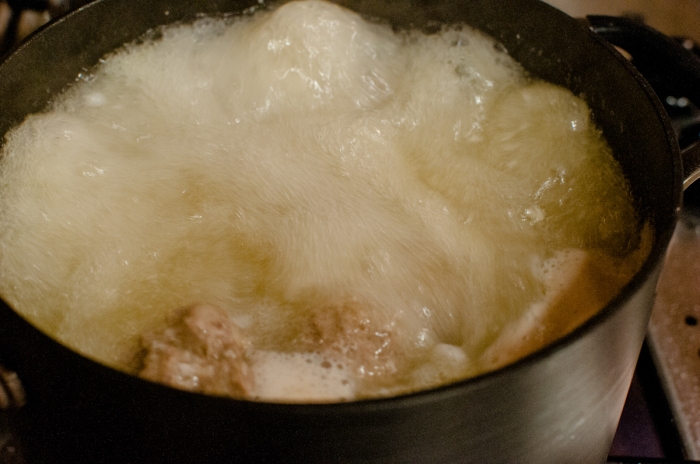
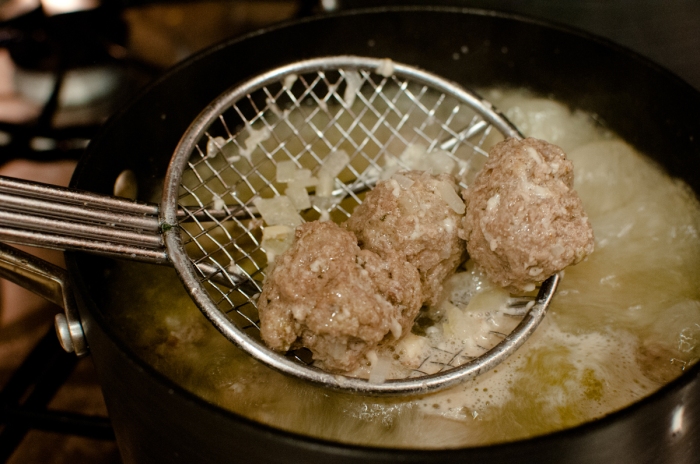
Throw about half of them into a pot of water that you so diligently started boiling after you finished mixing the meat and thoroughly washed your hands and before you started “ball rolling”…maybe that is where the phrase came from…

**please don’t throw them in but rather gently place with a spoon or spatula. Boiling water hurts when it splashes your face**

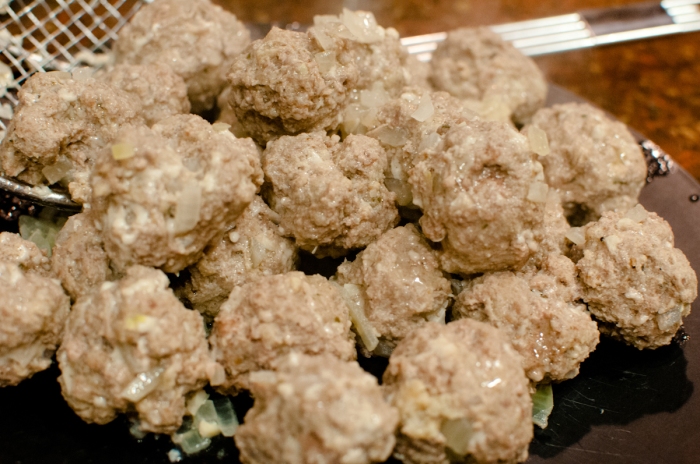
Boil them for about 5 minutes

then retrieve them with a slotted spoon and set aside. You will lose some of the onions. Please don’t be sad. It’s a part of life. Onions come and go….

When you are done boiling all of the balls, let them cool for a bit, stick them in a few bags and throw them in the freezer.

Or, add them to some marinara and throw it over spaghetti.

Or, put them in the crock pot of bubbling bbq sauce that your just made (Oh don’t you worry, that ones a comin’).

Or, just sit down at the table with a fork, no need for a knife, and eat….and eat….and eat until your insides feel all warm and fuzzy.

No need to thank me, that’s what I’m here for 🙂