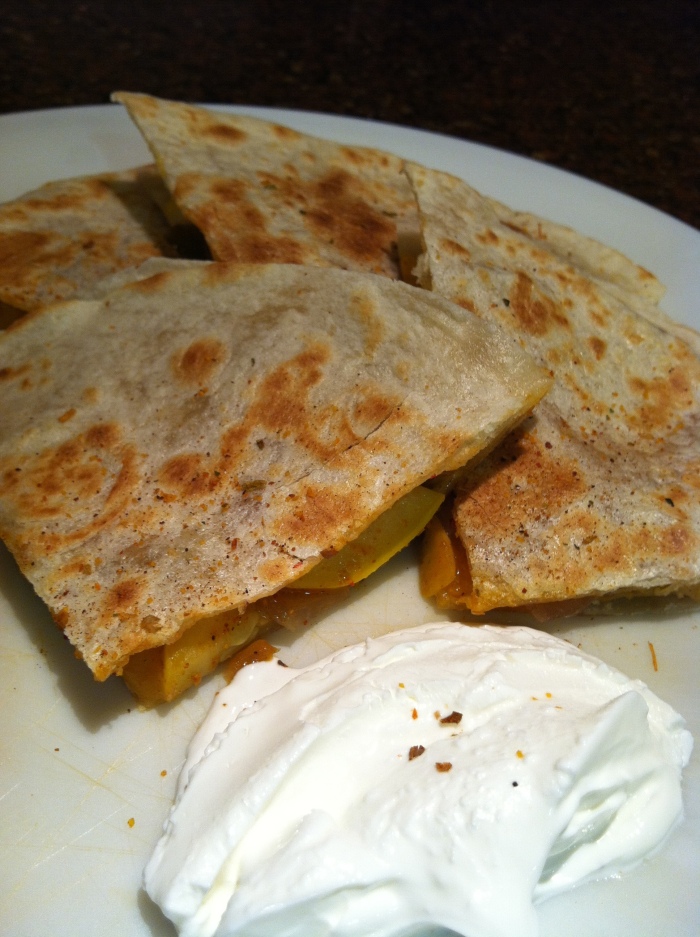
I’m Back – With Beef Stroganoff Might I Add…

Sooooo I know it has been way too long…

Long story short…Hubs left his job, went to Ukraine, came home and I started back to work 3 days a week. Needless to say after all that and planning a pretty amazing (if I do say so myself) 1st birthday party for my youngest, I have been crazy (mad) busy in these last few months.

Will you forgive me? Pretty please?

Thanks 🙂

Now that we have gotten that out of the way….are you ready for a little (or a lot, depends how hungry you are) bit of Heaven???

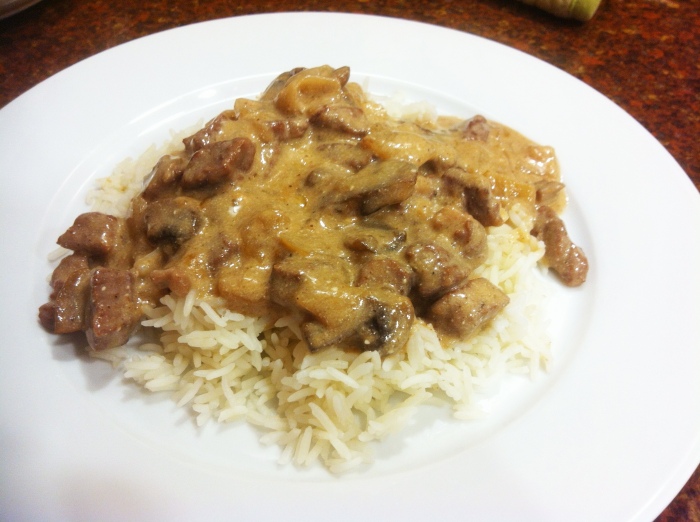
A few weeks ago, for my husband’s birthday, I decided to try my hand at Beef Stroganoff, the “brown sauce way” as I like to refer to it. You see, when you grow up in a family where Beef Stroganoff is made with a tomato based pink sauce, you must differentiate between the two.

So the brown sauce….oh the brown sauce…..mmmmm, well really what can I say other than my husband had 3 helpings knowing that he also had an entire German chocolate Cake to eat! It was that good!

So, if you like creamy, saucy goodness, (and let’s be honest, what sane food-loving, living, breathing person doesn’t??) this is a must make recipe!!

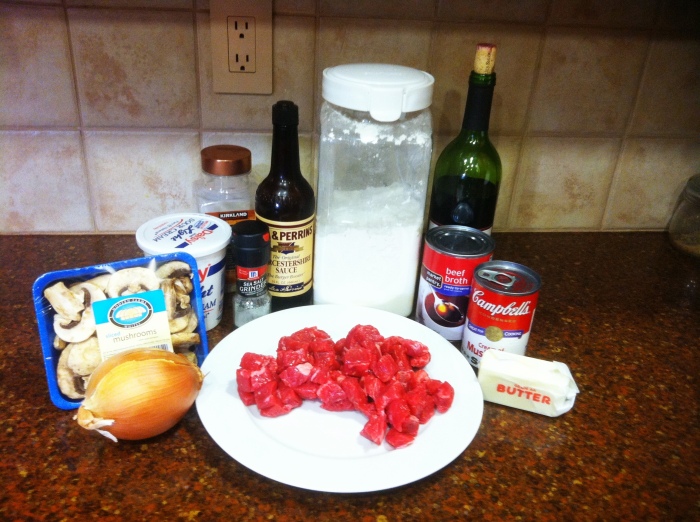
What you Need:

1 lb Chuck Steak (diced into small cubes, fat trimmed)

1 tbsp Flour

1 tbsp butter

1 tbsp olive oil

1 medium onion, diced

1-2 cups sliced mushrooms

1/4 cup red wine

1 can (10 3/4oz) cream of mushroom soup

1 can (14.5oz) beef broth

1 tsp Lea & Perrin’s Worcestershire sauce

16 oz sour cream

salt and pepper to taste

What you Do:

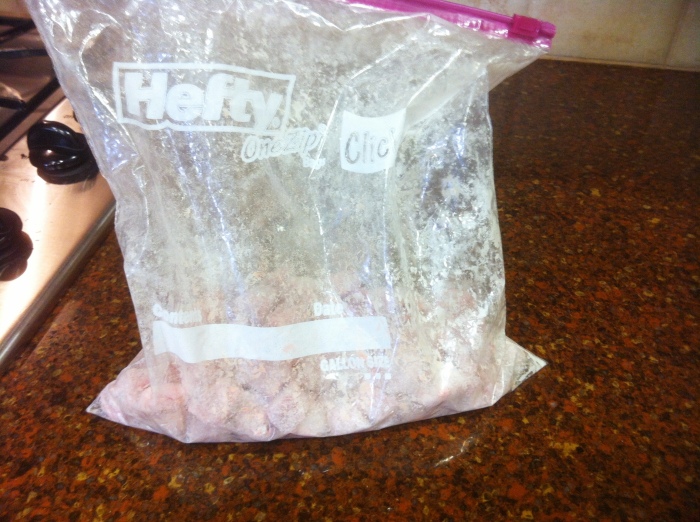
Place the steak and the flour in a well sealed plastic bag and shake the heck out of it….

Enough having fun….you have work to do 😉

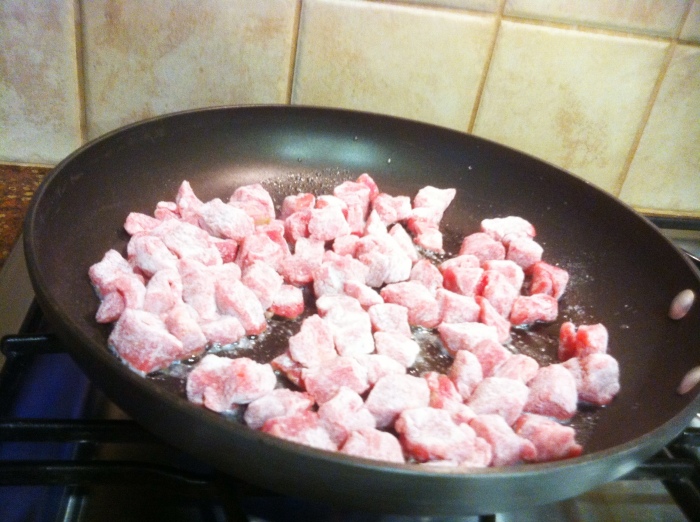
Throw the butter and olive oil into a pan and let it melt….ok, well, let the butter melt, oil doesn’t really melt….you picking up what I’m puttin down???

When the butter has melted, throw the flour-coated steak in….

Be careful not to splatter yourself!!! That oily, buttery goodness is hot!!!

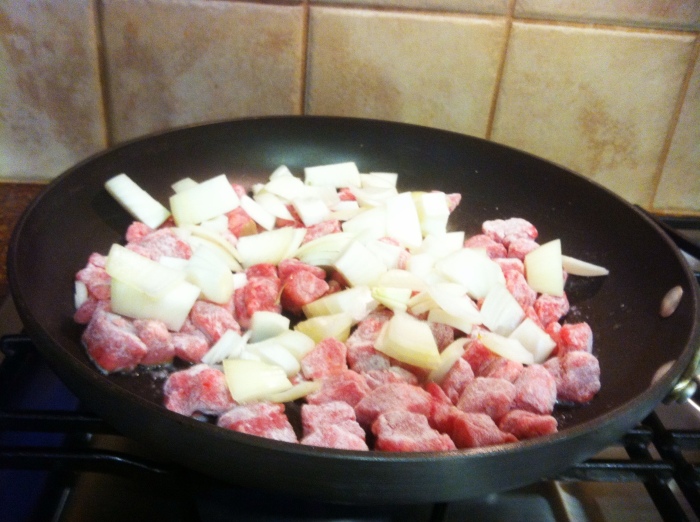
Go ahead and throw in those onions and let them cook for a few minutes….just long enough to start browning the meat…

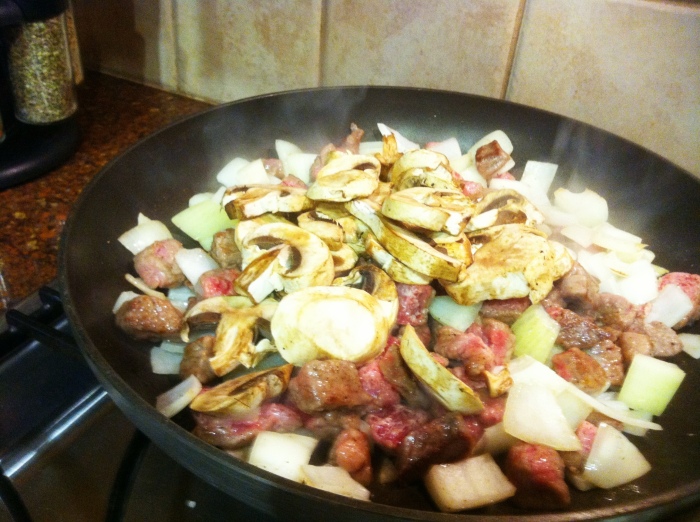
Toss in the mushrooms…..

Now comes the fun part….

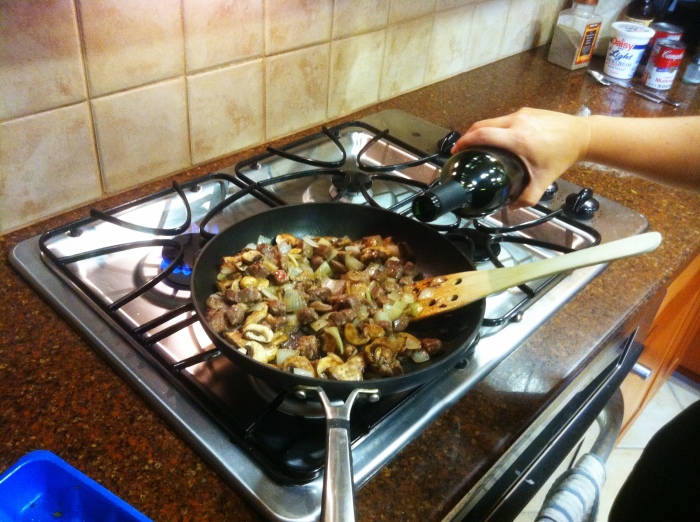
Take a swig of that wine…and maybe another 🙂 go ahead, indulge….it’s been a long day…

If you have any wine left…hopefully you saved about a quarter cup…pour that into the pan and let it simmer for just a minute….

Scrape the bits off goodness from the bottom of the pan…you can never have too many bits of goodness….

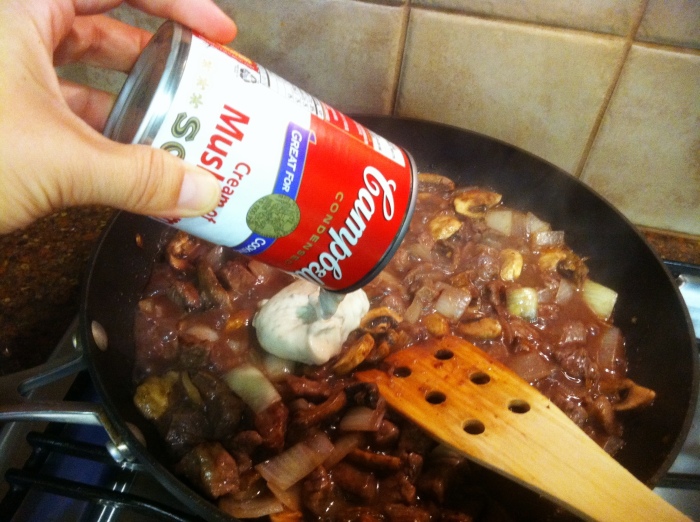
Add the Cream of Mushroom soup….mmmm it just keeps getting better and better….

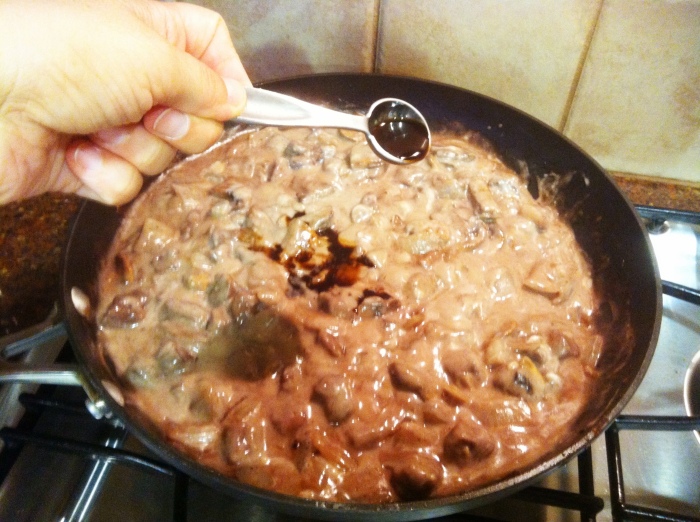
stir it around and add the Worcestershire Sauce….

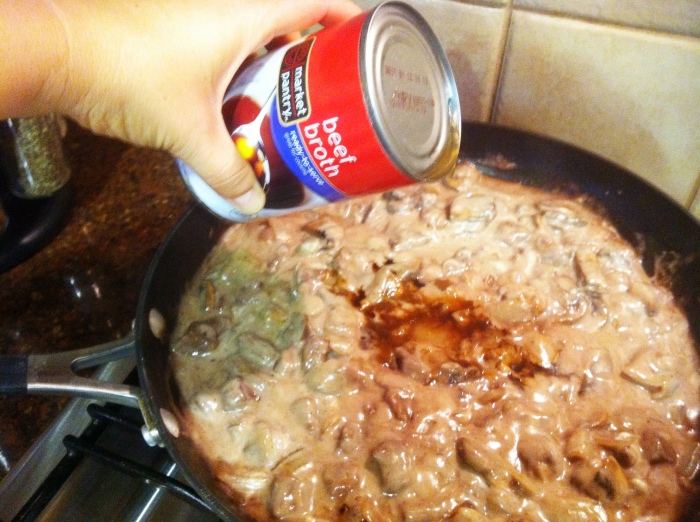
Slowly add the beef broth while continuously stirring….It might seem too thin at this point….don’t worry….trust me….

Wow…I didn’t realize how awful and blurry these pictures were…just goes to show…no matter what kind of crazy, amazing “digital slr” app you have on your phone, your iphone is not a digital slr….

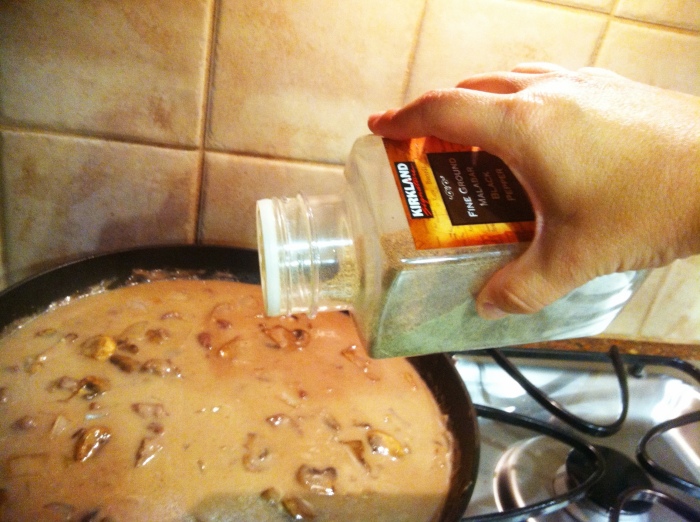
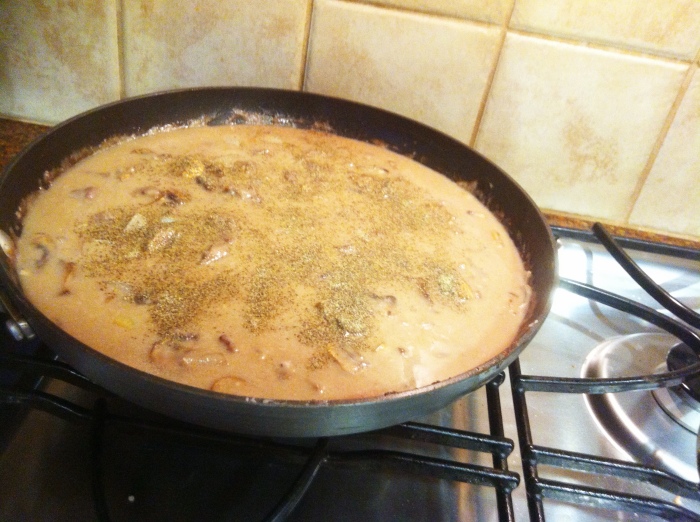
Add some salt and pepper to taste…

Let that concoction simmer uncovered on medium for about 15 minutes

Ok, now close your eyes and imagine a container of sour cream being poured into a pan of light brown liquid….

Hold that image in your head and pretend that it is actually a picture you are seeing right before your very eyes…yes, I forgot that one….

Contrary to what many believe, I too am not perfect….

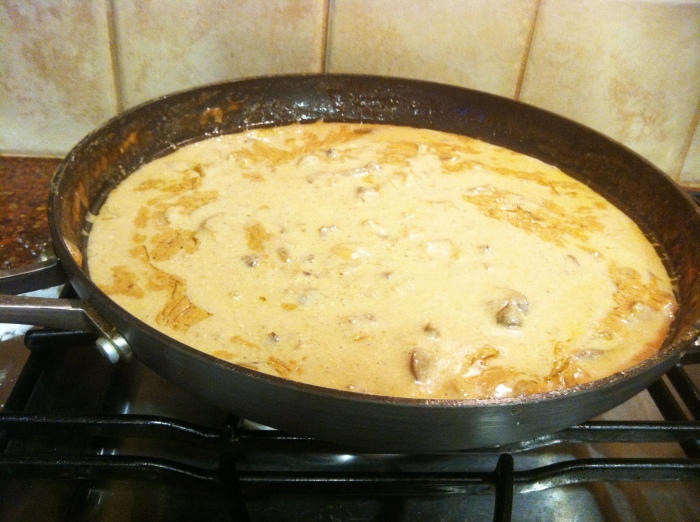
Stir around that goodness until it looks like this

Now the hardest part of this entire recipe….simmer for another hour….yes this means that you have to wait to eat it….

I know. It is going to be difficult. Just know, this too shall pass….in no time at all you will be able to indulge yourself….

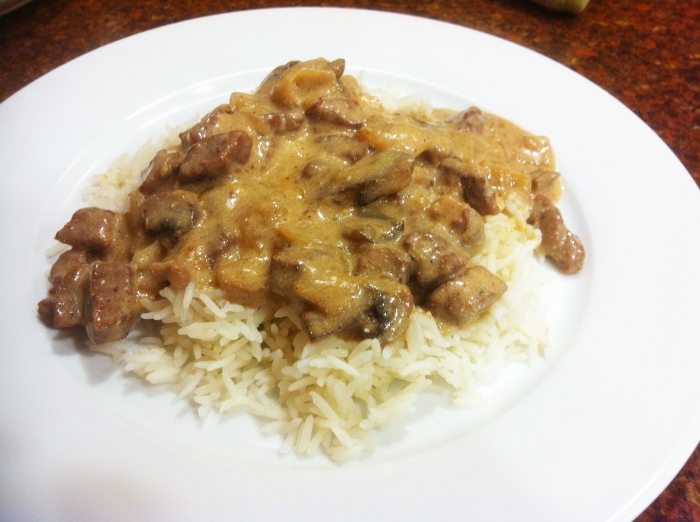
If you can make it through that hour….go ahead and pour some of that wonderful, amazingly delicious creamy, beefy mess onto some white rice (cooked of course) or maybe some wide egg noodles (again cooked….who eats uncooked pasta?)….your choice….

And eat….and eat….and eat until you need to unbutton your pants because you need to keep eating and you won’t let a pesky thing like the button of your pants get in your way….

I hope you enjoy this as much as we did!!

Here’s my version of a printable below:

Ingredients:

1 lb Chuck Steak (diced into small cubes, fat trimmed)

1 tbsp Flour

1 tbsp butter

1 tbsp olive oil

1 medium onion, diced

1-2 cups sliced mushrooms

1/4 cup red wine

1 can (10 3/4oz) cream of mushroom soup

1 can (14.5oz) beef broth

1 tsp Lea & Perrin’s Worcestershire sauce

16 oz sour cream

salt and pepper to taste

Preparation:

Place the steak and four in a well sealed plastic bag. Shake the bag until all of the meat is coated with flour. Set aside. In a large pan, heat the butter and oil on medium high. When the butter has melted, add the steak and stir. Add the onions and stir. When the steak has just started to brown, add the mushrooms and stir. Let the steak continue to brown (about another minute or two) then add the wine, lightly scraping the bottom of the pan. Add the cream of mushroom soup. Add the beef broth slowly and continue to stir. Add the salt and pepper and reduce heat to medium low. Let the sauce simmer for about 15 minutes. Mix in the sour cream. Let the sauce simmer on medium low heat, uncovered for about another hour, or until it has thickened. Serve over rice or pasta. Makes 6-8 servings
I Promise I am Alive….

Where has the time gone????

Rest assured, I have a few new recipes coming your way!!

To say that the last few weeks have been crazy would be an understatement! To sum it up quick style – Hubs left his “corporate” job to branch out on his own; he then departed 5 days later for an oh so short (9 day) trip to Ukraine.

So if you have wondered where in the world I have gone….Please don’t be sad; I am back never to leave you this hungry again!!!


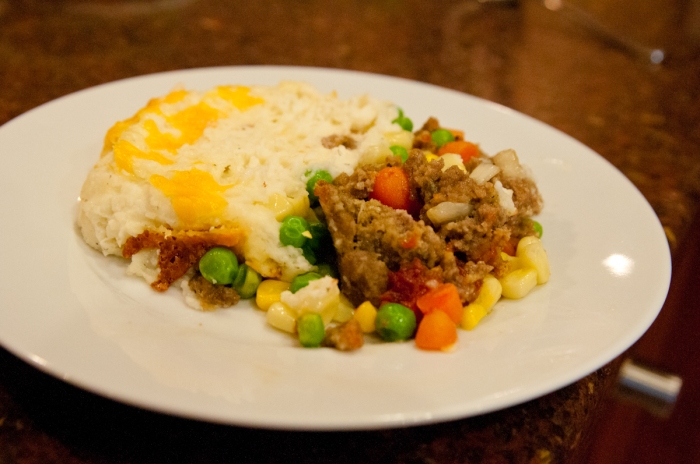
Last Night’s Meatloaf = Tonight’s Shepard’s Pie

So here’s the “haps” it is…short and sweet

I am a HUGE fan of taking last nights leftovers and using them to make something completely new…

Kind of like “She’s All That”… (Please tell me that you are a teenager of the ’90’s and know what I am talking about…if not, I will find another decade appropriate, coming of age, ugly duckling turns prom queen and gets the hot guy movie reference for you)

Take the boring (well, it was fun and tasty last night, but really, who wants leftovers again and again and again???)

and make it extraordinary!!!

And the beauty of it is….

It’s almost all made for you!!!! This cuts down the prep time by like 97%!!! It also cuts down the time that you have to find entertainment for those little rascals who want to “help” you cook by reaching for the ingredients on the cutting board right as you are chopping or trying to pour in the seasoning with the top completely off….

So here you have it…the only way I ever make Shepard’s Pie anymore…quick and simple.

What you need

Meatloaf (preferable last nights so you don’t have to make it now)

Mashed Potatoes (again, last nights would be nice)

Veggies (I use the frozen ones and pour em right on in…super duper quick and easy)

Shredded Cheese

What you do

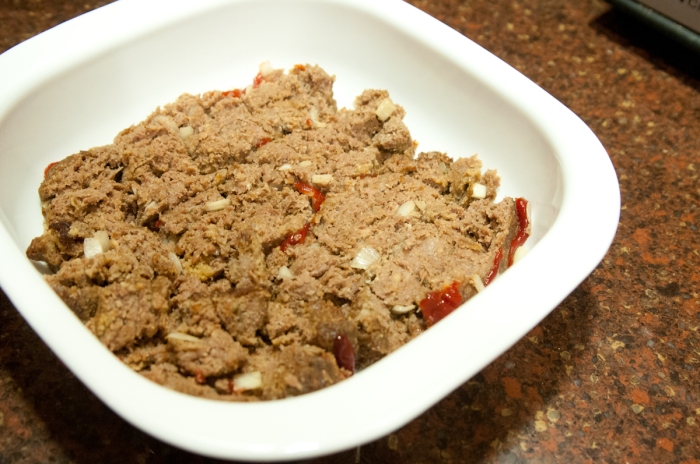
Cut the leftover meatloaf into slices and throw it into the bottom of a casserole dish (size will depend on just how much you got left over) then chop it up a bit in the bottom of the dish so it’s not in “slices” anymore

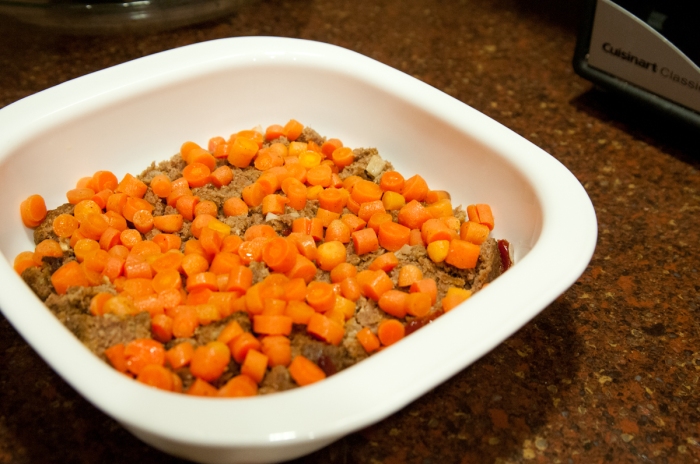
Add a layer of veggies (I had leftover carrots so I started with those)

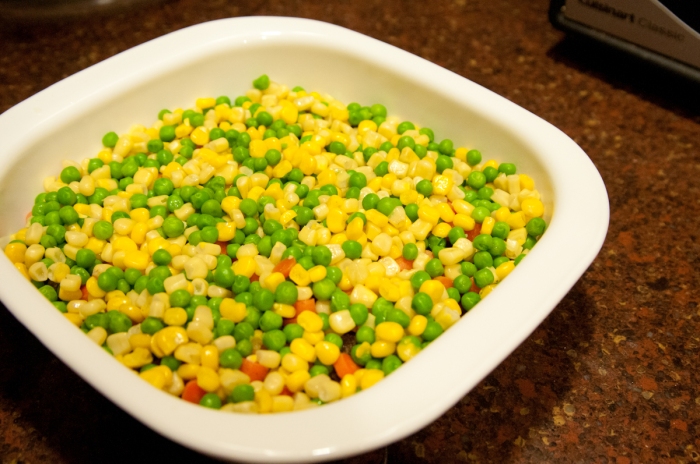
Then I threw in some frozen corn and peas…I like variety in my life….

well, with most things…I don’t in fact like variety when it comes to my hubs….I adore the one and only I have!!!

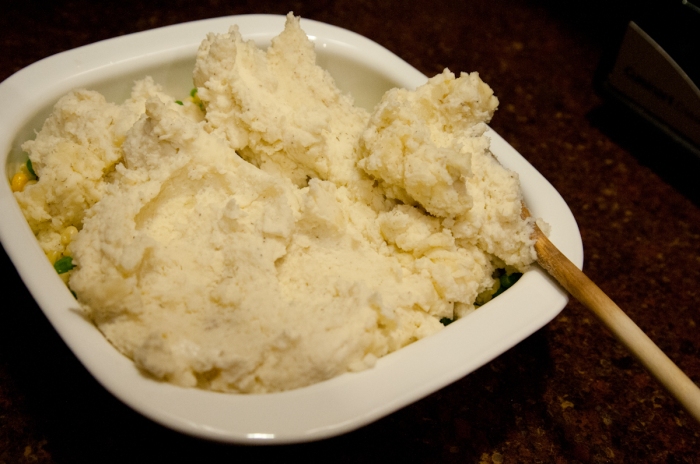
Add the mashed potatoes…

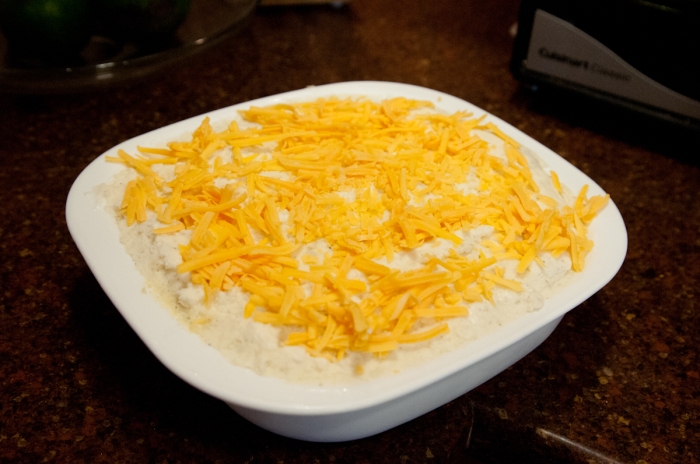
and the cheese…mmmm…..cheese….

and throw it in a preheated 400 degree oven for about 30-45 minutes (if you have just taken the stuff out of the fridge it may be more like 45 minutes to an hour)

Take it out, spoon it onto some plates and indulge in the goodness that is super duper easy comfort food!!!

Happy cooking!!!

Ingredients

Leftover meatloaf

Leftover mashed potatoes

Leftover Veggies

Shredded Cheese

Preparation

Preheat oven to 400 degrees. Loosely chop leftover meatloaf and place in the bottom of a baking dish (size will vary depending upon how much leftover stuff you have). Place the leftover veggies in a layer over the meatloaf. Layer the leftover mashed potatoes over the veggies and smooth out on top. Toss shredded cheese over the top of the mashed potatoes and place in the oven. Bake for about 30-45 minutes, depending on size, until the center is hot. Serving size will vary depending on how much leftover stuff you have. Enjoy!

Mad House Wife Meatloaf

Who doesn’t like meat in a loaf???

Well, apparently a lot of people don’t; though I firmly believe it’s just that you haven’t had the right meatloaf….

Kind of like finding a bathing suit after having a baby…there’s one out there for you…it just might take a really long time to find it; you might have to go through MANY with a sour taste in your mouth about to gag before you discover perfection.

I’m pretty sure this meatloaf is the equivalent of the cute, well covering, bust lifting, goes slightly past your rear one piece that makes you feel like a kid (well, pre-kids) again.

Are you ready to experience meaty bliss???

Here. We. Go.

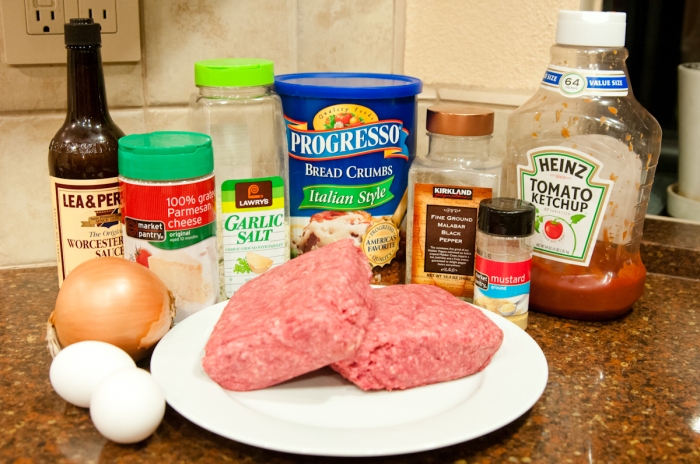
What you need:

2 lbs Ground Beef

1 1/4 cup bread crumbs with Italian Seasoning

2 Eggs

2 tbsp Parmesan Cheese

2 tbsp + 2 tbsp Ketchup

1 tbsp Worcestershire sauce

1/2 tsp pepper

1/2 tsp ground mustard

1/2 tsp garlic salt

What you do:

Pre heat the oven to 350 degrees.

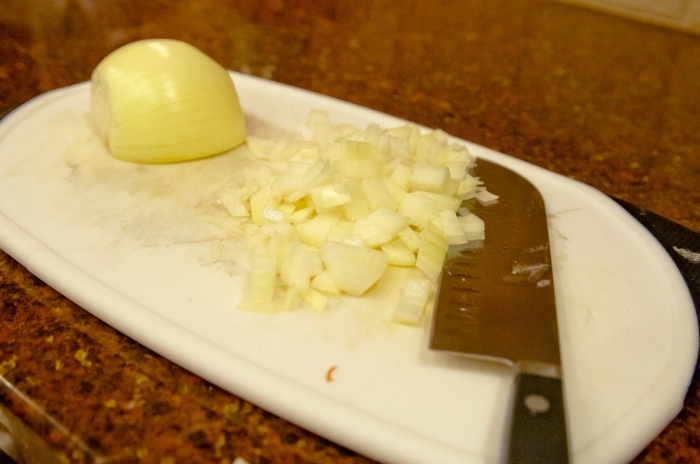
Chop an onion and set it aside (I usually chop onions into fairly large pieces so I can pick them out of my son’s portion, but I would suggest teeny tiny pieces)

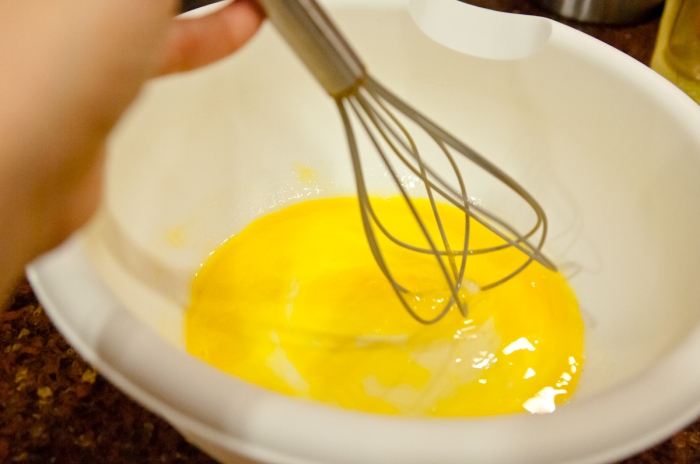
In a medium bowl, crack and pour both eggs; whisk just until the yolks are broken.

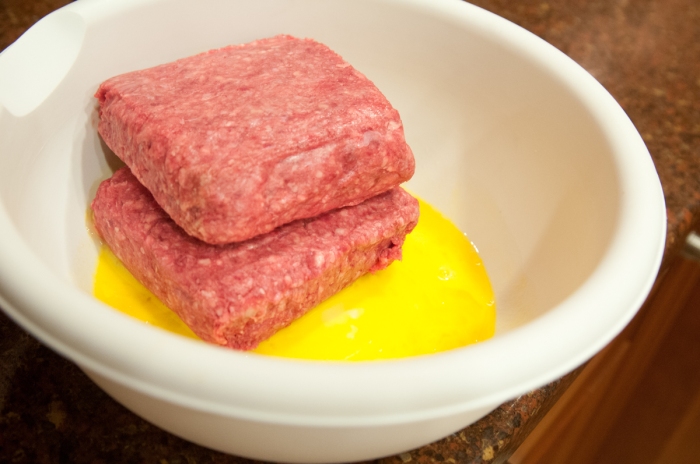
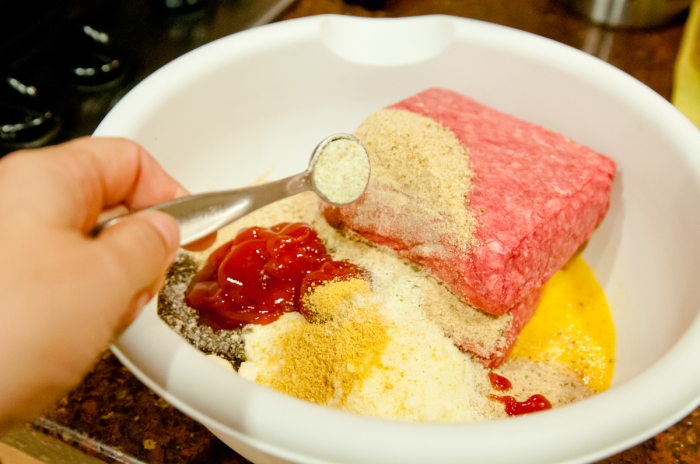
Add ground beef

I love you Trader Joe’s for you pre-packaged, hormone free beef squares!!!

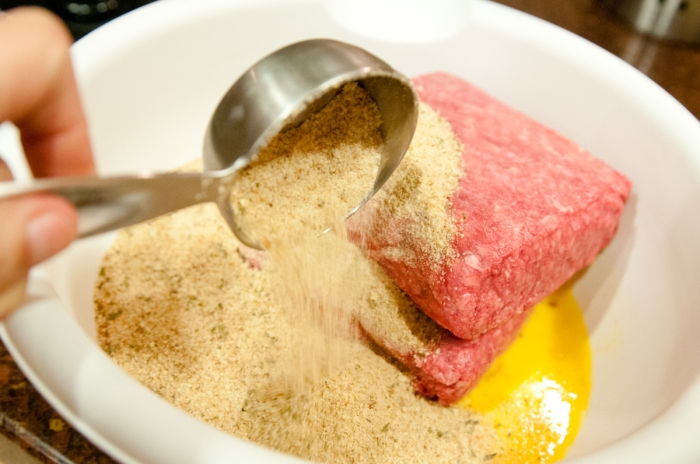
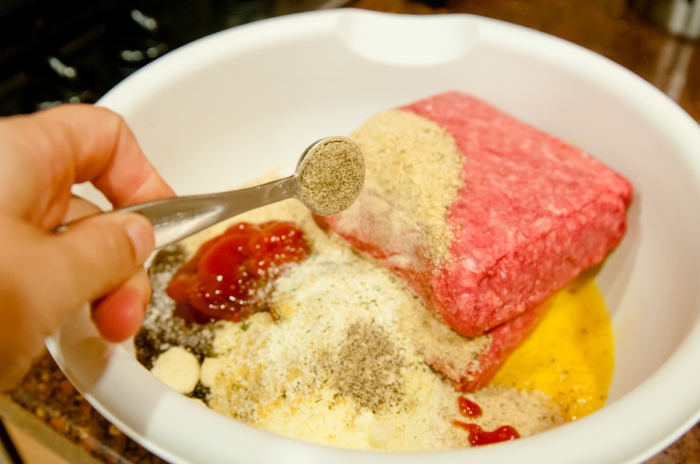
Throw in your bread crumbs

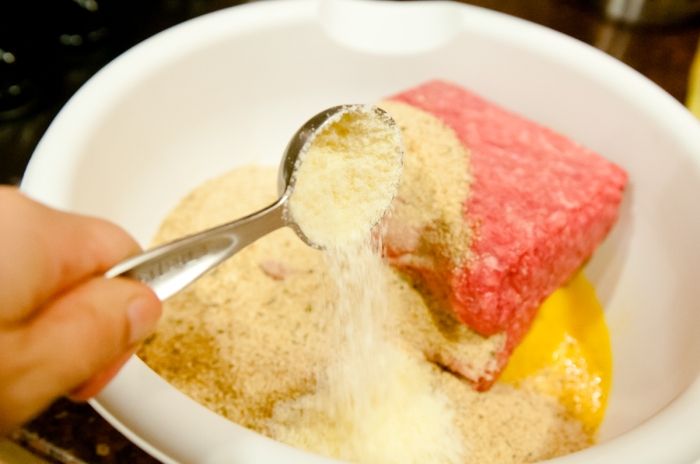
Parmesan Cheese

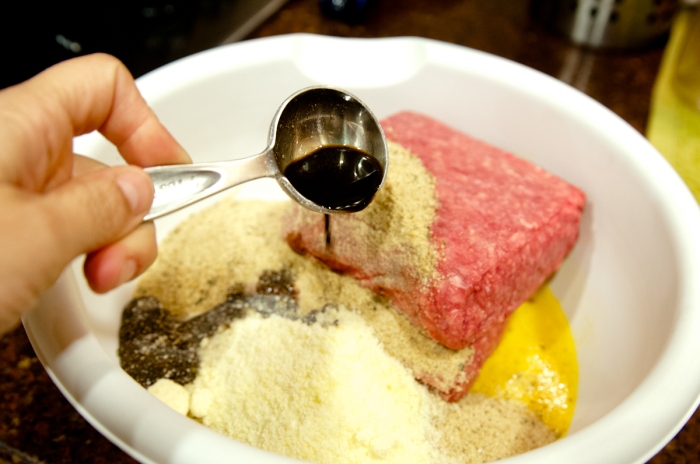
Worcestershire sauce,

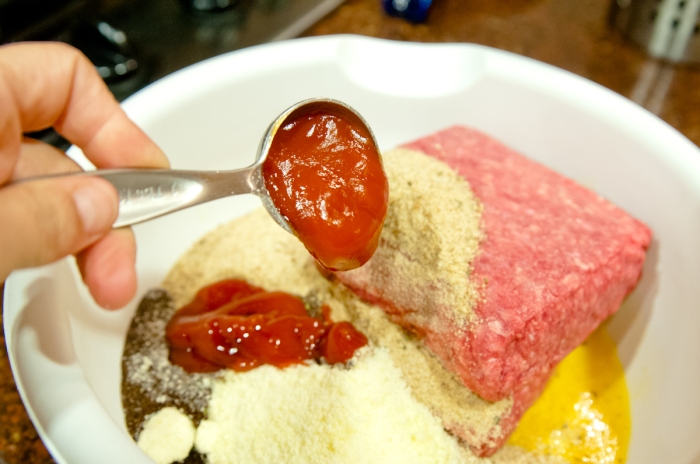
Ketchup

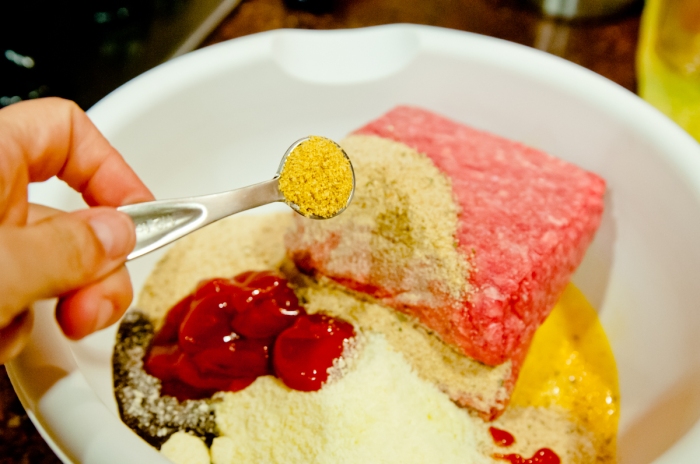
mustard (I used ground but I have used the yellow liquid stuff that you put on hot dogs before…I use what I got…)

garlic salt

pepper

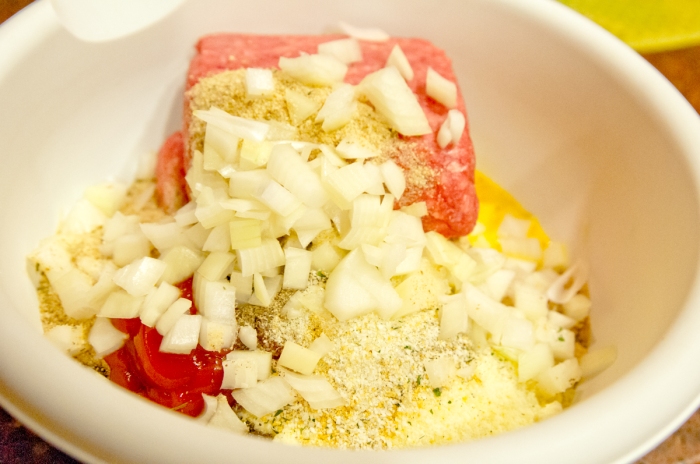
and….remember those onions you so diligently chopped earlier?

Go ahead and toss those on in.

Now comes the fun part…

unless you find touching uncooked ground beef gross…

which I do not…

hence, the fun part.

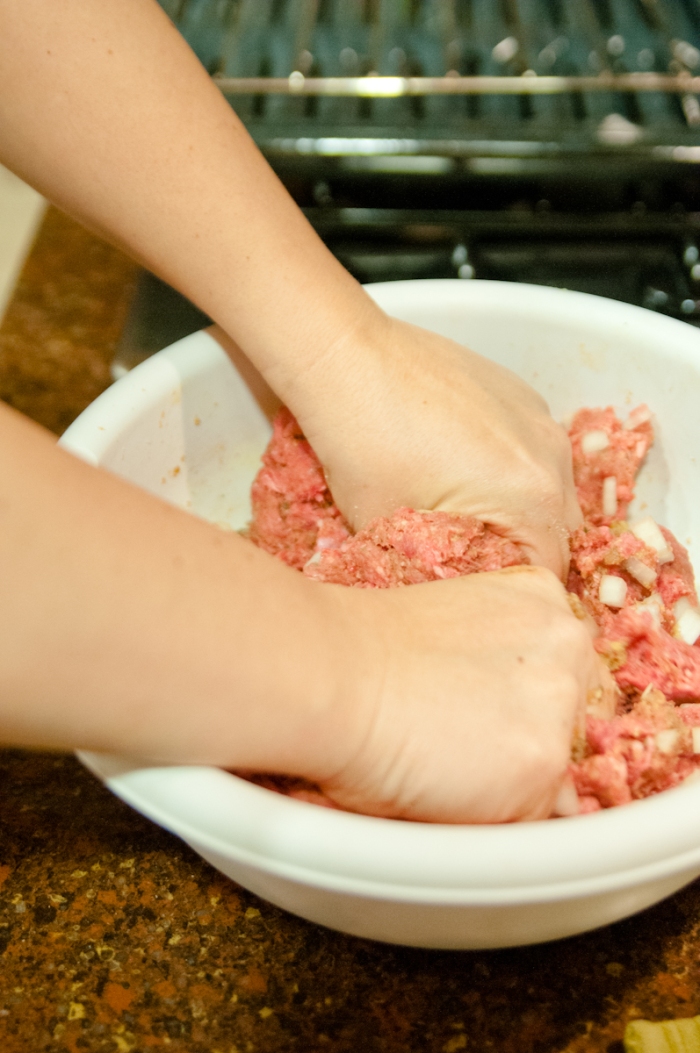
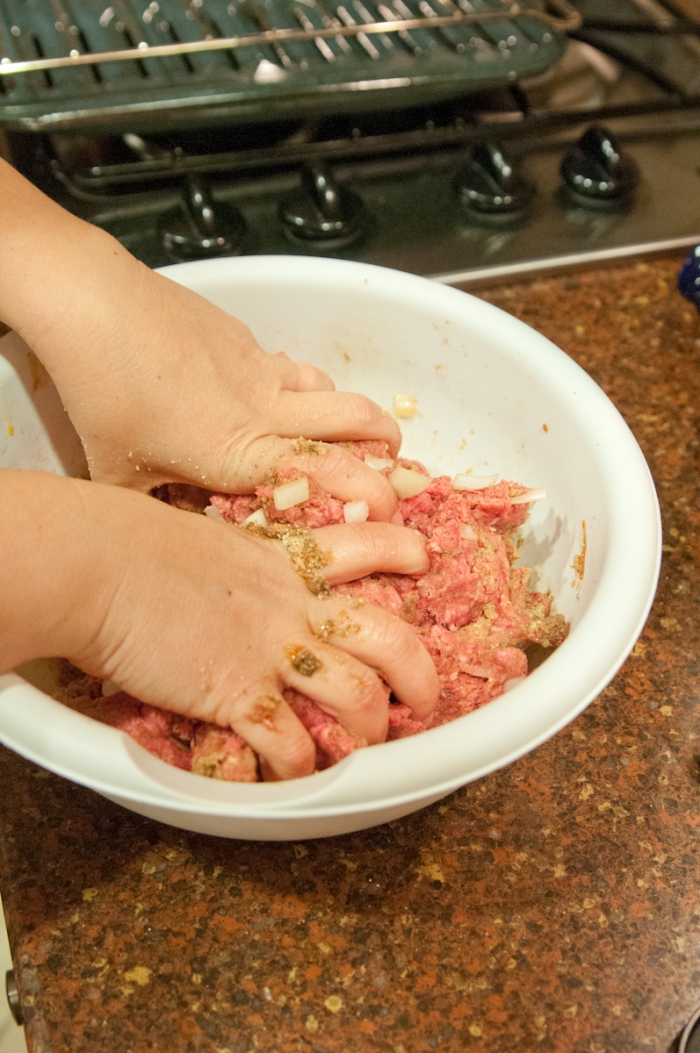
Pretend you are back in kindergarten and that you have just opened a new package of slightly chunky Play-Doh…

If that doesn’t get you through, you may need to skip this step altogether and call in reinforcements.

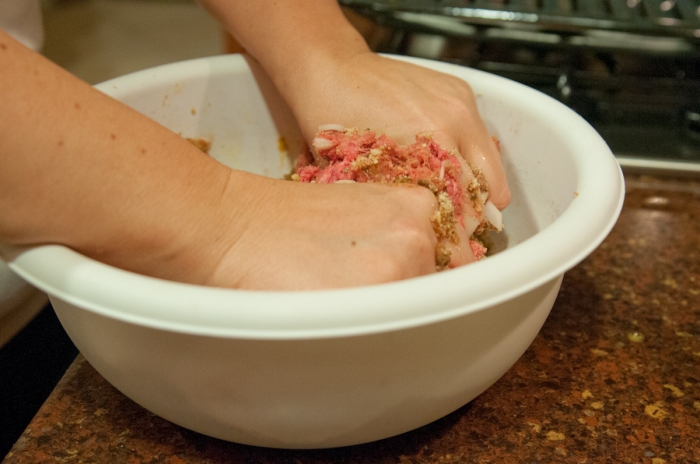
Squeeze it!

Squish it!

Mix it all around…

you do the hokey pokey and you turn yourself around…

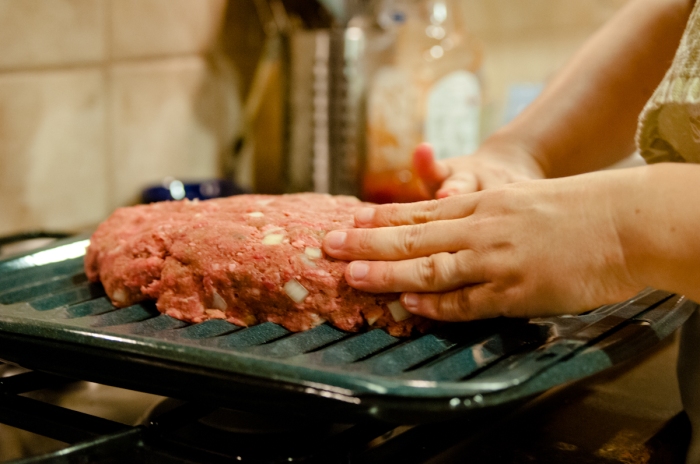
Grab your broiler pan (that thing that appeared inside your oven when you moved into your new house)

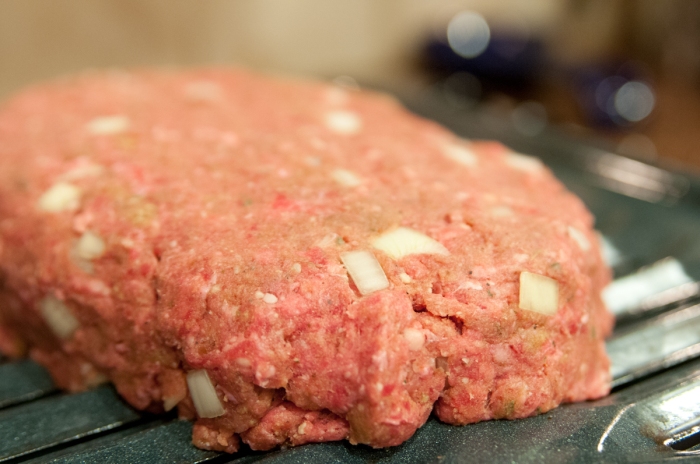
and form the meat into a loaf like shape

I am a loaf of beef

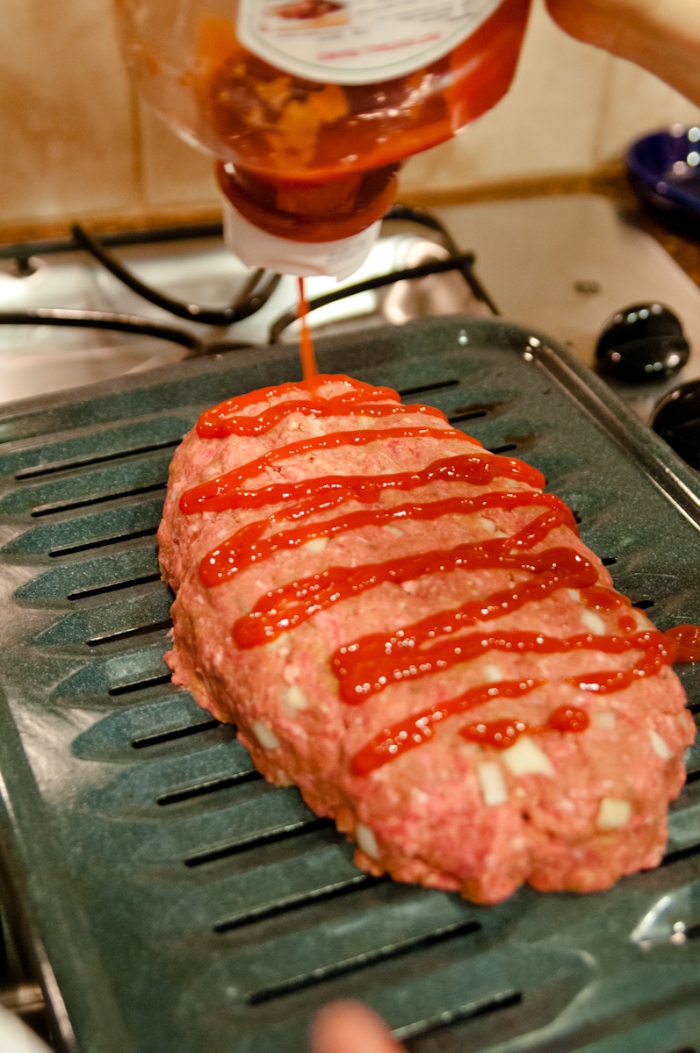
Drizzle some Ketchup on top (that’s where I got the other 2 tbsp of Ketchup) and…

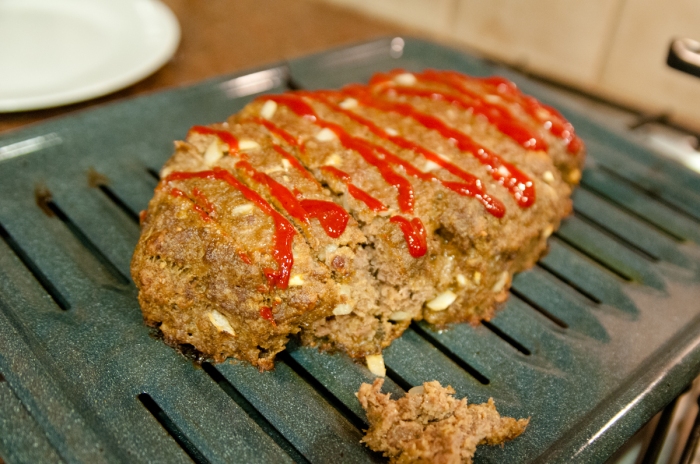
throw it in the oven.

Cook it for about 45 minutes to an hour. Mine took 50, just in case you were wondering…..

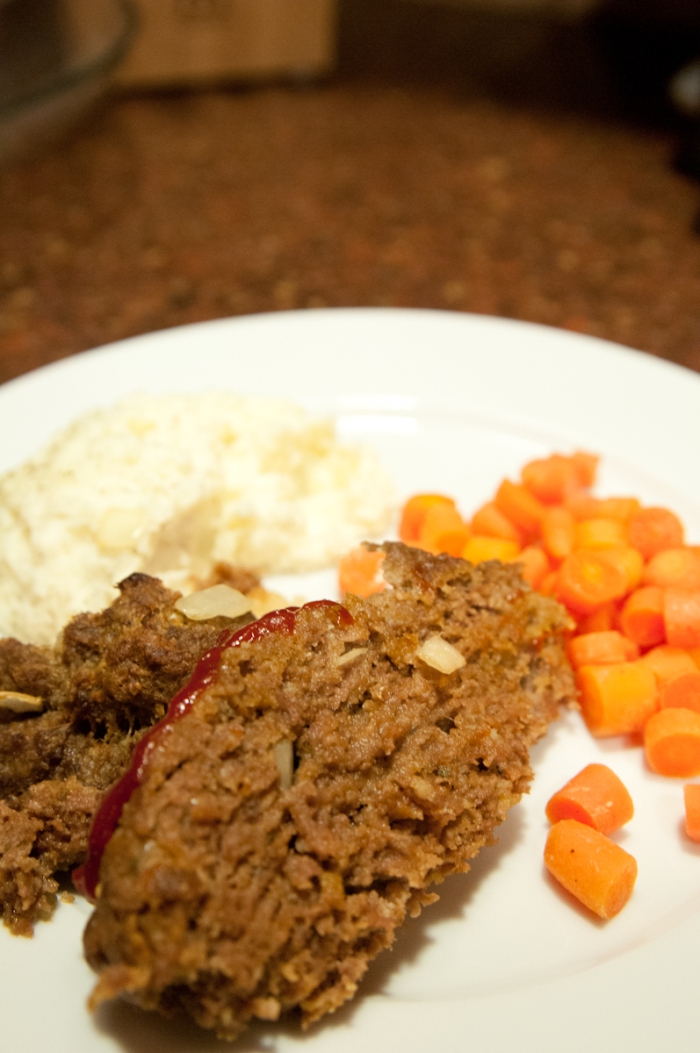
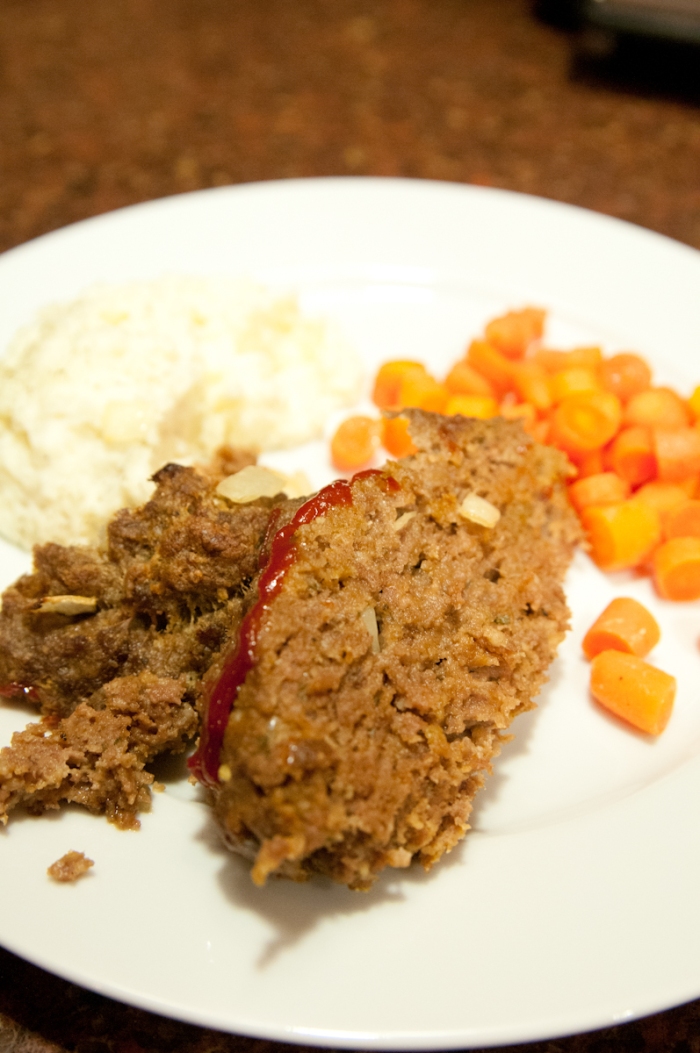
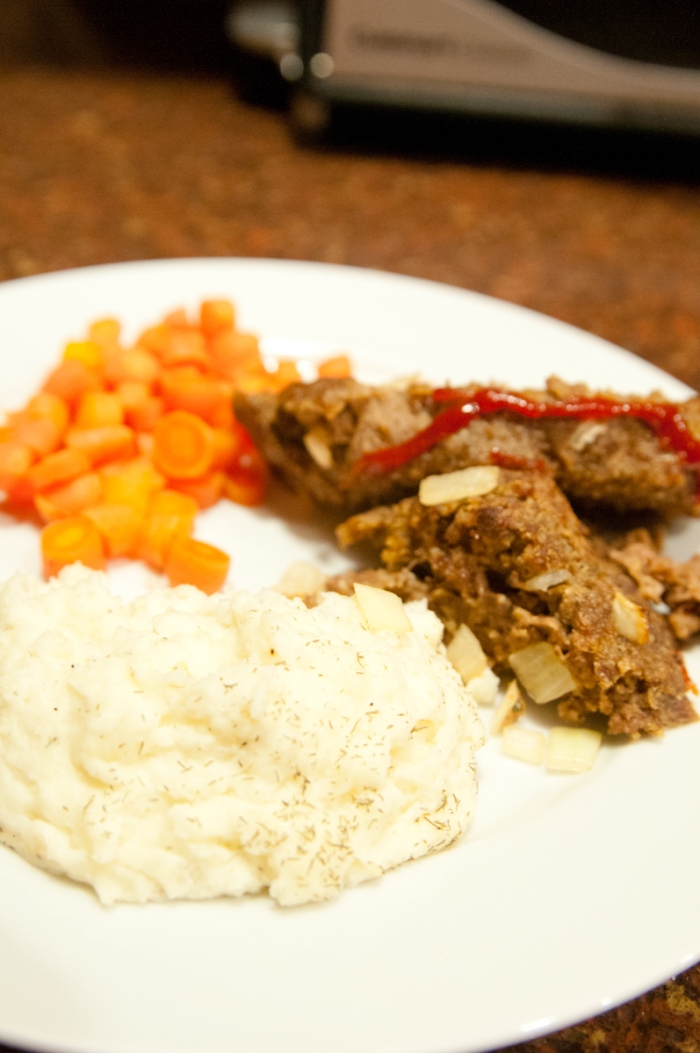
Slice it up and serve with some garlic and herb mashed potatoes perhaps…

Oooohhhhh or you could put it on some grilled sourdough for meatloaf sandwiches mmmmm

Do what you will; just know, as soon as you take a bite, you will be forever changed!

Happy cooking! Or baking! Or whatever this is…

And the “printable” version below…

Ingredients:

2 lbs Ground Beef

1 1/4 cup bread crumbs with Italian Seasoning

2 Eggs

2 tbsp Parmesan Cheese

2 tbsp + 2 tbsp Ketchup

1 tbsp Worcestershire sauce

1/2 tsp pepper

1/2 tsp ground mustard

1/2 tsp garlic salt

Preparation

Preheat the oven to 350 degrees. Chop onion and set aside. In a medium bowl, crack and pour both eggs; whisk until smooth. Add ground beef, bread crumbs, Parmesan cheese, 2 tbsp of ketchup, worscteshire sauce, onions, garlic salt, pepper, and mustard. Mix all ingredients with your hands until well blended. Break up any clumps of bread crumbs that may have formed. On a broiler pan, form the meat mixture into a loaf shape (if you don’t want to scrape the pan later, butter it ahead of time). Drizzle the remaining 2 tbsp of ketchup on top of the meatloaf. Place in the oven and bake for 45-60 minutes until the middle is no longer red. Yields about 10 servings.

Garlic and Herb Mashed Potatoes

Have you ever met a mashed potato you didn’t like???

I have….a lot.

What can I say, I guess I’m just not a mashed potatoes person…I have warned you in the past; I am “different” than most…

So that got me thinking…(it happens sometimes) why don’t I like mashed potatoes (most of the time)????

Here’s why…most of the time they are either too grainy, or too buttery, or too skinny (no not like the potatoes will make you thin…I would probably eat those all day long regardless), I mean there’s just too much of that darn skin that I have to chew through. Sometimes they are just plain bland and dry – gross!

So my quest for the perfectly creamy, wonderfully flavorful, not too buttery mashed potatoes has led me to this recipe.

It has been a work in progress for a while now, and I think, if I do say so myself, that they are nearing perfection!!! I could literally sit and eat these by the large spoonful…all of them….and I have…(again those skinny potatoes are looking so much better right now…)

These will require some preparation…

Mental and emotional – look in the mirror and tell yourself that it’s ok if you eat ALL of the mashed potatoes. You are still a good person. You can work them off later. (I had to repeat this step after I made them and after I ate lots and lots and lots of them)

Physical – well, I guess you could go run some laps or something…but my physical prep was more like this: put the kids in the other room with ALL of their toys in piles surrounding them. Give them snacks and maybe a show…then call your dad (who conveniently lives next door…score!!) and ask him to come entertain the kids who think that the kitchen is really the only room in the house that holds any remote interest at this specific time.

If your dad doesn’t live next door…I suggest restraints….hahaha just kidding..sort of. No really I am just kidding, do not restrain your children so that you can go cook in peace!

Oh and go pour yourself a glass of wine. Wine helps me cook. Tell yourself that too please…

Ok, if you have done your prep….most importantly the mental and emotional…and the glass of wine part…then you are ready!!!

Here. We. Go.

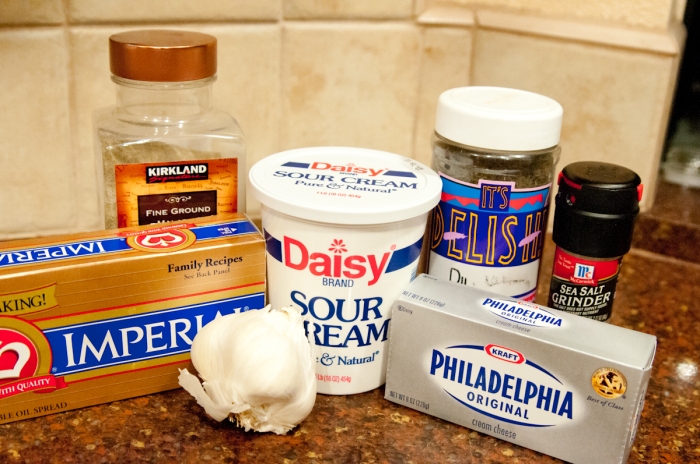
What you need:

5 lb bag potatoes

3 large garlic cloves

1 package cream cheese

1 stick unsalted butter

1 16 oz tub sour cream

salt to taste

pepper to taste

dill to taste (I like dill…a .lot…but if you don’t, I won’t hold it against you…rosemary, thyme or parsley would do just fine)

What you do:

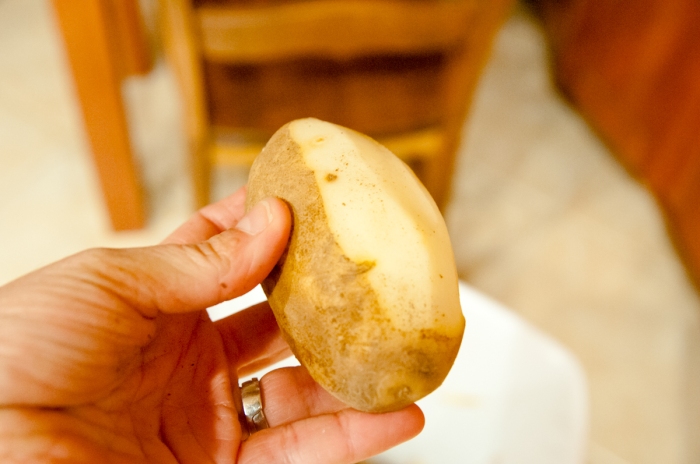
Hold a potato and ponder the meaning of life…

not really…just peel it

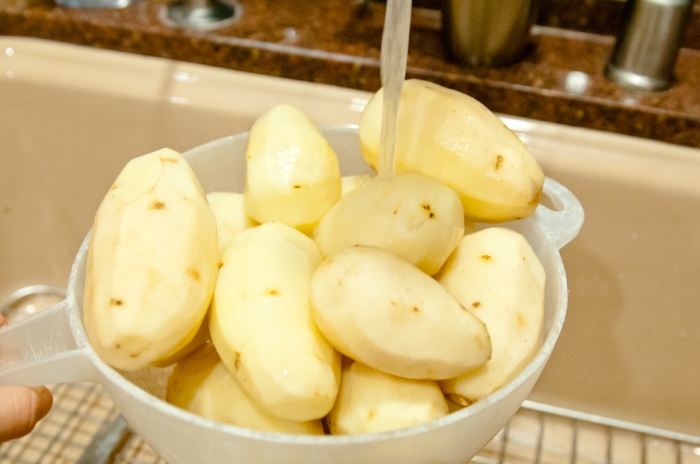
Place those bad boys in the teeny tiny Ikea colander that you bought in your first apartment and can’t seem to part with…. and rinse

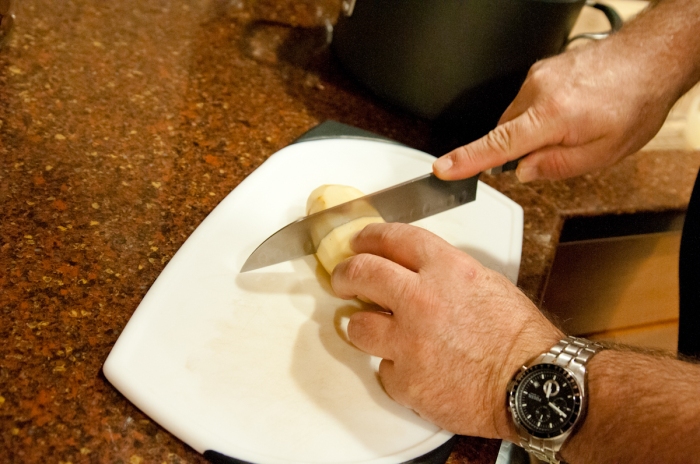
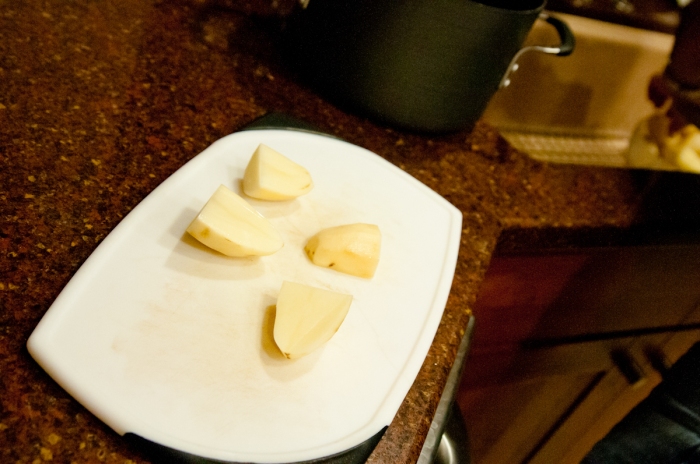
Have your dad quarter the potatoes since your children don’t want to leave you alone and wielding a knife with a 3-year-old climbing up your leg can be a bit dangerous….

Hello, I am a quartered potato….

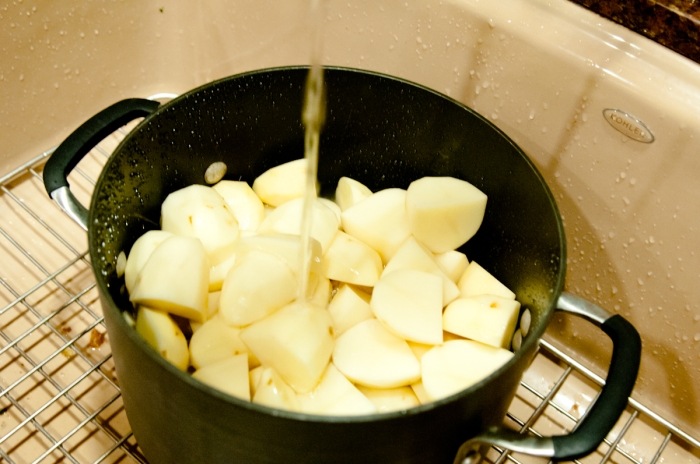
Place them in a pot; fill the pot with just enough water to cover the potatoes. Don’t worry if you overfill…the potatoes will still taste good…you just might have to clean up a watery, potatoey, starchy mess when it boils over….

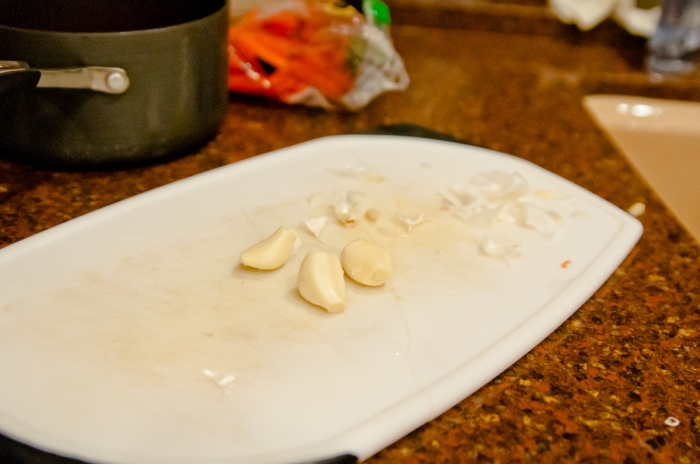
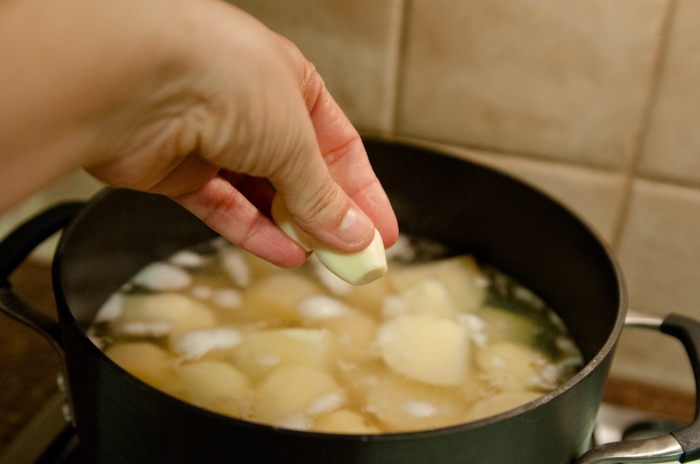
Peel the garlic cloves and chop off the ends…or if you are like me and feel that chopping with the skin on makes it easier…then by all means reverse my above directions…

and add them to the pot of potato water…. trust me

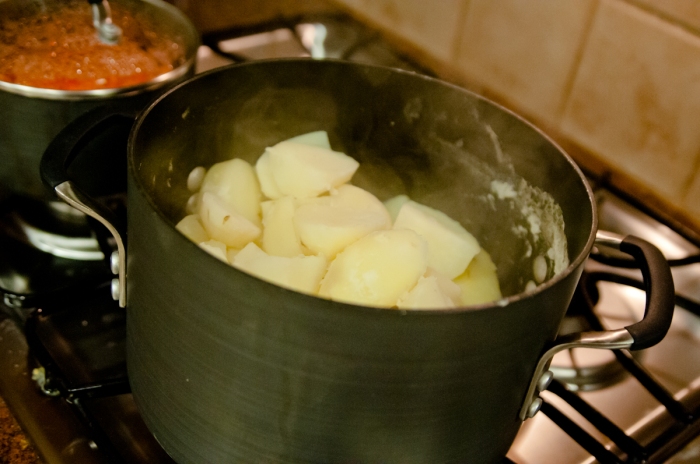
Bring the potatoes and garlic to a boil; boiling for about 15 minutes or until the potatoes are fork tender (translation…you can stick a fork in them like they are butter).

Remove the pot from the heat and drain the water out (in that oh-so-tiny-but-I-can’t-quite-part-with-it-even-though-I-always-spill-stuff-out-of-it-cause-it’s-just-too-small-colander perhaps).

Place the potatoes and garlic back in the pot and move it back onto the stove.

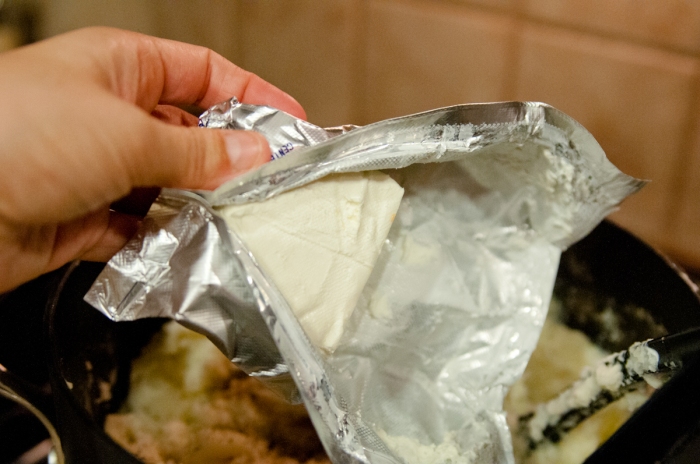
and add half of the cream cheese

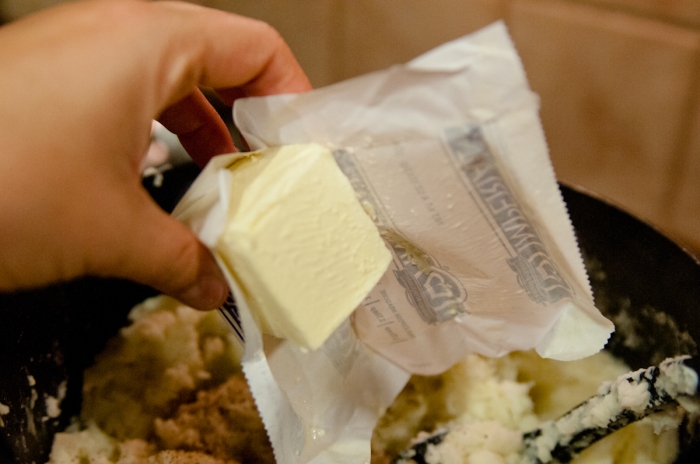
half of the butter

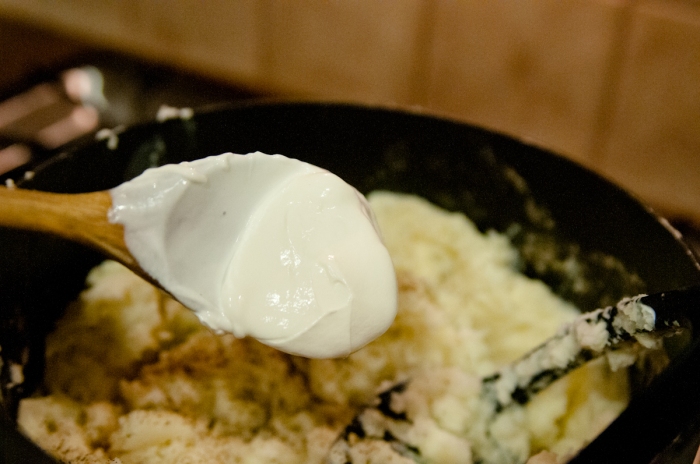
and half of the tub of sour cream (I did tell you this wasn’t the skinny recipe right???)

Set the burner to medium and mash the potatoes with a potato masher. Yes with a potato masher…if you use an electric mixer it will break down the potatoes and make them more grainy.

Did I mention you need muscles to cook with me???

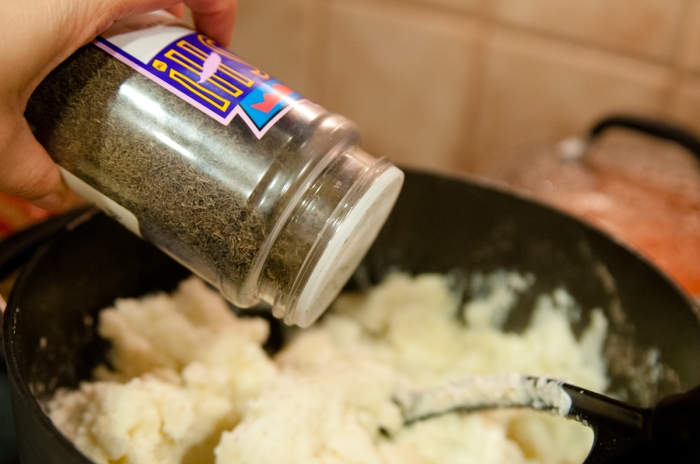
Once well mashed, add the remaining cream cheese, butter and sour cream, as well as the salt, pepper and dill.

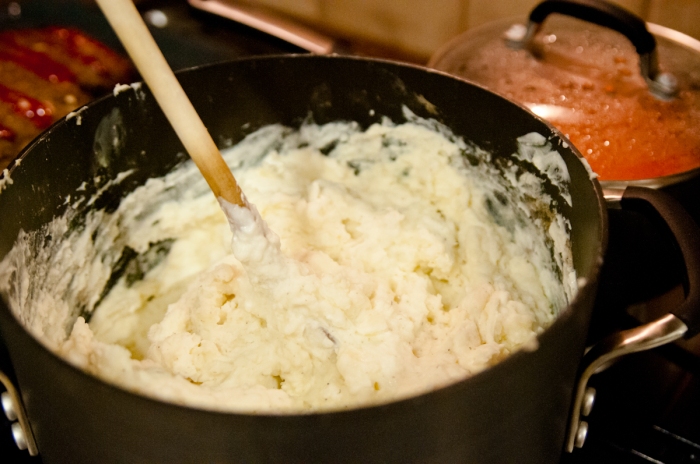
Mix the whole creamy, delicious mess with a large spoon, take about 3 heaping bites and add more salt, pepper or dill to taste. Then take about 6 more bites…just to make sure we have reached perfection of course…

Go follow the “mental and emotional” prep from earlier….

Now serve with some amazing meatloaf (recipe coming soon) and yummy carrots (like I did as you can see) or maybe not…maybe you just want to stand by the stove and eat and eat and eat until you feel all warm and fuzzy inside. Either way I hope you find them as delectable as I do!!!

Yields approximately 10-12 servings. (Unless you eat a ton as you go…then it’s anybody’s guess)

Happy Cooking!!!

The “printable” for all y’all who don’t like to run back and forth to the computer (that’s what I do…don’t be like me)

Ingredients

5 lb bag potatoes

3 large garlic cloves

1 package cream cheese

1 stick unsalted butter

1 16 oz tub sour cream

salt to taste

pepper to taste

dill to taste

Preparation

Peel, rinse and quarter the potatoes. Place them in a pot. Place just enough water in the pot to cover the potatoes. Peel the garlic cloves and add them to the pot. Bring potatoes and garlic to a boil. Boil for about 15 minutes or until the potatoes are fork tender. Remove from heat and drain the water out. Place the pot back on the stove and add half of the cream cheese, butter and sour cream. Set the burner to medium and mash the potatoes with a potato masher. Once well mashed, add the remaining cream cheese, butter and sour cream, as well as the salt, pepper and dill. Mix with a large spoon. Add more salt, pepper or dill to taste. Yields approximately 10-12 servings.

Santa Fe Salad

Once upon a time in a land far far away (the next city over) at a fine dining establishment (Bj’s brew house) there was an exotic (southwestern) dish that I came to fall in love with. It was a brief (about 30 minutes) spicy (blackening seasoning) affair that my heart (my taste buds) have longed for ever since.

Since I have two small, rambunctious boys who don’t like to sit still for more than 2.2 seconds, fulfilling my long-lost desires for restaurant dishes of the past is pretty much outta the question.

But that didn’t stop me! I decided to try to recreate the recipe at home (with a little tweaking to fit the budget of course 🙂 ).

Ok, so here is how I need you to prepare yourself. 1. Put on a show (VeggieTales was my preference but I think Dora won). If you don’t like letting your kids watch tv (this is how I used to feel until I had kids and tried to get things done, then the tv became my ally) then maybe a craft of some sort. 2. Put your 9 month old in his high chair and start feeding him massive amounts of Cheerios to keep him happy. 3. Pour a LARGE glass of wine….it has been a long day.
Alright. Here. We. Go!

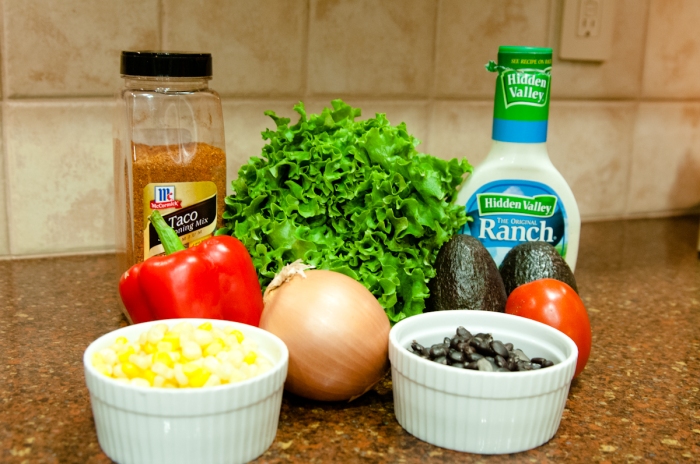
The Cast

Could you please pretend that this picture also includes shredded cheese; this is what happens when you have not followed step 3 of the above instructions yet. Thanks!

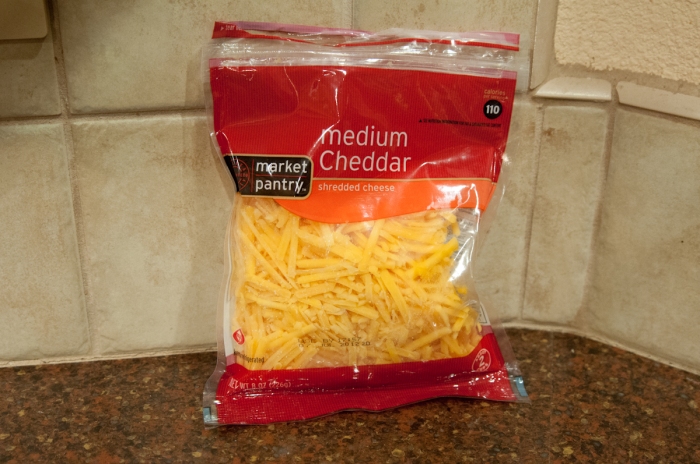
Here is the cheese. Post wine. I remembered.

1 Head lettuce

1 Tomato

1 Red Bell Pepper

1/2 Onion

1/4 cup Cilantro

1 cup Corn (cooked, drained and chilled)

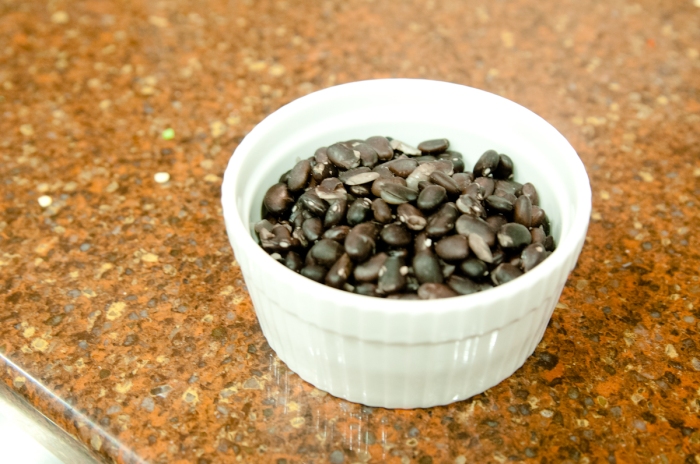
1 cup Black Beans (cooked, drained, rinsed and chilled)

1/2 cup Shredded Cheddar Cheese

2 Ripe Avocados

Handful of corn chips crushed

2 tbsp Taco seasoning

4 tbsp Ranch dressing ( ** after eating this I realized that my preference would have been for sour cream instead of ranch. I am not a huge ranch buff, I know, I am the only one in the world, have I mentioned that I am a bit on the “different” side? If you like ranch…you will love it. Promise)

Stage Directions

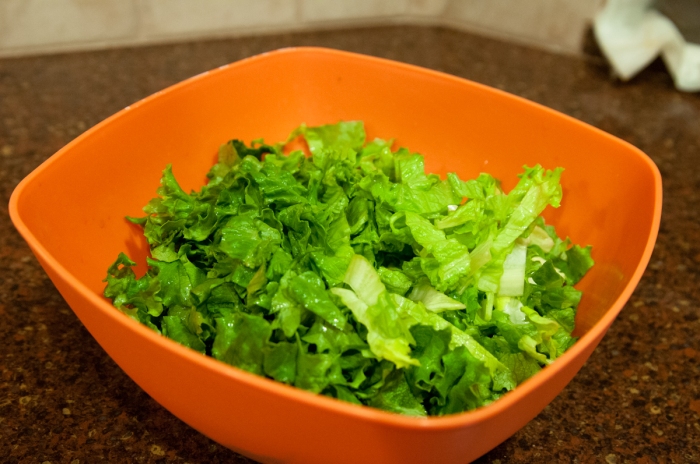
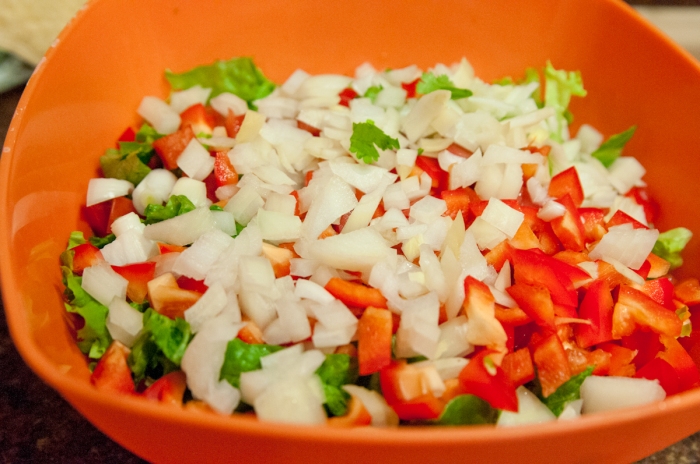
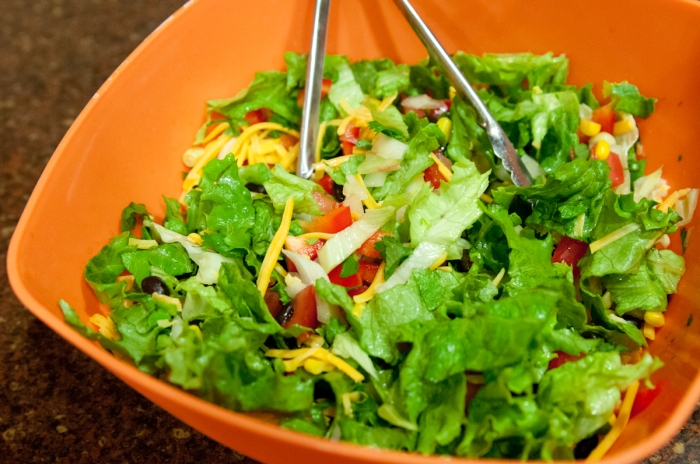
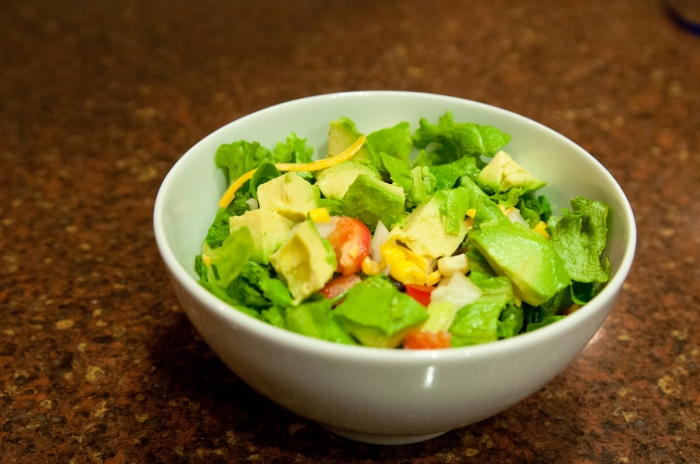
Shred lettuce and add it to a festive colored bowl.


Feed your child a few more Cheerios.

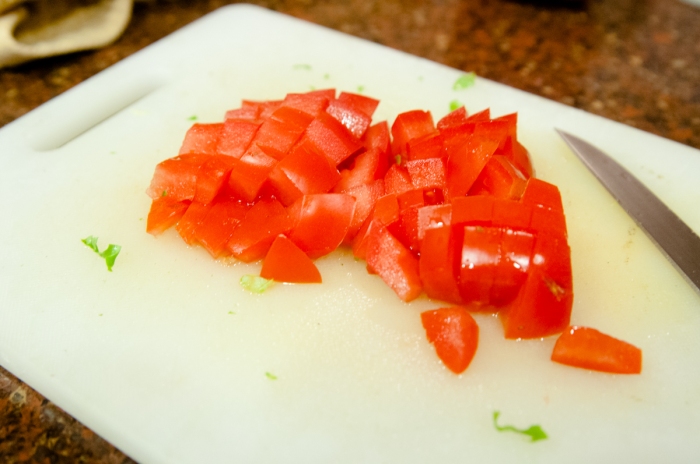
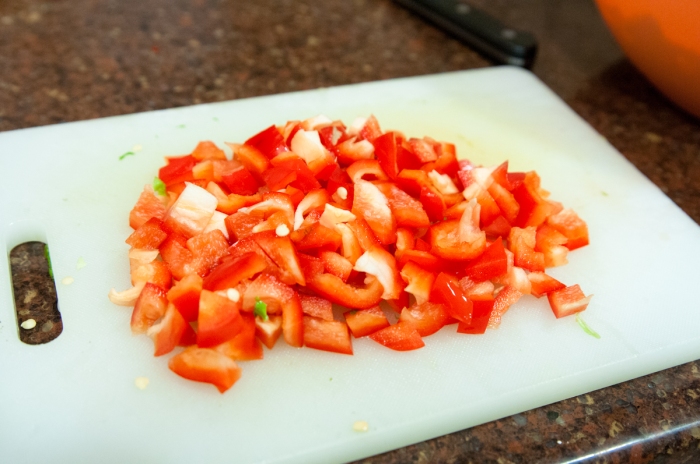
Dice tomato

and a red bell pepper

and an onion; please cry a lot like I did and toss ’em on in.


Feed your child some more Cheerios

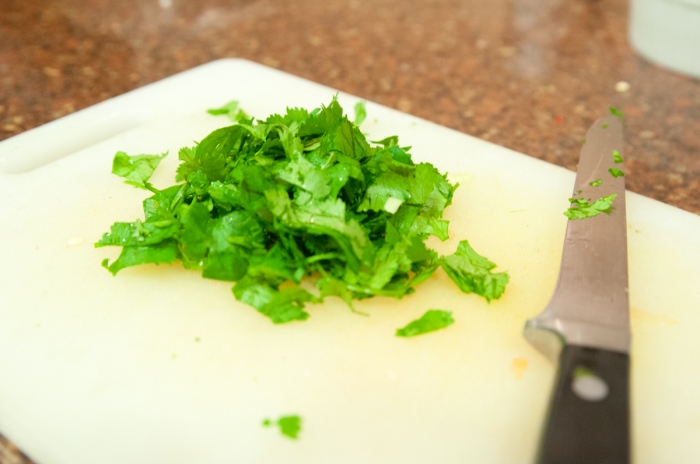
Rinse and loosely chop cilantro. Add it to the bowl.

Did you know that I am pretty much obsessed with cilantro?? Just thought I’d let you know….

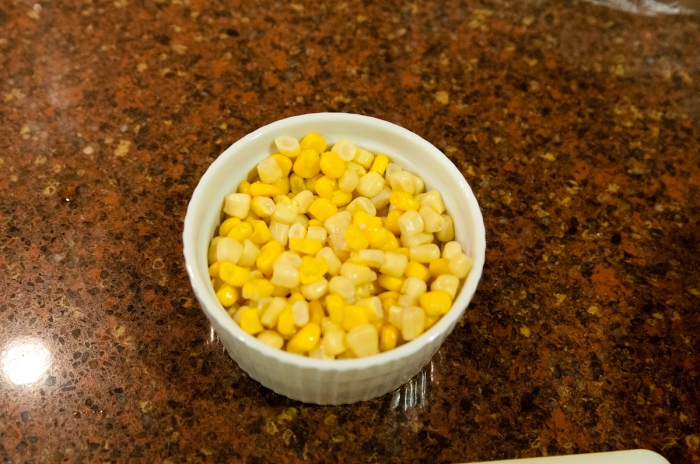
Add corn….mmmm corn…

black beans….mmmm black beans….

and cheese….mmmm cheese….

I think I am a little bit hungry….

Toss salad until well mixed.

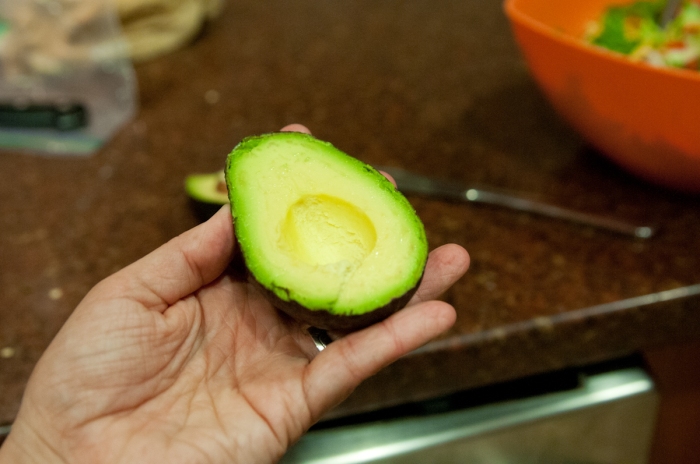
Cut an avocado in half and remove the seed.

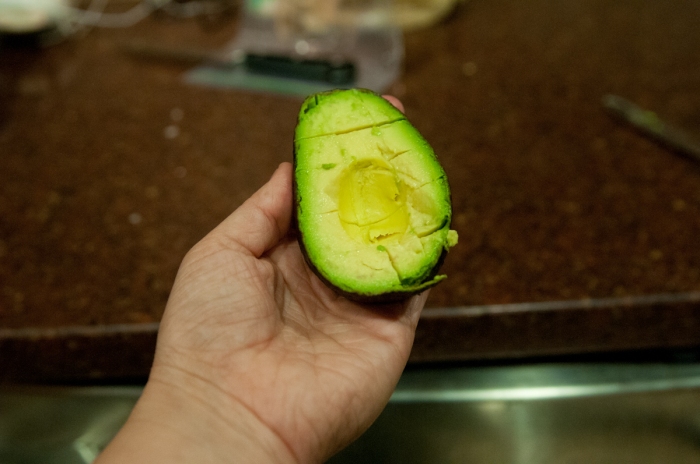
Run a knife through the avocado lengthwise and then again cross wise making sure not to actually cut through the skin, or your hand for that matter…

please do not cut through your hand.

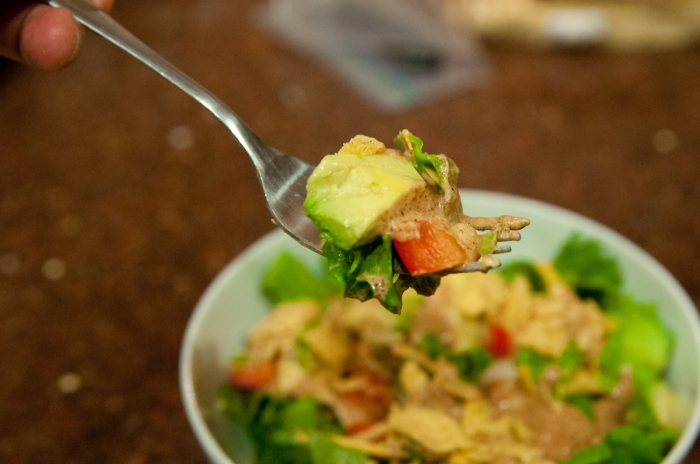
Place salad mix into individual bowl and top with lots of that amazing avocado goodness.

Remember how I love avocados too????

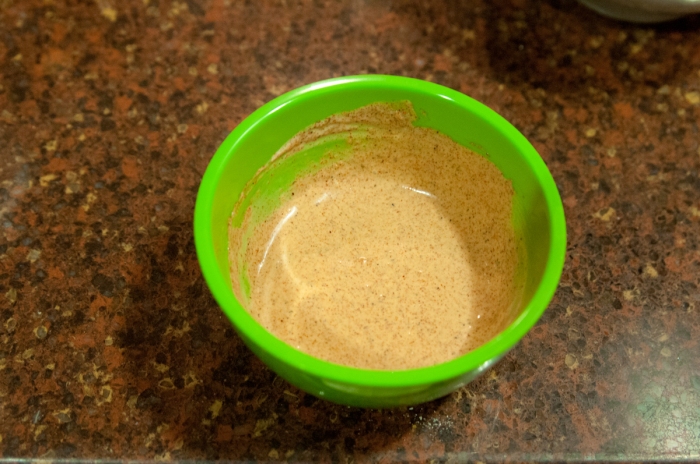
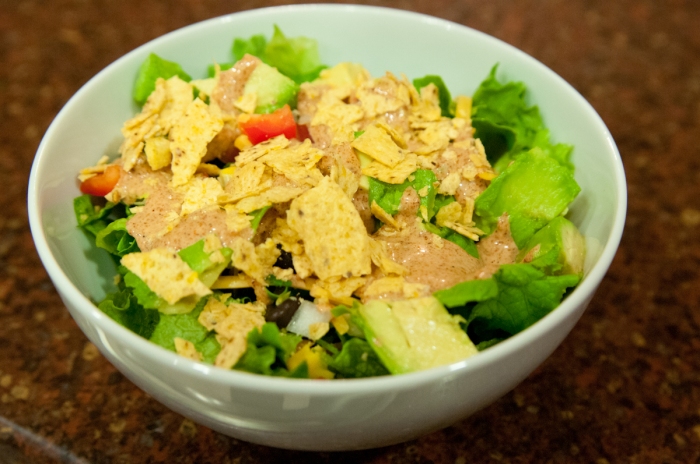
Now for the dressing – in a small, brightly colored bowl (I do own some normal colored cooking things, for real!) combine taco seasoning and ranch dressing. Mix until well blended and dump onto each of the salads.

Top with some corn chips and eat!!!!

And eat and eat and eat!!!

Oh, I almost forgot one thing! Go pour yourself another glass of wine, maybe a light white, pinot grigio perhaps; and congratulate yourself…you survived another day 🙂

Printable below (ok remember my version of printable is copy and past into a word doc, then print 🙂 )

Ingredients

1 Head lettuce

1 Tomato

1 Red Bell Pepper

1/2 Onion

1/4 cup Cilantro

1 cup Corn (cooked, drained and chilled)

1 cup Black Beans (cooked, drained, rinsed and chilled)

1/2 cup Shredded Cheddar Cheese

2 Ripe Avocados

Handful of corn chips crushed

2 tbsp Taco seasoning

4 tbsp Ranch dressing

Preparation

Shred lettuce and add to bowl. Dice tomato, red bell pepper and onion; add to the bowl. Loosely chop cilantro; add to the bowl. Add corn, black beans and cheese. Toss salad until well mixed. Place salad mix into individual bowls. Top with diced avocados and crushed corn chips.

For the dressing – in a small bowl combine taco seasoning and ranch dressing. Mix until well blended. Drizzle on each of the salads. Yields about 8 servings.

Chicken Salad Stuffed Avocados

So I was sitting at the table the other night trying to plan out a menu for the week….

Side note, I just realized that I start all of my ramblings with “So…”. I’ll work on that. Just so you know, I say rad a lot too…just warnin ya, in case we ever had a conversation and you were thinking, “I wonder if she knows that she says ‘rad’ a lot”… I know.
I like it 🙂

Anyway….I was sitting making my menu and subsequent grocery list, which I usually make the morning that I go shopping and end up leaving my house 2 hours later than I want because I am too indecisive and can never decide on what I want to make for dinners….and….

I decided to have street tacos from a rotisserie chicken on one night (they are yummy…and chicken was on sale). But since I knew we wouldn’t finish all of the meat, I needed another meal.

Hence Chicken Salad. But, I wanted something more fun than sandwiches….

So I decided I would stuff an avocado….or as I like to call them…God’s gift to me!!!

I like stuffing stuff into other stuff. It makes me feel creative.

If you don’t like avocados…then we simply can’t be friends

Just kidding 🙂

Then you can just make sandwiches. They will still taste rad!

Ok, are you ready to make seriously the best chicken salad ever????

Here. We. Go.

Ingredients

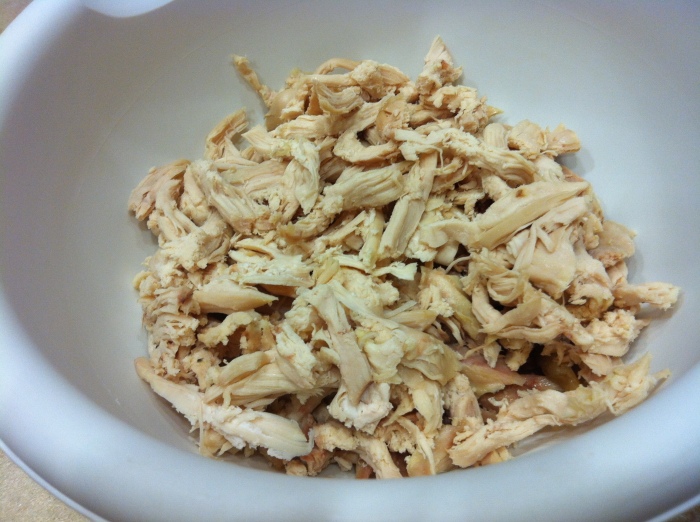
1/2 rotisserie chicken, cooked and picked clean

1/2 cup mayonnaise

1/4 cup red seedless grapes, halved

1 apple, diced

1/4 cup raisins

2 large stalks celery, diced

A couple of dashes of pepper

2 ripe avocados

Love (I put extra in all my dishes) 🙂

Preparation

Channel your inner cave man and pick apart the rotisserie chicken until there is not a speck of meat left on it. I always feel a little more primal after this step, like I could go throw a spear or catch a fish with my bare hands.

Survivor here I come!!!

Throw half of the meat into a bowl. (or if you really wanted to, double the recipe and use the whole thing).

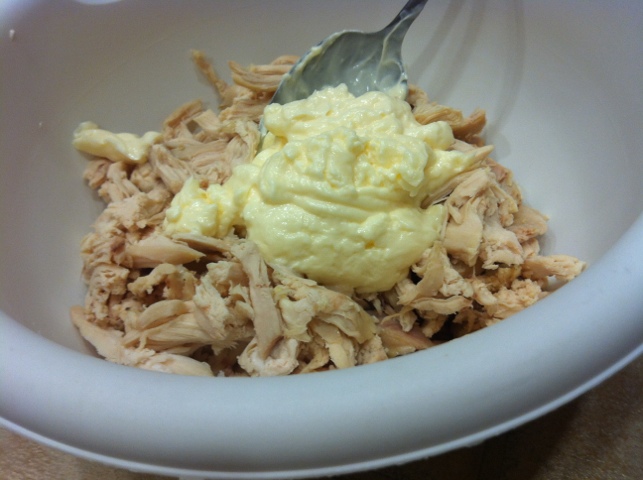
Add a dollop of mayonnaise (by the way, I am assuming that a dollop is about the same as 1/4 cup so that’s how I came to my measurement).

I started with 1 dollop and then added more based upon my desired creaminess.

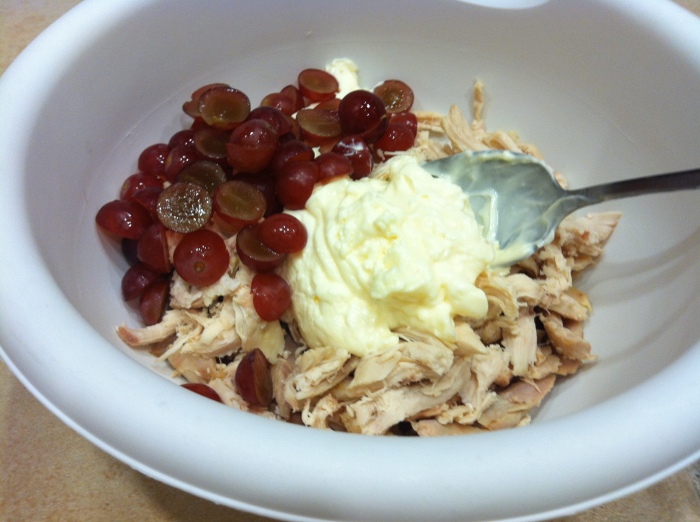
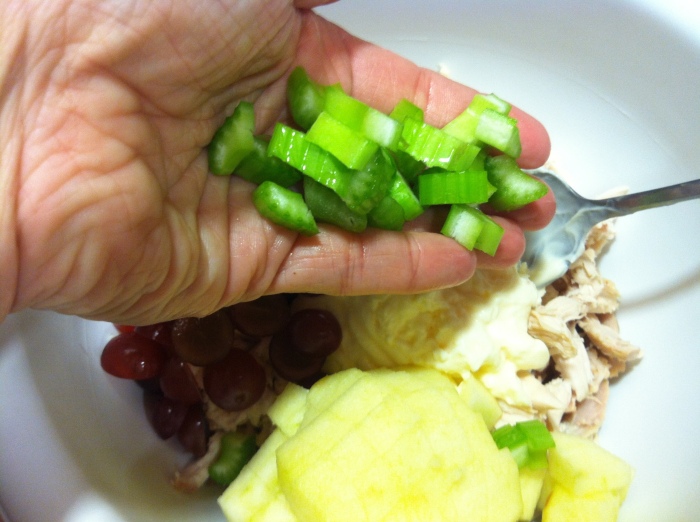
Cut grapes in half and throw them on in. Don’t get crazy on me or you may just lose some under the fridge. Maybe we should gently toss…

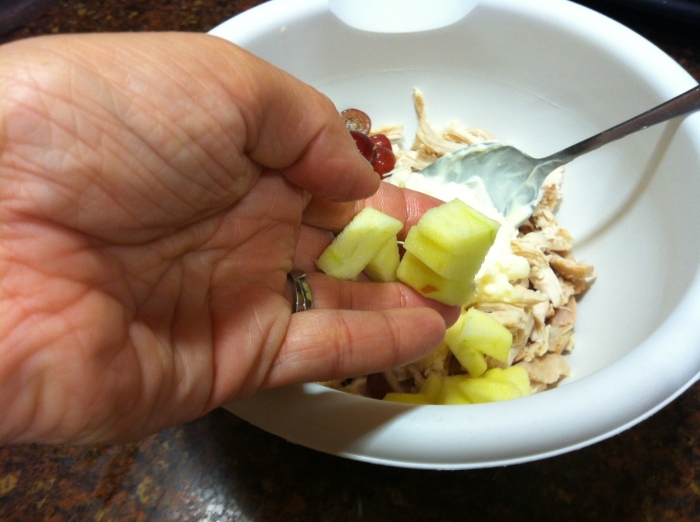
Peel and dice the apple. Add it in with your nearly model perfect hand…

Cut the celery in half lengthwise then dice into teeny tiny pieces and add it to the mix.

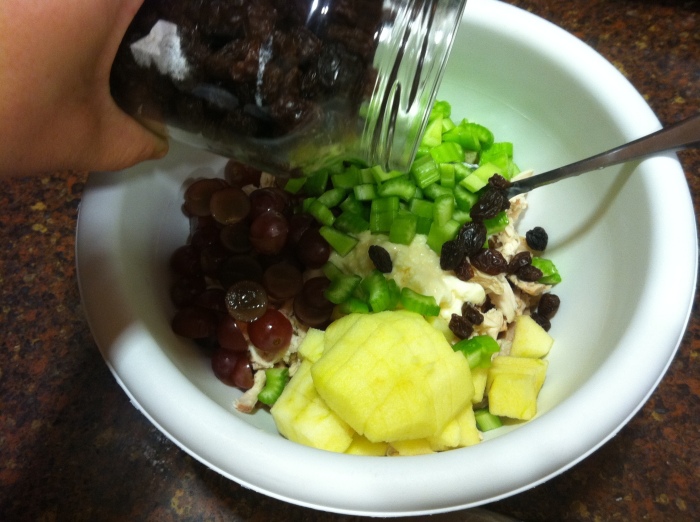
Gently toss your raisins into the bowl …

Another side note…do you have a store where you can buy raisins in bulk??? If not then you need to move! Or maybe just find one. I bought these at Sprout’s and they are the best raisins I have had in my entire, super, duper long life!!!

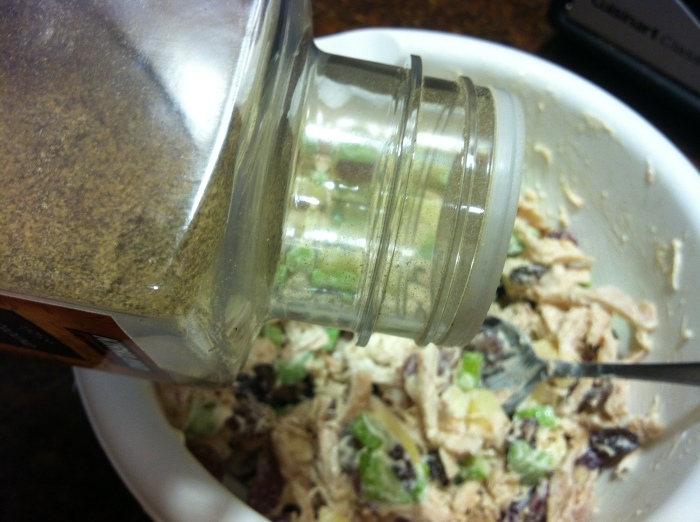
Sprinkle a little pepper and…

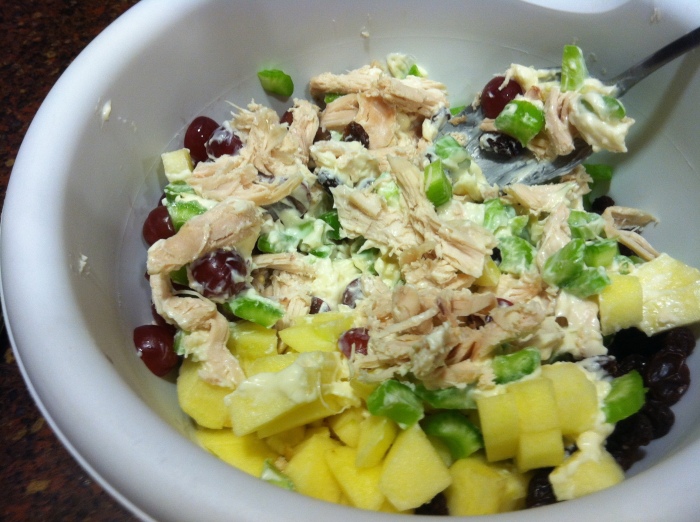
Mix, baby mix….

Add more mayo if you like it creamier and dreamier.

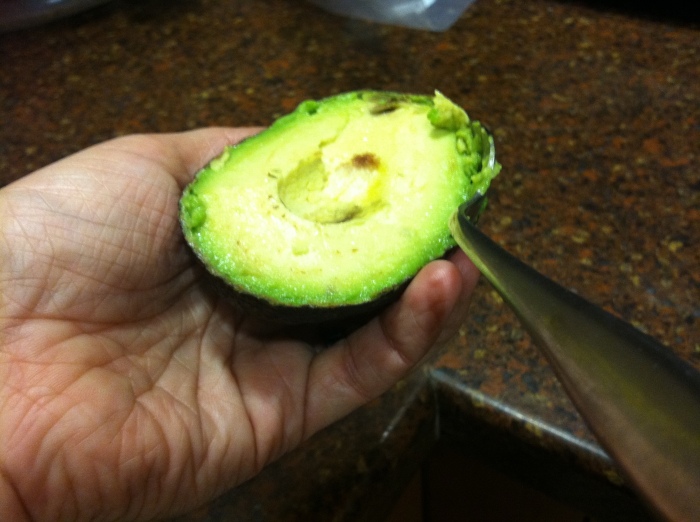
Slice the avocados in half length wise. Insert a spoon in between the yummy green and the not so yummy skin and *gently* dig out the good stuff.

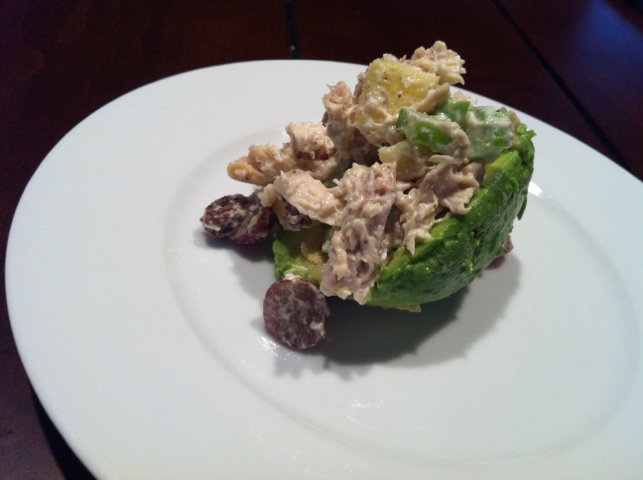
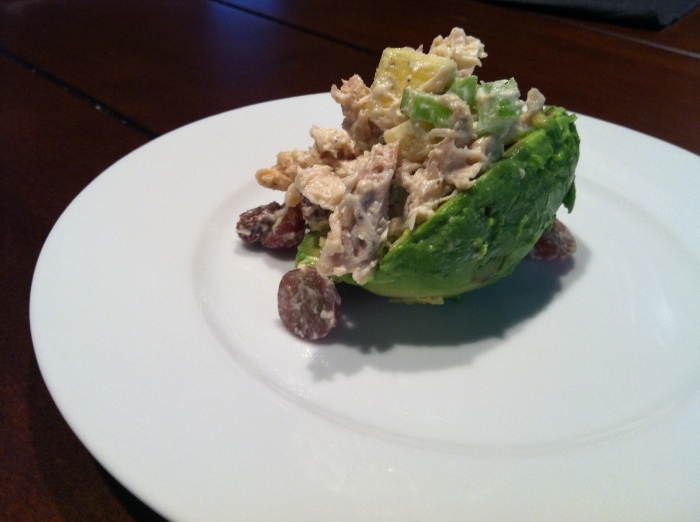
Put the avocado half on a plate and throw the chicken salad mixture on top making sure to stuff as much into the center as you can.

Now the important part….

Devour!!!

Hope you enjoy all of them one as much as I did!!!

Here’s the handy-dandy printable form

Ingredients

1/2 rotisserie chicken, cooked and picked clean

1/2 cup mayonnaise

1/4 cup red seedless grapes, halved

1 apple, diced

1/4 cup raisins

2 large stalks celery, diced

A couple of dashes of pepper

2 ripe avocados

Preparation

Pick all meat off of the chicken and throw half of it into the bowl. Add mayo. Cut grapes in half length wise. Dice apple and celery. Add grapes, apple, celery and raisins to the chicken and mayo. Sprinkle a dash of pepper and mix until all ingredients are coated with mayonnaise.

Cut avocados in half length wise and carefully scoop out the inside, removing it from the outer skin. Place avocado on a plate and stuff with chicken salad mixture.

Makes 4 generous servings.

Cheesy Garlic n Herb Biscuits

So last night was one of those nights where I forgot to take out the chicken for the chicken noodle soup that we were supposed to have…dinner time was creeping up on me and I was kinda over what we had in the fridge and pantry…

So basically I really didn’t want to cook and REALLY wanted Chipotle. Mmmmmm…

But…it was a little nippy out (southern California nippy, but nippy nonetheless) I know, I am cold weather wimp

and, I am really trying so hard to stick to this whole budget thing….

So I improvised. We had chicken-less noodle soup with veggies and chicken boulion (I got that chicken flavor in at least) and just to make life interesting and see if I could recreate one of those yummy restaurant finds that I have never forgotten about – Cheesy Garlic n Herb Biscuits.

Hallelujah; thank you Jesus for Cheese and Biscuits and any and all combinations of the two.

I’ll be honest. I didn’t have a ton of faith in them at first. It was a defitnite last minute throw together with whatever i had on hand.

But hot digity! It was one of the best throw togethers we have had yet!

I’m going to warn you….be prepared to throw caution to the wind because when you smell these…

ooh la la!! you will eat them in multiples!

Are you ready?

Here. We. Go.

You will need:

2 Cups Bisquick

3/4 -1 Cup Shredded Cheese

1 Tsp Chives

1 Tsp Minced Garlic

2/3 Cup Milk

You will do this:

Preheat the oven to 450.

Grease a 12 cup muffin pan and set aside.

In a bowl, combine Bisquick, cheese, chives and garlic. Slowly add milk into the dry ingredients stirring constantly. The dough will get quite thick and you may have to use your hands to finish mixing it all together. Get dirty.

Roll the dough into small balls and place 3 into each cup of the muffin pan (so 36 balls in all; 3 in each cup just for those of you who are like me and need super duper specific instructions).

Bake for 8-10 minutes. Remove from the oven. Salivate.

Salivate some more.

Devour!!!!

Sorry for the lack of pics…like I said; it was one of those nights, a throw together dish….

I will never let it happen again 🙂

I hope you enjoy!!!

Oh and PS…I used cheddar and chives, but get creative!!! Mozzarella and basil or oregano. Maybe pepper jack and minced jalapenos. The possibilities are endless!!!

20120123-230517.jpg

So Easy Spanish Rice

So I don’t know if this is technically Spanish rice….I mean what really makes Spanish rice Spanish rice?

Please don’t answer that and make me feel dumb for not really researching anything before I posted this blog.

Thank you.

So I guess I really should have called this “So Easy Jamie’s Spanish Rice”, but that is just a mouthful.

That’s what she said.

Tee Hee. I couldn’t help myself.

So, I think you will enjoy it anyway, even if the origins are unknown and the ingredients don’t hold any validity.

Just say you love me and we will move on (that’s what I ask my husband to do all the time. Although I think there is a “you’re right dear” in there somewhere)…

I started toying around with this idea after buying rice in a packet or box at the store. I wish I could say that my motives were derived from my desire to feed my family much healthier, non-packaged or highly processed, over salted food, but alas, they were really not.

My quest for saving a buck was the true force. Health is an added bonus!!!

Yippee for saving money AND being healthier. Who knew that the world could work that way?????

Enough rambling….On with the recipe….

Ingredients:

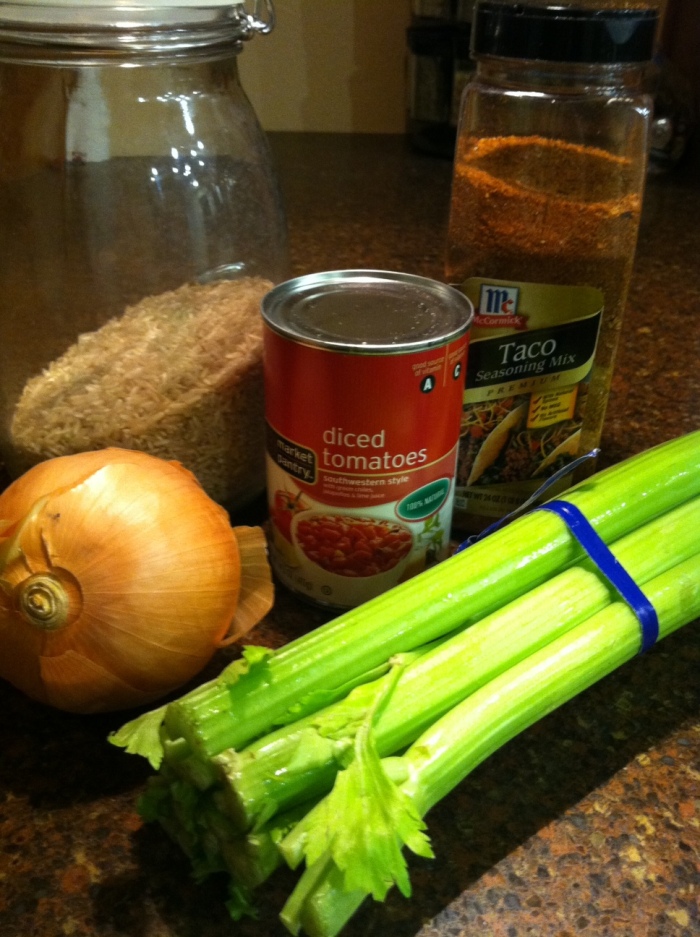
I apologize for this picture in particular…I really need to just have my husband teach my how to use that darn camera…

2 Cups Rice

4 Cups Water

1 Can Southwest Style Diced Tomatoes

2 Tbsp Taco Seasoning

2 Stalks Celery (please use the neon green variety…does that picture not make it look like I went shopping in a radioactive field???)

1 Onion

This is how you do it:

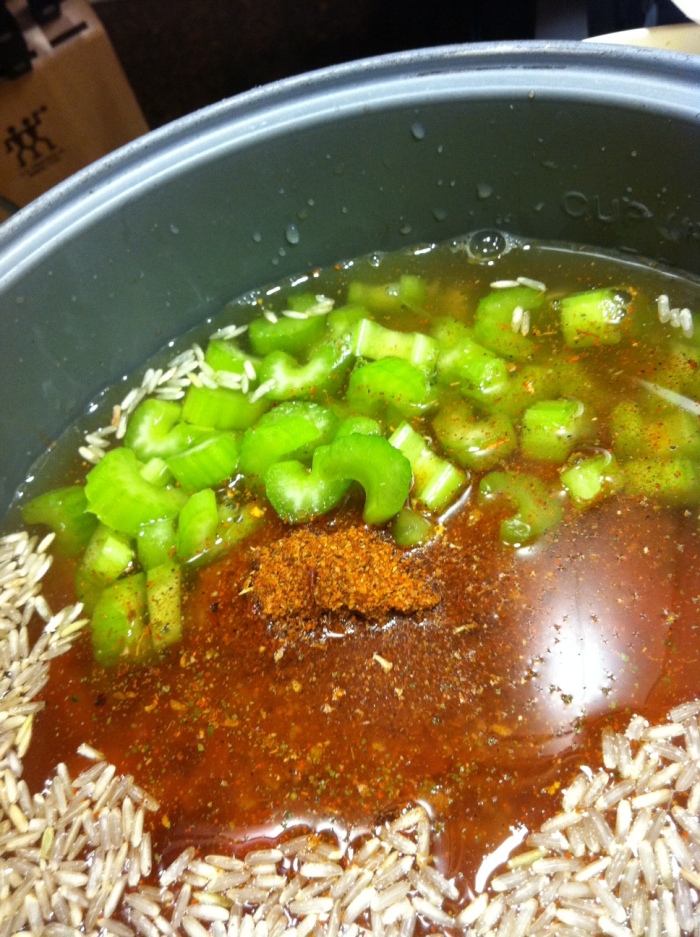
Get out your handy-dandy rice cooker with flowers on it (don’t worry if yours doesn’t have flowers it will taste ok, mine just came from an Asian market and for some reason it has flowers on it…) oh and if you don’t have one at all, you could always use the slow cooker or a pot on the stove

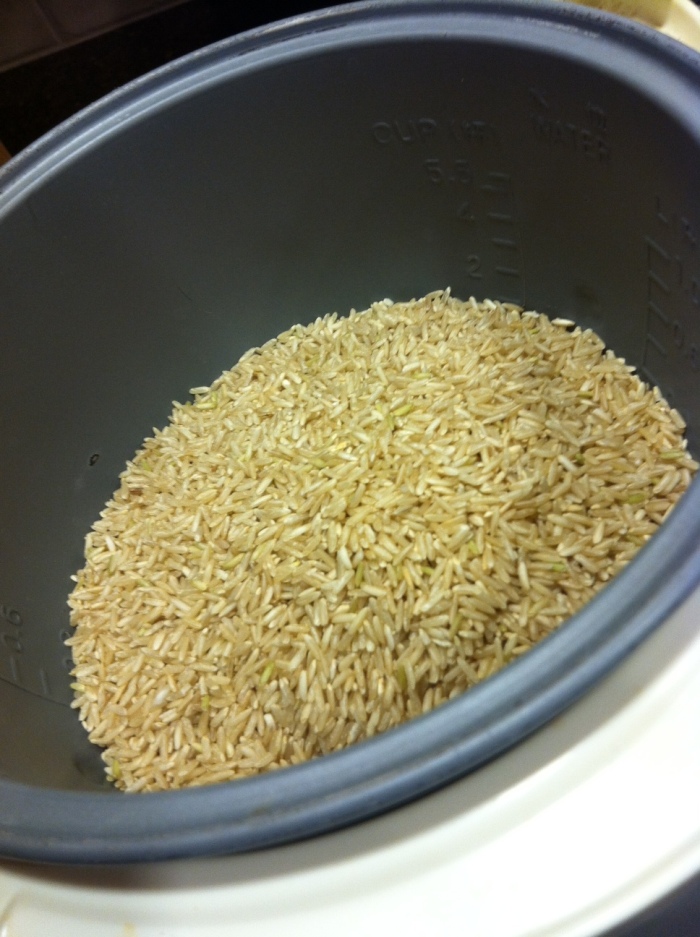
Pour in the rice… I used brown, long grain rice cause it was on sale!!! you can use whatever you want 🙂

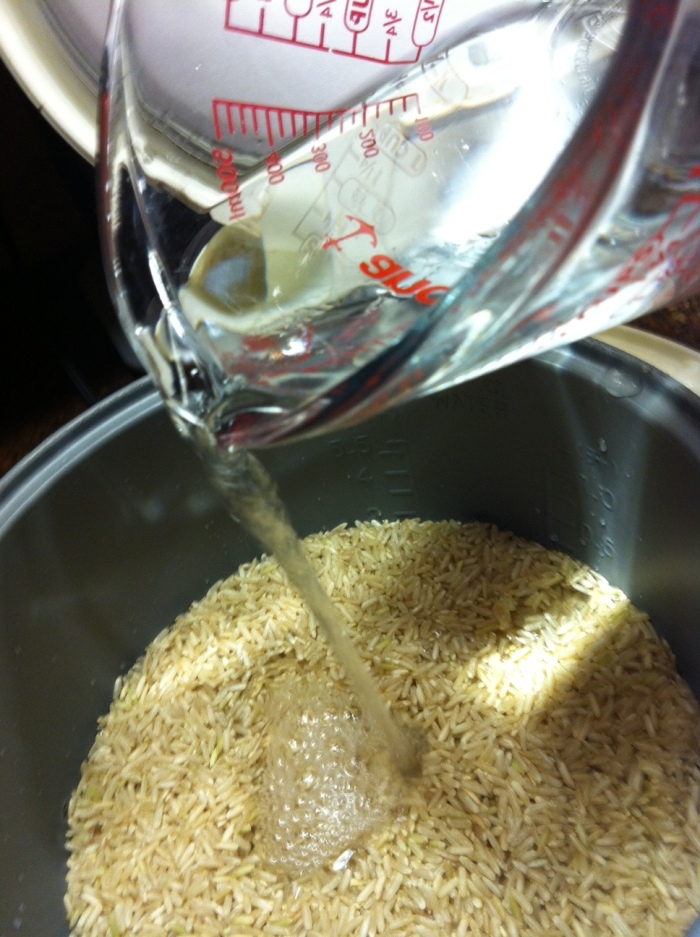
and the water…

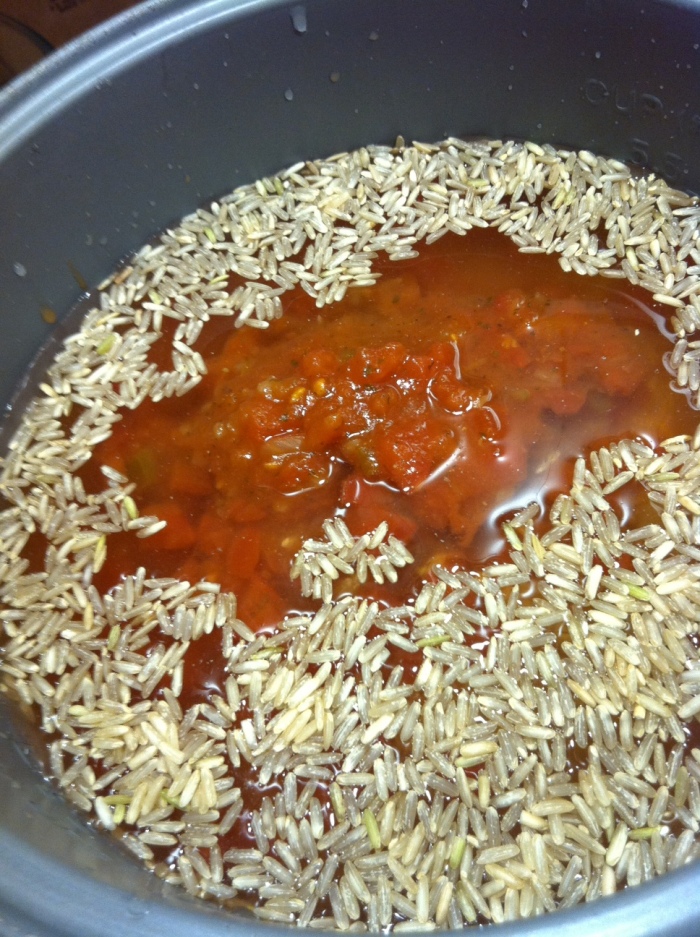
and the tomatoes…

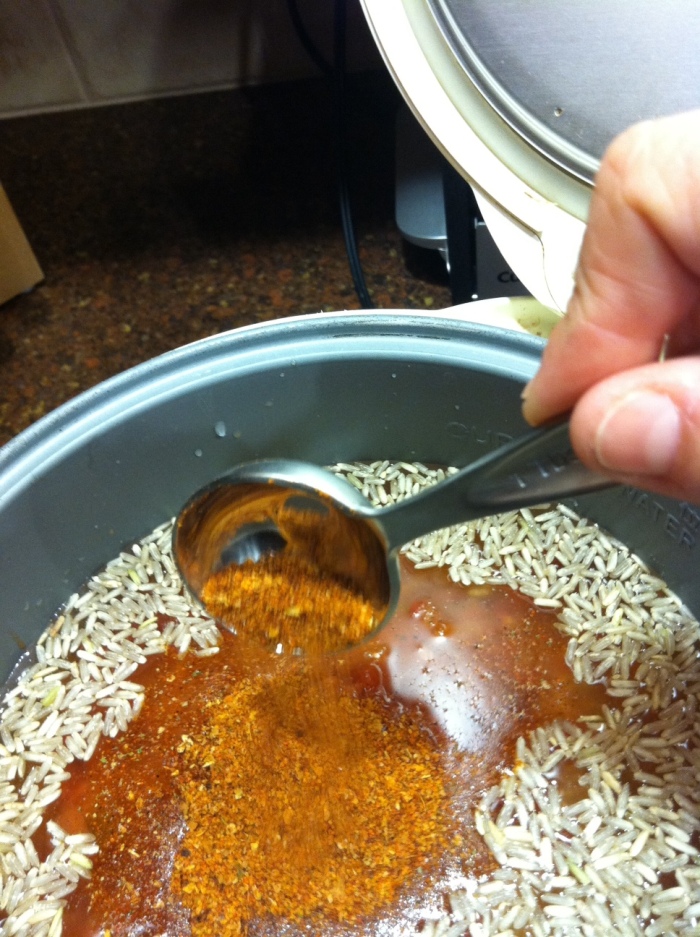
the taco seasoning… (if you don’t have taco seasoning here is a good recipe that I use all the time for tacos, fajitas, rice…you name it!! Taco Seasoning

Chop some of that radioactive celery and throw it in…

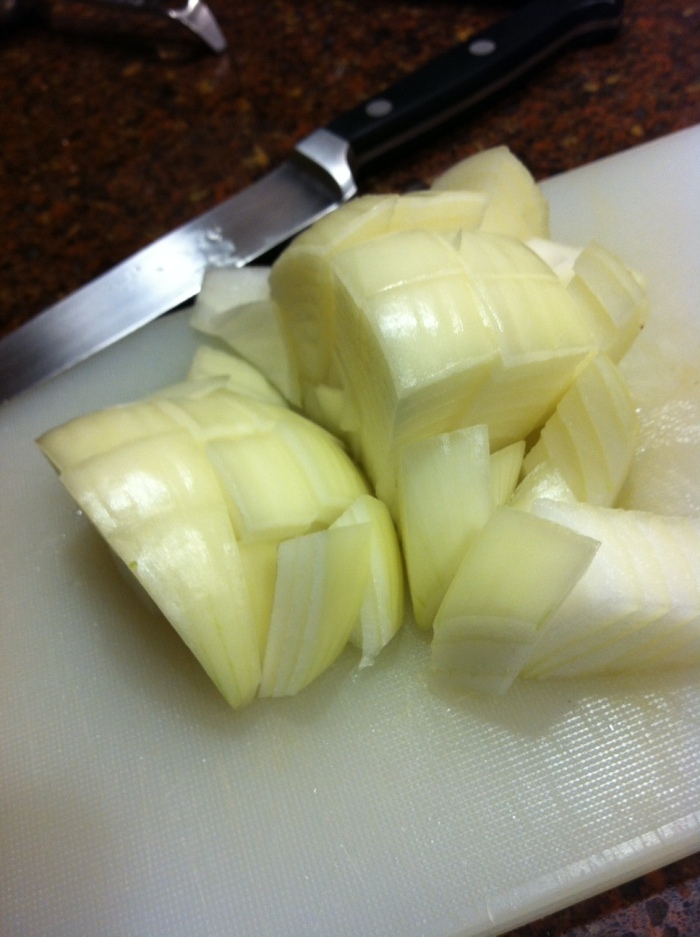
Chop some onion…cry….throw it in the cooker

Now here is the had part…

Push the cook button on the rice cooker and wait!!!

I told you it was hard…well it’s hard for me to wait for anything because I have the same level of patience as my 3-year-old son, but if you are not in fact like me, then this might not be the most difficult step.

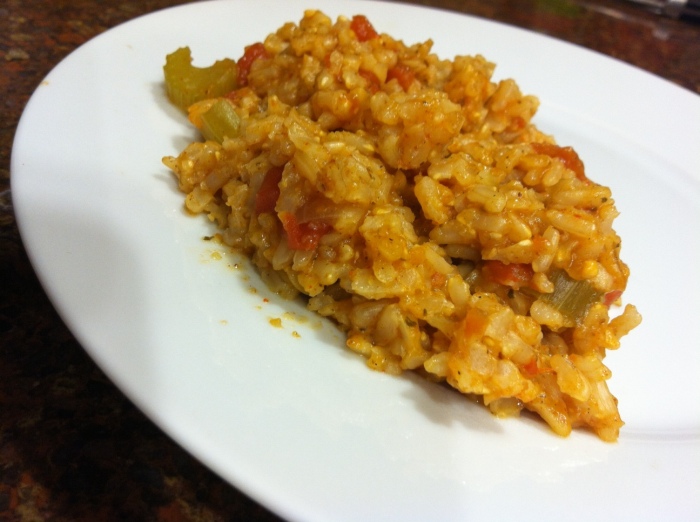
When it’s all done…

Eat it because it is amazing. And you have been waiting for it for so long…. 🙂

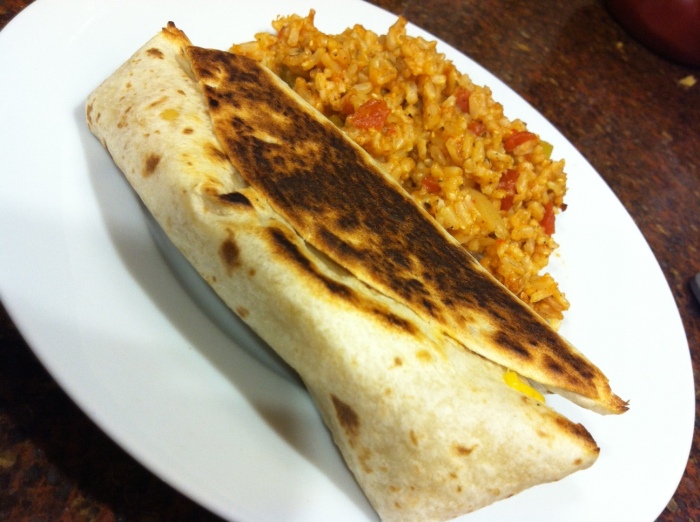
I made some super yummy grilled bean and cheese burritos too. They were delicious. And easy. and cheap. The triple threat.

Finished product…

Happy Cooking!!!

Printable Version

Ingredients

2 Cups Rice

4 Cups Water

1 Can Southwest Style Diced Tomatoes

2 Tbsp Taco Seasoning

2 Stalks Celery (please use the neon green variety…does that picture not make it look like I went shopping in a radioactive field???)

1 Onion

Preparation

Chop onion and celery into bite size pieces. Pour all ingredients into a rice cooker. Turn to cook. Serve with something yummy.

If you don’t have a rice cooker, pour all ingredients into a pot on the stove. Cook on high until boiling. Cover and reduce heat to low or medium low until rice is tender. Usually about 30-45 minutes.

Reinvent Your Leftovers

Ok. Raise your hand if you eat leftovers….and I am not talking about the yummy leftover spicy chicken chipotle pasta that you indulged in last night at Cheesecake Factory.

I am talking about eating last night’s food again. And again. And again until it’s gone.

I’m not a waster and I absolutely abhor throwing away food so my family gets to eat meals until they disappear.

Boring! I know. But, in an effort to quell familial unrest and uprising, I have started to get creative.

And here is the beauty…you can too!!!

Are you ready? Here is what you need:

Last nights leftovers
An Imagination

Here is my example:
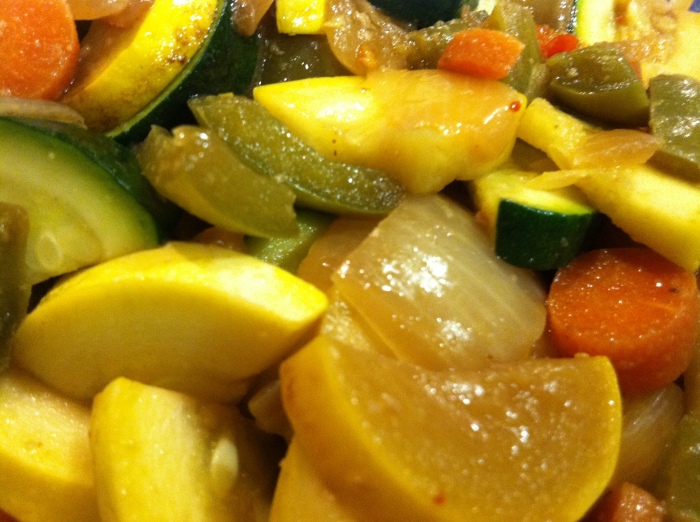
Last nights veggie stir fry that I really don’t feel like eating again cause its just not that great reheated.

20120113-210111.jpg

Add some cheese, fajita/taco seasoning, tortillas… (and if you are me….lots and lots and lots of Tapatio)

20120113-210126.jpg

and some sour cream and you have a fajita quesadilla!!! That. Just. Happened!!!

20120113-210150.jpg

It was delicious by the way 😉

I plan meals for the week and intentionally plan some meals using the previous nights leftovers. Here are a few examples of “reinventions” that you could use:

Turn last nights Chili into:
– Taco meat
– Burritos
– The base for Tamale pie
– Filling for Stuffed Bell Peppers

You get the point right?

Ooh another one of my favorites that’s sooooo easy – make meatloaf and mashed potatoes one night and use them the next night with some cheese and frozen veggies for Shepard’s Pie.

Seriously, get creative and you will be amazed at not only how much money you can save on groceries but at how much your family will adore you even more.

You might even be able to get your husband to take out the trash without asking!!!  (I haven’t taken the trash out in….I don’t even remember how long!!! I know I have an amazing husband!)

Or get the kids to go to bed without a fight!!!! Could there be such a world????

Have fun reinventing your leftovers, and please, If you have any great “reinventions”, comment and share them with us 🙂